If you are looking for the best resistance bands for a home gym, the useful question is which jobs the band has to do and whether it will survive doing them. A band that suits a pull-apart is the wrong tool for assisted pull-ups, and a cheap set that frays after a month costs more than one good band. This guide covers the band types worth buying, how to test a set before you trust it, and the signs that a band should go in the bin.
Why bands earn a place next to your barbell and dumbbells
Bands are accessory tools. They do not replace a barbell, and a lifter who already trains with weights should treat them that way. What they add is a different resistance curve: tension is lowest when the band is slack and rises the further you stretch it. That suits some movements and not others.
Three things make them useful in a home gym. They store in a drawer, they let you train small muscles like the rear delts and glute medius with light, high-rep work, and they can add load to a barbell lift where the bar is hardest to control or easiest to lock out. They are also easy to anchor to a rack, a post, or a door frame, which gives you cable-style movements without a cable stack.
If you are still deciding where your next purchase should go, the article on essential versus luxury home gym equipment covers that choice. Bands are a low-cost addition once your main lifts are set up.
The four band types a home gym actually uses
Most band sets sold online are a mix of the same four designs. Knowing what each is built for stops you buying a 20-piece kit when you will use three pieces.
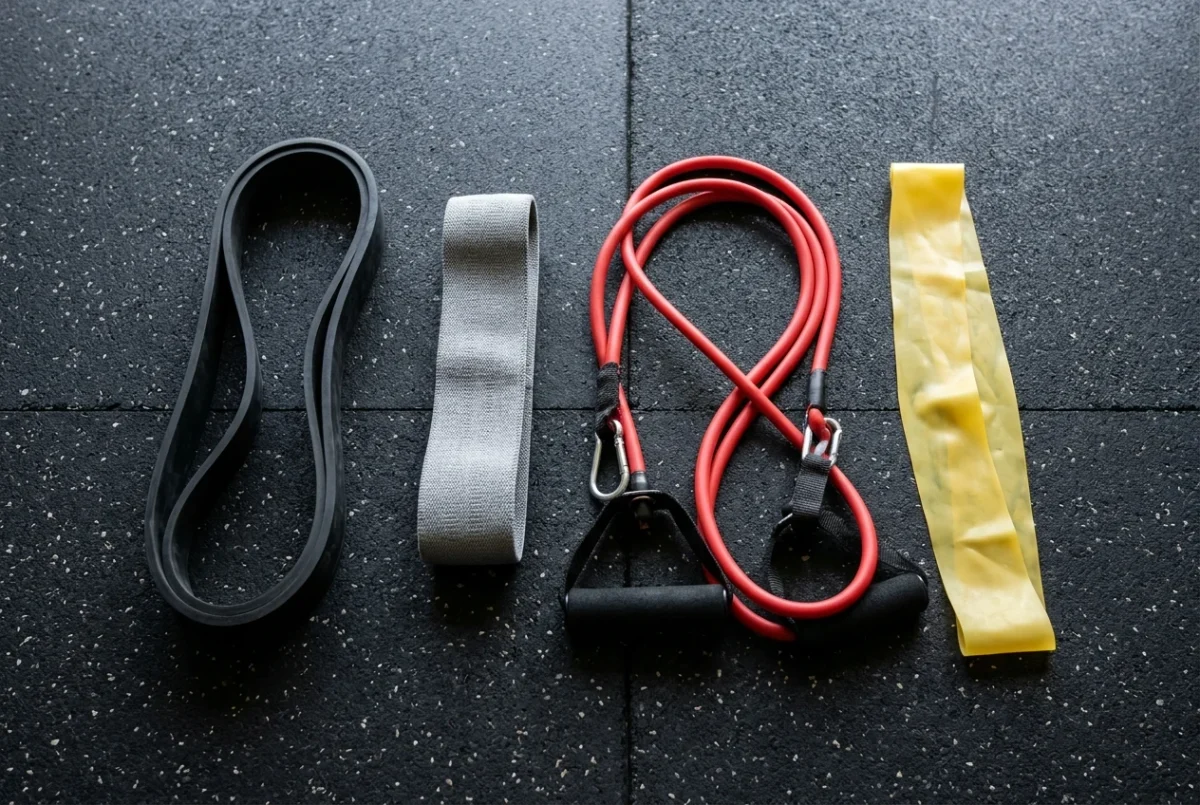
Loop bands (long, continuous loops). These are the large, thick bands, often called power bands. They are used for assisted pull-ups, for adding resistance to a squat, bench, or deadlift, and for heavier pulling work. They come in several thicknesses, and the thicker the band, the more resistance it gives.
Mini bands (short loops). These are small loops, made of latex or woven fabric, that sit around the thighs, knees, or ankles. They are the tool for glute and hip work such as lateral walks, clamshells, and squat warm-ups.
Tube bands with handles. A hollow or solid latex tube with a handle at each end, usually with clip-on connectors so you can swap handles and add bands. These are the closest to a cable machine: pushdowns, rows, face pulls, and presses against a door anchor.
Flat bands. Long, thin, flat strips without handles, often sold for rehab and mobility. They are light, easy to grip, and good for shoulder warm-ups and band pull-aparts, where you want low resistance and many reps.
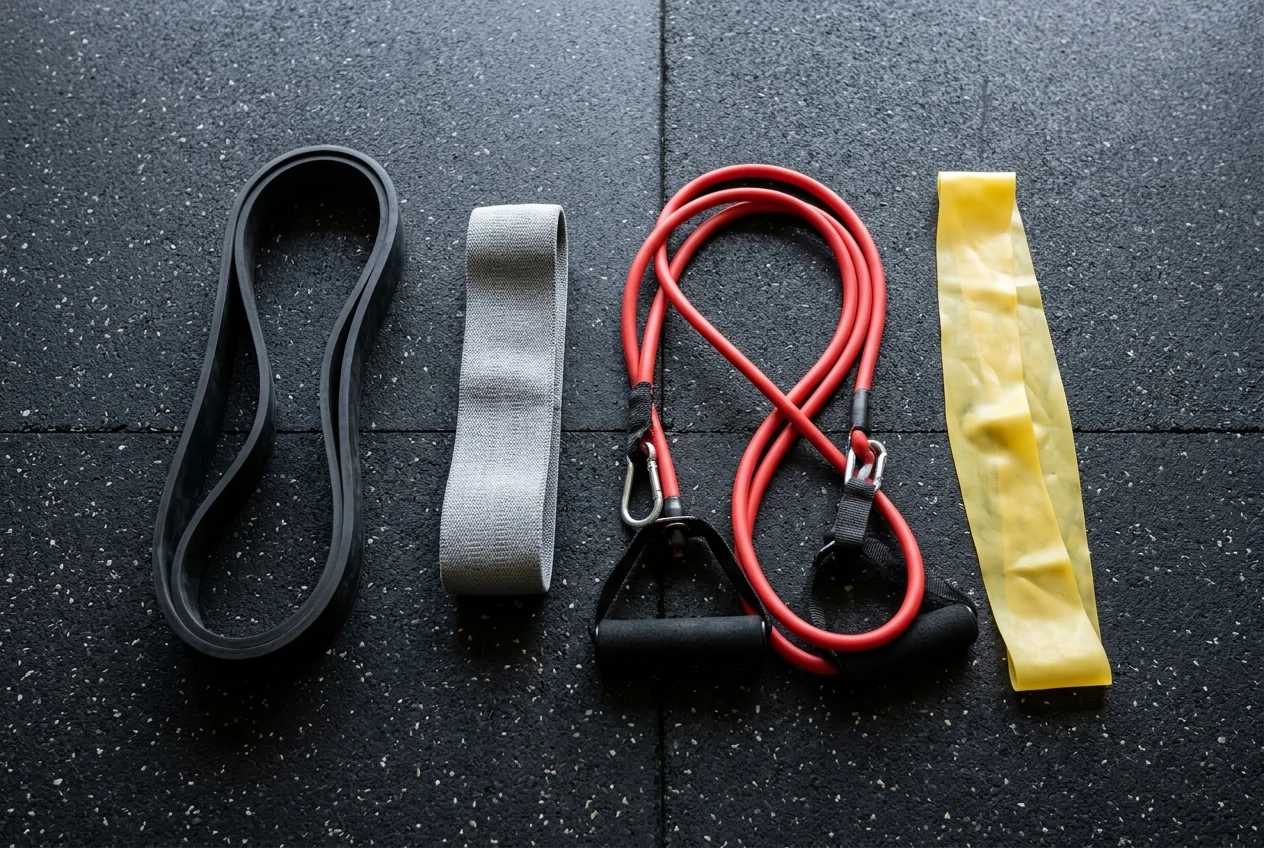
If you buy only three, take one set of loop bands in two thicknesses, one fabric mini band, and one tube band set with handles and a door anchor. A flat band is a cheap fourth if your shoulders need light warm-up work.
Match the band to the accessory
Each band type does well on certain exercises. Use this as a starting point and adjust to your own strength.
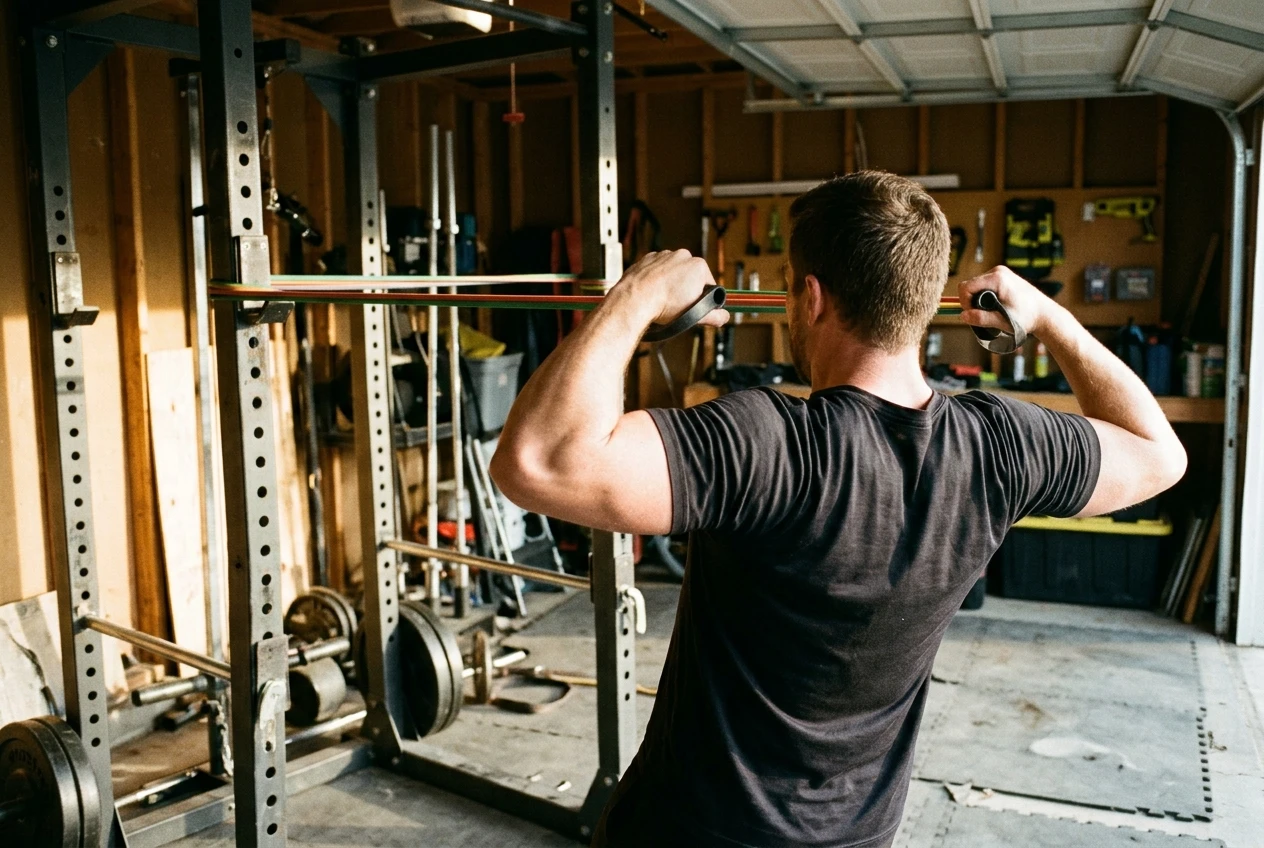
- Band pull-aparts: a flat band or a light loop band. Hold it at chest height and pull it apart until your arms are out to the sides. Choose a band you can move for 15 to 25 clean reps. The movement trains the upper back and rear delts, which many lifters under-train relative to their chest and front delts.
- Face pulls: a tube band with handles, or a loop band, anchored at about face height. Pull toward your forehead with the elbows high. Because tension rises as you pull, the hardest point is at the end of the movement, so use a lighter band than you expect.
- Glute and hip work: a fabric mini band placed just above the knees or around the lower thighs. Use it for lateral walks, banded squats, and glute bridges. Fabric stays in place on bare skin better than latex, which tends to roll up the leg.
- Pushdowns: a tube band anchored overhead on a door or the top of a rack. These work for triceps volume when you do not have a cable machine. Stack two bands if one is too light, rather than going to a much shorter stretch.
- Assisted pull-ups: a long loop band looped over the pull-up bar with a foot or knee in the bottom. The band gives the most help at the bottom of the rep, where you are weakest, and the least at the top. A thicker band gives more help.
- Adding resistance to a barbell lift: a loop band anchored to the base of your rack or to heavy dumbbells, then looped over the bar. This makes the top of a squat, bench, or deadlift heavier than the bottom. It is most useful for lifters who stall near lockout. If that is your sticking point, the guide to fixing your deadlift lockout explains what to check first.
What makes a band last
Band failures come from a small number of causes, and most are visible before you buy.
Material. Latex bands stretch well and return to length quickly. Natural latex generally feels smoother and more consistent than thin, brittle rubber blends, but you cannot always tell from a product page. If you have a latex allergy, choose fabric bands or tubes labelled latex free. Woven fabric bands have less stretch, hold their shape longer, and do not pinch or roll, which is why they suit mini bands.
Layering. Some loop bands and most tube bands are built from layers. Layered latex bands are thicker, so they tend to resist nicking better than a single thin sheet. Tube bands are sometimes covered in a fabric sleeve. The sleeve can limit the maximum stretch and keep a snapped tube from whipping back, though it does not make the band safe to overstretch.
Seams and stitching. Fabric mini bands fail first at the stitching, so look for even, tight stitching with no loose thread. Bands that are cast in one piece, with no seam, have one less place to split. On tube bands, the weakest point is usually where the tube meets the connector, so check how it is attached and whether the clip is metal or plastic.
Anchor points. Most damage comes from what you hook the band to. Rough rack edges, bar sleeves, sharp knurling, and metal corners cut into latex. Use a door anchor, a strap, or a smooth part of the rack, and avoid pulling the band across an edge. Wrapping a band around a rough surface and loading it is a common cause of a sudden snap.
How to check resistance quality before you trust a set
The color and the pound rating on a band are not standardized across brands. A “medium” from one maker can feel like a “heavy” from another, and the stated resistance is often a rough figure. You can test a band yourself in a few minutes.
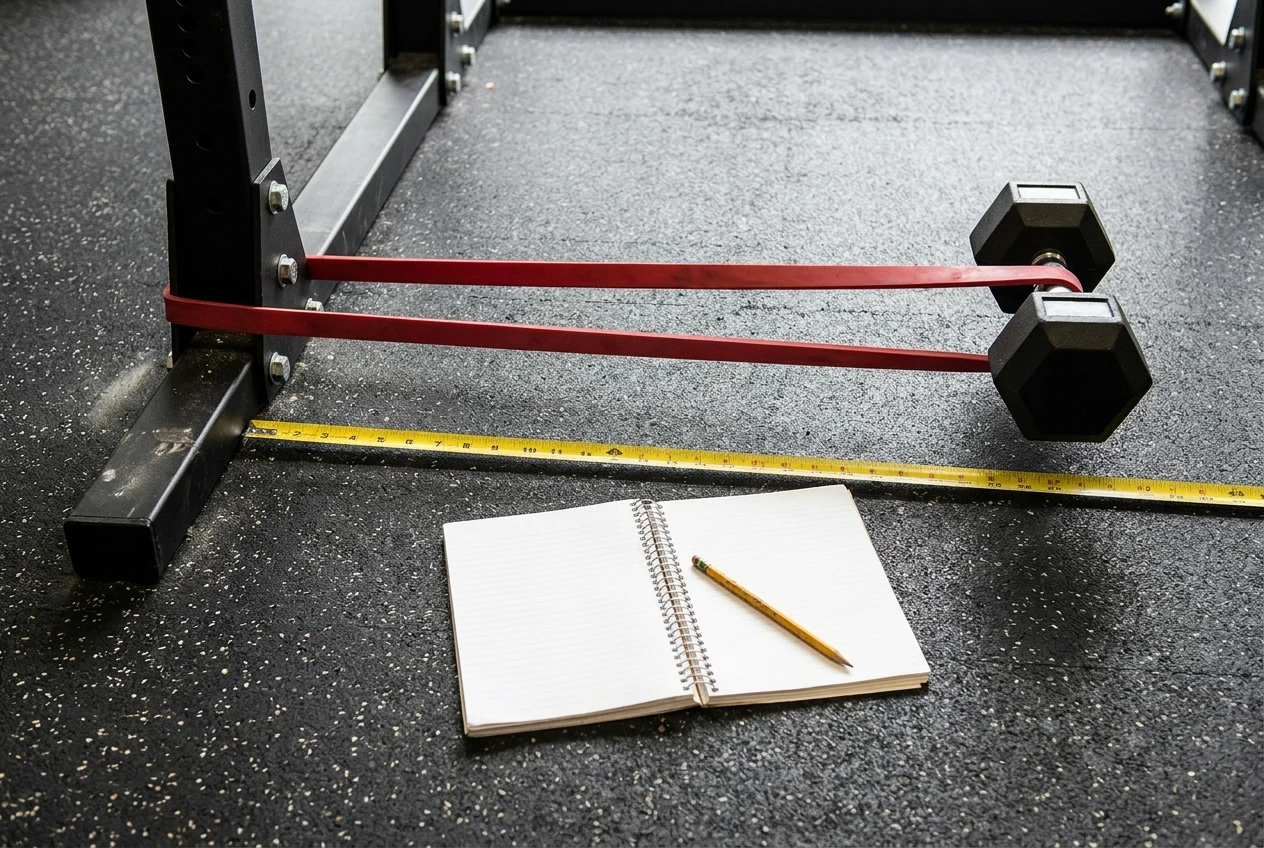
- Compare to a known weight. Anchor the band, attach a dumbbell, and measure how far it stretches. Repeat with each band and write down the stretch length. This gives you real numbers to work from, and you can also see whether two bands from the same set that should differ do differ.
- Check consistency along the length. Stretch the band slowly and watch the width. It should thin evenly. A band that narrows sharply in one spot has a thin patch that will fail first.
- Check for tension loss. Measure the relaxed length, stretch the band for 20 to 30 repetitions, and measure again. A band that stays longer afterward has lost elasticity, and it will keep losing it.
- Look for surface faults. Check for small nicks, bubbles, or sticky patches. A strong chemical smell and a tacky surface on a new band often point to poor curing, and they are worth returning.
- Check the connectors. On tube sets, tug the clips and attachments hard at a short stretch before you ever load them with real effort.
Run these tests when the set arrives, while you can still return it.
Inspect, store, and retire
Bands wear out, and the question is when. Inspect each band before use, which takes a few seconds.
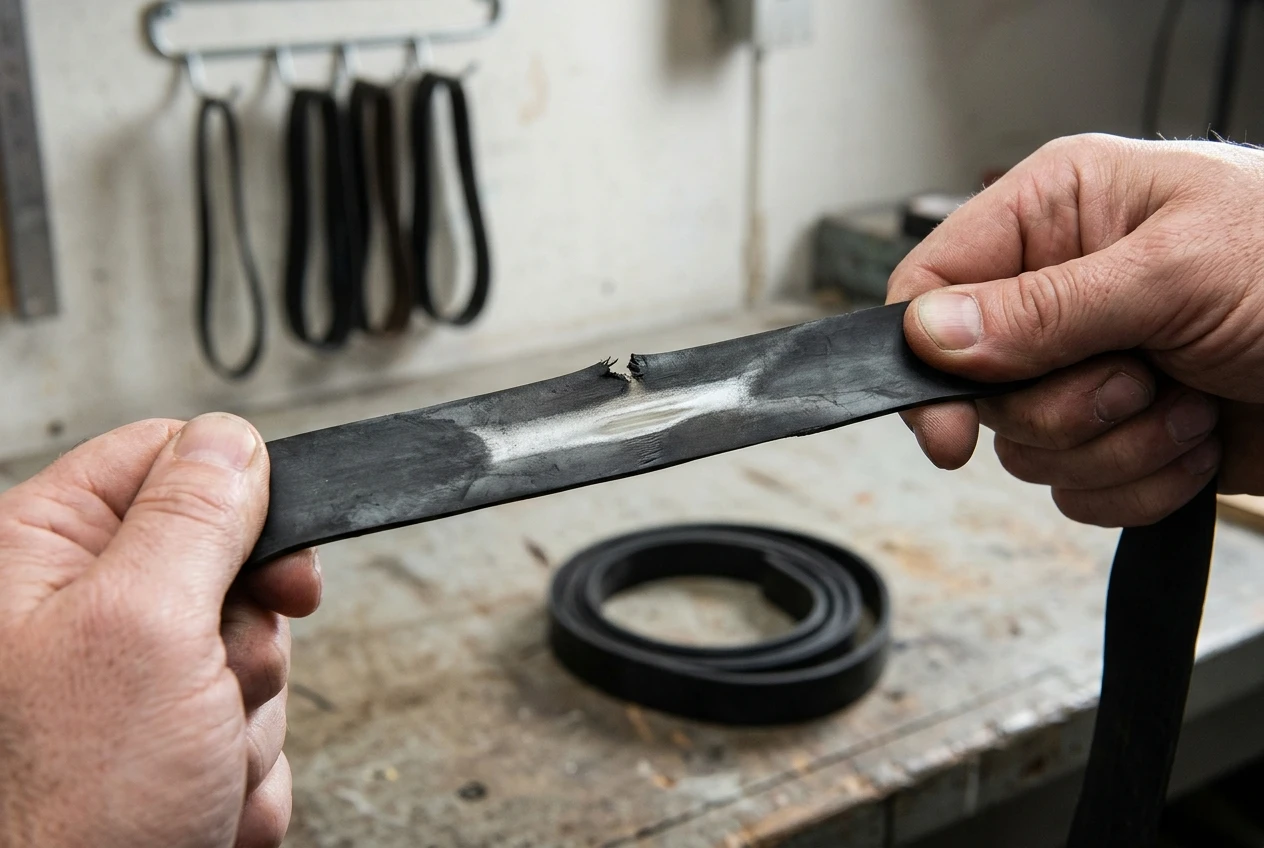
Retire a band if you see any of the following:
- A nick, cut, or crack in the surface, even a small one
- A section that looks whitened or shiny where it has been stretched often
- A thin spot, or a part that is visibly narrower than the rest
- A sticky or powdery surface
- Frayed fibers or loose stitching on a fabric band
- A permanent increase in resting length, or a clear loss of tension
- A bent, cracked, or loose clip on a tube band
Do not tape or knot a damaged band. A repaired band will fail at the repair.
Storage extends life. Keep bands out of direct sunlight, away from heat and from chemicals such as solvents and oils, because light and heat break down latex. Store them loose or hung on a hook, away from sharp tools and plates. Wipe off sweat and dirt after use. Do not leave a band stretched around a rack or bar between sessions.
For safety, keep your face out of the line of a band under tension, and never stretch a band beyond the maximum stretch the manufacturer states. If a band snaps, it can hit hard.
Building a small band kit that covers your weak links
Pick bands by the weak link you are trying to fix, not by the size of the set. If your upper back is the problem, start with a flat band or a light loop for pull-aparts and a tube set for face pulls. If your hips and glutes lag, buy a fabric mini band set. If you stall at lockout, or you cannot yet do a strict pull-up, buy loop bands in two thicknesses.
A reasonable kit looks like this:
- Two loop bands in different thicknesses for assisted pull-ups and barbell work
- One fabric mini band set with at least two resistance levels
- One tube band set with handles, an ankle strap, and a door anchor
- One flat band if you want something very light for warm-ups
If you are unsure what your weak link is, the article on picking accessories that fix a plateau walks through how to find it. Buy bands after you know what you need to train, so the kit is small and every piece gets used.
Where bands fit in a week of lifting, and when to go back to weights
Bands work best as warm-up and accessory tools placed around your main lifts. Use light band work such as pull-aparts and mini band walks before squatting or benching to prepare the shoulders and hips. Do your heavier band accessories, like pushdowns, face pulls, and glute work, after the main lifts, at two to four sets of 12 to 20 reps. Two or three sessions a week is enough for most small-muscle accessories.
Banded barbell work belongs in a heavy session as a variation, not as your every-session setup. Rotate it in for a few weeks when a lockout is lagging, then return to straight weight so the bar speed and load stay honest.
Bands also have a ceiling. Once the thickest band you own feels easy, you either need to stack bands or change tools. A dumbbell or cable gives a fixed load that is easier to track from week to week, so move there for any exercise where you want to add weight in clear steps. For help with that, see the guide to adding load week to week. Keep the bands for the work they do well: light, high-rep accessory movements, warm-ups, and variations on the main lifts.