How To Improve Posture With Targeted Neck Workouts

Posture refers to the way in which you hold your body, whether you are in motion or at rest. It is not merely a matter of appearing confident; it has an impact on how your body functions and how it feels. If you hunch over, you may end up with back or neck pain as well as headaches. Bad posture has an effect that goes beyond your physical well-being; it can make you feel tired throughout the day or even lead to stress, even if you never realize that the cause is the way you are sitting or standing. Let us now look at exercises for the neck. They act like a secret weapon when it comes to improving your posture since strong and flexible neck muscles provide the support that your head needs and thus make a big difference to the way you carry yourself every day.

The Anatomy of the Neck: Key Muscles and Their Functions

The neck is not merely a connection between the head and the shoulders since it contains some important muscles that have a vital role in maintaining your posture. Let us look at this in more detail. The first muscle to consider is the sternocleidomastoid, or SCM for short; it’s the noticeable muscle on either side of your neck that attaches your skull to your collarbone. Properly carrying out its function, it aids in rotating and flexing your head and helps to keep it balanced in a neat position on your shoulders. There’s also the trapezius, which is not only found in the neck but does in fact have an effect on it; it begins at the base of the skull and runs down to the middle of the back, where it moves and stabilises the shoulder blades and extends the neck. Strong trapezius muscles can prevent both overly rounded shoulders and forward head posture, both of which are detrimental to good posture. The reason why it is advantageous to work these muscles is that you come to understand how they act in unison, just as you do when you tune a guitar, since all the parts have to be in harmony if they are to function correctly. Focusing on these muscles helps to support the neck in keeping the spine straight and aligned.

Identifying Posture Problems Through Self-Assessment

It may seem difficult to get a good understanding of your posture, but it’s easier to check it at home than you might think. The first step is to stand in front of a mirror, look straight ahead, and see whether your ears, shoulders, and hips are in a line. If your head is sticking forward or your shoulders are slumped, this could be a sign of postural problems. Habits from everyday life can affect your posture, for example, by sitting at a computer for long periods or by holding your head bent down when using your phone, possibly causing neck strain without you even realizing it. Be on the lookout for signs of trouble, such as a persistently sore neck, tight shoulders, or even headaches. These symptoms are not merely minor irritations; they are signals sent by your body indicating that you have a posture problem. Focusing on these small details enables you to see the effect that your routine has on your neck and posture, and also prepares the way for including effective neck exercises in your daily routine.

Effective Neck Workouts for Improved Posture

Adding specific neck exercises to your routine can make a big difference to your posture. The following is a brief guide to help you get started with some simple workouts. Start with neck tilts. Sit up straight, relax your shoulders, and nod your head slowly toward your chest. Hold it there for a few seconds, then lift your head back to the starting position. Do this a few times to gently stretch the muscles in the back of your neck. Next up, try the side-to-side stretch. Face forward and slowly tilt your head toward one shoulder as if trying to touch it with your ear. Hold when you feel a gentle stretch, then return to the center and repeat on the other side. Neck rotations are also a good option. Sit up straight and slowly turn your head so that you’re looking over one shoulder, keeping your chin level. Hold the position, return to the centre, and then switch to the other side. Don’t forget to include isometric exercises as well; these consist of applying resistance without any movement to strengthen your neck. Place the palm of your hand gently against your forehead and resist the pressure. Hold it for a few seconds and then carry out the same action on the sides and on the back of your head. These workouts fit easily into even the most hectic days, so do them during breaks, at your desk, or even while watching television. The key is consistency and slowly challenging those muscles.

Holistic Approaches to Supporting Posture Improvement

Combining neck exercises with some holistic practices can boost your progress in improving your posture. You can view this as adding more layers to your approach. Yoga and Pilates pair well with neck exercises because they focus on overall alignment and flexibility, offering a whole-body approach to better posture; doing them regularly can enhance the benefits of neck exercises by strengthening your core and improving balance.It is also important to create an ergonomic workspace. Set your computer screen at eye level so as not to strain your neck and ensure that your chair supports your back and promotes correct posture. Don’t forget to take regular breaks when you have been sitting for a long time; getting up, stretching, or walking around will help restore your posture and prevent stiffness. Monitoring your progress can be motivating. Note any changes in your neck comfort and mobility as you practice. You can make the experience more effective by modifying and carefully adjusting your method according to how it feels. Sticking to these practices helps in creating lasting improvements. It’s an ongoing process, but with conscious effort, achieving and maintaining better posture becomes more attainable.

How To Perfect Your Mountain Climbers Technique

Mountain climbing is a kind of exercise that figures prominently in a great many fitness regimens since it reproduces the strenuous action of climbing a mountain while keeping the person on the ground. It is a dynamic, full-body exercise that, at the same time, works several of the major muscle groups. It enhances cardiovascular fitness, increases endurance, and burns calories efficiently—making it ideal for anyone who wishes to get fit. Mountain climbers first appeared in traditional fitness practices and have since become a common exercise in all kinds of workout programs, ranging from home exercises to high-intensity interval training (HIIT). The exercise originated in military training activities, which were designed to develop strength and agility. As time went on, people came to value their versatility and effectiveness, and so included them in fitness routines all over the world. Including mountain climbers in your exercise routine allows you to work important muscle groups such as the core, the shoulders, and the quadriceps. Since the core is vital for body stability, it gains a lot from this exercise, with improvements in both balance and strength. Your shoulders and quads also receive a strong workout, which helps to shape and define these areas as well as increase your overall power. Including mountain climbing in your routine not only leads to increased muscle mass and endurance, but it also enhances your coordination, flexibility, and mental resilience. The fact that mountain climbing puts several parts of the body under stress teaches your mind how to accept and cope with physical demands, an ability that extends to many areas of life apart from fitness.

Mastering the Form: Step-by-Step Guide to Perfect Mountain Climbers

It’s not enough for mountain climbers just to have the correct posture; proper form is essential if you are to work effectively and prevent injury. Let’s go through it step by step so that you can get the most from this exercise. Begin by getting into the plank position—no, not the fashionable one in which you lie motionless on various objects. Instead, put your hands about shoulder-width apart on the floor and make sure that your body stays in a straight line from your shoulders to your ankles. Contract your core as though you were bracing yourself against a light blow to keep the alignment intact. The action starts from this point. Move one knee towards your chest while keeping the other leg outstretched. Then quickly alternate by driving the other knee and at the same time extending the first leg. Imagine it’s similar to a smooth dance, with each leg in turn keeping to a rhythmic pattern. Make sure you maintain a well-balanced pace so as to keep your exercise consistent. A major error that people commit is allowing their hips to go too high or to sag too low; this not only decreases the effectiveness of the exercise but may also place strain on your back. To keep the straight line alignment, you should keep your core muscles active and engaged. Imagine your body as a solid bridge, capable of supporting moving traffic without collapsing. Avoid locking your elbows or setting your gaze to the floor. Instead, keep a slight bend in your arms and focus on a few inches in front of your hands. This helps distribute the weight evenly and maintains a natural neck alignment. Embrace these steps with precision and practice. Remember, it’s not a race. Speed comes with time and experience. Prioritize technique over rapid motion to unlock the true benefits without risking your body’s well-being.

Advanced Techniques: Elevate Your Mountain Climber Skills

Once you’ve got the basics down, it’s time to step up your mountain climber game with some advanced techniques that keep things interesting and challenging. Mixing in variations not only boosts intensity but also targets different muscle groups, making your workouts more comprehensive. Start by changing your rhythm with slow-motion mountain climbers. This controlled form demands more stability, so focus on each muscle contraction. Then crank up the challenge by adding resistance bands. They add a layer of difficulty, engaging additional muscle fibers, especially around the hips and thighs. If people want something more exciting, then plyometric mountain climbers are the solution. When you switch legs, add a short hop—this vigorous action boosts your cardiovascular system and pushes your endurance to an even greater extent. In order to combine strength and cardio smoothly, pair these exercises with HIIT by taking turns between intense sessions of mountain climbers and other high-energy exercises to achieve a full-body workout. If you want to improve your technique and obtain accurate feedback, you should use video playback equipment. Recording your sessions gives you valuable insight into your technique and helps you notice any deviation from correct posture. It allows you to make small adjustments, thus making sure that each movement is effective. By all means, go ahead and include these variations in your weekly routine if you want to achieve concrete results; no matter what your goal is—be it strength, speed, or endurance—there is always a method by which you can innovate and improve your ability in mountain climbing.

Integrating Mountain Climbers into Your Regular Routine

Mountain climbers are extremely versatile and a great choice for any exercise routine. But how will you fit them into your program? First, know your fitness objectives, then create a well-balanced plan to support them. Whether you aim to lose weight, gain muscle, or just improve your endurance, mountain climbers can be of great importance. Use these exercises as a warm-up to raise your heart rate and get your muscles ready for the full session. They are very good for starting strength training or cardio days since they provide full-body activation, which prepares you for more intense activities. Frequency is on your side here; if you include mountain climbers as a regular part of your routine three or four times a week, you’ll see noticeable improvements in your core strength and overall fitness. It’s like brushing your teeth—better results over time come from consistent, simple actions. To avoid injuries, always warm up and cool down before mountain climbers. Stretching beforehand keeps your muscles flexible for the dynamic movements involved, and the cool-down aids recovery by improving blood flow and reducing stiffness. You can monitor your progress using digital fitness platforms. Since these apps keep records of your workouts, they provide analytical insights into your performance, which help you identify areas that need improvement. They also allow you to set goals that are achievable and enable you to acknowledge them when you achieve them, thus boosting your motivation and leading to success.

How Mountain Climbers Improve Core Strength And Stability

It’s not merely about having those impressive abs to show off—core strength is about enabling powerful movements and providing a good balance, particularly when climbing up a rocky mountainside. Having a strong core helps you to lift your knees, swing your arms, and avoid overexertion while climbing. Stability goes hand in hand with core strength; when you’re on rocky ground, it is essential to remain stable on unpredictable surfaces, which is why these muscles are so important. By activating your core, you aid in keeping your balance, a necessity whenever you are dealing with uneven ground, changing footholds, and sudden changes in the weather. The way the central muscles relate to climbing is through synergy: together, they help the body carry out tasks that involve several muscles working as a unit, such as pulling yourself up or stretching across large gaps. A strong core gives you better control and less wobble on the wall. The following guide shows how focusing on core strength can improve your climbing performance. Since your core muscles will be strengthened, you’ll not only become more efficient at climbing but also suffer fewer injuries. Now, let’s look at what it takes to build the strong, stable core every climber aspires to.

Essential Core Exercises for Climbers: Building a Solid Foundation

If you want to improve your climbing abilities, core exercises should form the basis of your training. The plank is a good example since it seems very simple yet is effective in working out several different muscle groups. Maintaining a correct plank position develops endurance in both your abdominal and back muscles, which are essential for climbing stability. Don’t ignore Russian twists; it’s not about twisting in general, but twisting correctly. This exercise targets the obliques and adds an extra layer of protection and support for mid-climb rotations when you are reaching and pivoting. Leg raises are also excellent since they work the lower abs, a muscle group that is important for performing high steps and stretches when climbing a new route. By regularly carrying out this exercise, you will be able to climb without getting tired or making mistakes. Combining these exercises with ordinary climbing techniques will make you a nimble and confident climber, fully prepared to deal with any rock face. A great many professional climbers recommend having regular core workouts, and they usually advise varying the routine in order to keep it interesting and challenging. Instructional videos and similar visual aids can be very useful in this situation since they show each movement in detail, helping you remember it. In some cases, seeing an exercise being carried out makes it easier to carry out and refine it, which in turn enables you to avoid typical mistakes in technique.

Stability Training: Techniques for Enhanced Climbing Efficiency

Climbing involves more than just strength; it also requires a good sense of balance and precision. Dynamic stability training can lead to remarkable improvements whenever you’re on the rock. Think about doing exercises with a Bosu ball—these force you to maintain your composure in an unstable situation, a skill that translates very well into actual climbing situations, where the footing can be unpredictable. Kettlebell drills should also be included in your routine since they replicate the kinds of movements you’ll make on the wall and aid in developing an intuitive understanding of your body’s movement and momentum; these exercises challenge your limits and improve your muscle coordination as well as your awareness of your limbs. You might also find it helpful to include Pilates or yoga in your routine since both of these practices stress body control, muscle engagement, and flexibility—all of which are important when going through tight spots or climbing steep slopes. Stability training doesn’t just make you a better climber; it also reduces the risk of injury. Since it strengthens your stabilizer muscles, you’re less likely to suffer minor aches and strains when climbing intensely and can therefore concentrate on enjoying the climb rather than having to deal with injuries. With the added benefit of improved endurance, you end up with a more well-rounded physique and better health in your climbing.

Real-Life Success Stories: Climbers Who Harnessed Core Strength to Scale New Heights

Stories about climbers improving their skills through core training are very inspiring. For example, John began to do daily core exercises such as planks and Russian twists, and as a result, his stamina increased greatly; he moved from finding it difficult on moderate routes to being able to cope with difficult climbs and doing so with greater confidence. Lily, another climber, explained that incorporating balance drills improved her technique. She improved her stability and agility through exercises on a Bosu ball, which made difficult overhangs manageable instead of intimidating. Her progress shows that targeted stability training can overcome obstacles. Whenever you listen to different climbers and what they have experienced, you always come across the same idea, namely that a commitment to core exercises results in great improvements. As an example, Tom highlighted the important role that Pilates had in his recovery and in maintaining his strength, which in turn enabled him to climb more difficult routes after his injury. The personal stories mentioned here show how beneficial a devoted approach to core and stability training can be, giving both beginners and more experienced climbers reassurance that it’s not about achieving quick results but rather about making steady progress; because people see actual transformations, they are encouraged to take action to improve their climbing skills and safety during those bold ascents.

Olympic Lifts vs Powerlifting for Real Power

Olympic lifts vs powerlifting: compare speed, strength, technique, and programming to build the kind of power that carries over beyond the gym floor.

A heavy deadlift can make you brutally strong. A crisp clean can teach you to apply force before the bar has time to leave the floor. That difference sits at the center of olympic lifts vs powerlifting. Both methods build capable athletes, but they challenge the body and nervous system in different ways.

If your training has stalled because every session feels like slow grinding, or because you can move weight but cannot move explosively, choosing the right emphasis matters. The question is not which sport is tougher. The useful question is which lifts best serve the physical outcome you need right now.

Olympic Lifts vs Powerlifting: The Core Difference

Olympic weightlifting is built around the snatch and the clean and jerk. These lifts require an athlete to move a barbell from the floor to overhead with speed, timing, positional discipline, and full-body coordination. The goal is to lift the greatest weight possible in two technically demanding explosive movements.

Powerlifting centers on the squat, bench press, and deadlift. Its goal is maximal strength across three lifts. A successful powerlifting attempt may be fast when the athlete is strong, but speed is not the main requirement. The bar only needs to keep moving long enough to complete the lift within the rules.

That distinction changes training. Olympic lifting asks, “How quickly can you create force and direct it into the bar?” Powerlifting asks, “How much force can you sustain against a maximal load?” Both questions matter for performance, but they are not interchangeable.

What Olympic Lifts Build

The snatch, clean, jerk, and their variations are exceptional tools for developing rate of force production. In plain terms, they train you to produce high force quickly. That quality matters for jumping, sprinting, changing direction, throwing, and many sport actions where there is no time to grind through a heavy rep.

Olympic lifts also demand positions that expose weak links. A clean that crashes forward often points to poor bar path, weak front-rack mechanics, limited mobility, or a failure to finish the pull. A missed jerk can reveal unstable overhead positions, poor dip-and-drive timing, or insufficient leg strength. The lifts give immediate feedback because poor force direction is hard to hide.

There is a trade-off. The technical learning curve is steep. A lifter can become stronger with basic squats, presses, pulls, and progressive loading relatively quickly. Becoming competent in the snatch and clean and jerk takes repeated practice with manageable loads. Mobility, timing, confidence receiving the bar, and coaching all affect the process.

For that reason, athletes do not need to start with full lifts. Power variations such as the hang power clean, clean pull, high pull, push press, and power jerk can build explosive intent while reducing complexity. These movements are often the smarter entry point for adult lifters training in commercial gyms or athletes with limited time.

The power benefit is not automatic

Performing Olympic lifts does not guarantee athletic power. A slow, poorly timed clean with inconsistent positions is not an explosive movement simply because it is called a clean. The bar must be moved with intent, and the load must allow quality execution.

Likewise, the lifts should support the broader program. An athlete with weak legs will not solve the problem by adding more complicated barbell drills. Squats, pulls, presses, jumps, and basic strength work create the foundation that lets Olympic lift variations produce more return.

What Powerlifting Builds

Powerlifting creates high levels of absolute strength. Heavy squats build leg and trunk strength. Bench pressing develops pressing force and upper-body stability. Deadlifts train the ability to produce force from the floor while maintaining a rigid position under demanding load.

For many lifters, this is the most direct route to measurable barbell progress. The lifts are simpler to learn than the snatch and clean and jerk, even though truly strong powerlifting technique is still highly technical. They are also easier to load progressively. Adding five pounds to a squat or deadlift is a clear, useful signal that strength is improving.

Powerlifting training teaches discipline under heavy weight. It develops bracing, patience, confidence, and the ability to keep a position when a bar wants to pull you out of it. Those qualities carry into nearly every serious strength pursuit.

The trade-off is that heavy lifting alone may not fully develop fast force production. A lifter can build an impressive squat and still struggle to jump, sprint, or change direction efficiently if their training contains little explosive work. Strength provides the engine. Power training teaches the engine to deliver force quickly.

Max strength raises the ceiling

This is why powerlifting movements remain valuable for athletes and Olympic lifters. Greater strength gives you more potential force to use. A stronger front squat can support a heavier clean. A stronger deadlift can improve general pulling capacity. A stronger press can contribute to a more stable jerk or push press.

But strength must be converted. If athletic performance is the goal, include movements that demand speed: Olympic lift variations, loaded jumps, medicine ball throws, short sprints, or ballistic lower-body work. The right choice depends on skill level, equipment, sport demands, and injury history.

Which Is Better for Athletes?

Neither method wins automatically. The best option depends on the athlete, the sport, and the current limitation.

A field athlete who lacks general strength may benefit more from an organized squat, press, hinge, and pull program than from chasing a technically complex snatch. An experienced athlete with a solid strength base but limited explosiveness may benefit greatly from power cleans, clean pulls, push jerks, and jumps.

For collision athletes, powerlifting-style strength work can build the force needed to hold positions, tackle, block, and resist contact. For sprinters, jumpers, and athletes who need rapid extension through the hips, Olympic lift variations can be highly useful when coached well and placed intelligently in the training week.

You also need to respect the cost of training. Heavy deadlifts can create substantial fatigue. Full Olympic lifts require focus and technical freshness. Trying to max both styles every week is not a serious program. It is a fast way to accumulate fatigue, lose bar speed, and blur your priorities.

How to Combine Olympic Lifting and Powerlifting

For most performance-minded lifters, combining the two is more productive than picking a permanent side. Build strength with foundational barbell lifts, then use Olympic lift variations to express that strength with speed.

Start explosive work early in the session, when you are fresh. A few quality sets of hang power cleans or push jerks belong before heavy squats or deadlifts, not after your legs and grip are already exhausted. Keep reps low, usually one to three per set, so each rep is sharp.

Then train the strength pattern that supports the power movement. After power cleans, front squats and Romanian deadlifts make sense. After push jerks, pressing and upper-back work can reinforce the positions involved. The goal is not to pile on exercises. It is to make each lift earn its place.

A simple two-day approach might pair power cleans with front squats on one day and push presses with deadlifts on another. Add pulling, single-leg training, trunk work, and conditioning according to your needs. Progress the strength lifts steadily while keeping the explosive lifts technically clean and fast.

The Best Choice for Your Training Right Now

Choose powerlifting emphasis when you need a stronger foundation, clearer progression, and more total force. Choose Olympic lift emphasis when you already have workable strength and need to develop speed, coordination, and explosive barbell skill. Use a hybrid approach when your goal is broad physical capability rather than competition in either sport.

Beginners should not confuse complexity with effectiveness. Learn to squat, hinge, press, brace, and control a barbell first. Then introduce simple explosive movements under control. Intermediate lifters should not confuse strength plateaus with a need for random variety. Assess whether the limiting factor is force production, technique, recovery, or programming.

The most productive program is the one that makes you stronger where you are weak and faster where your sport or goals demand speed. Build the base, train the explosive expression, and let every hard set move you toward more usable power.

Deadlift Setup for Power That Builds Stronger Pulls

Learn the deadlift setup for power that builds stronger, faster pulls. Set your stance, brace hard, create tension, and drive force through the floor.

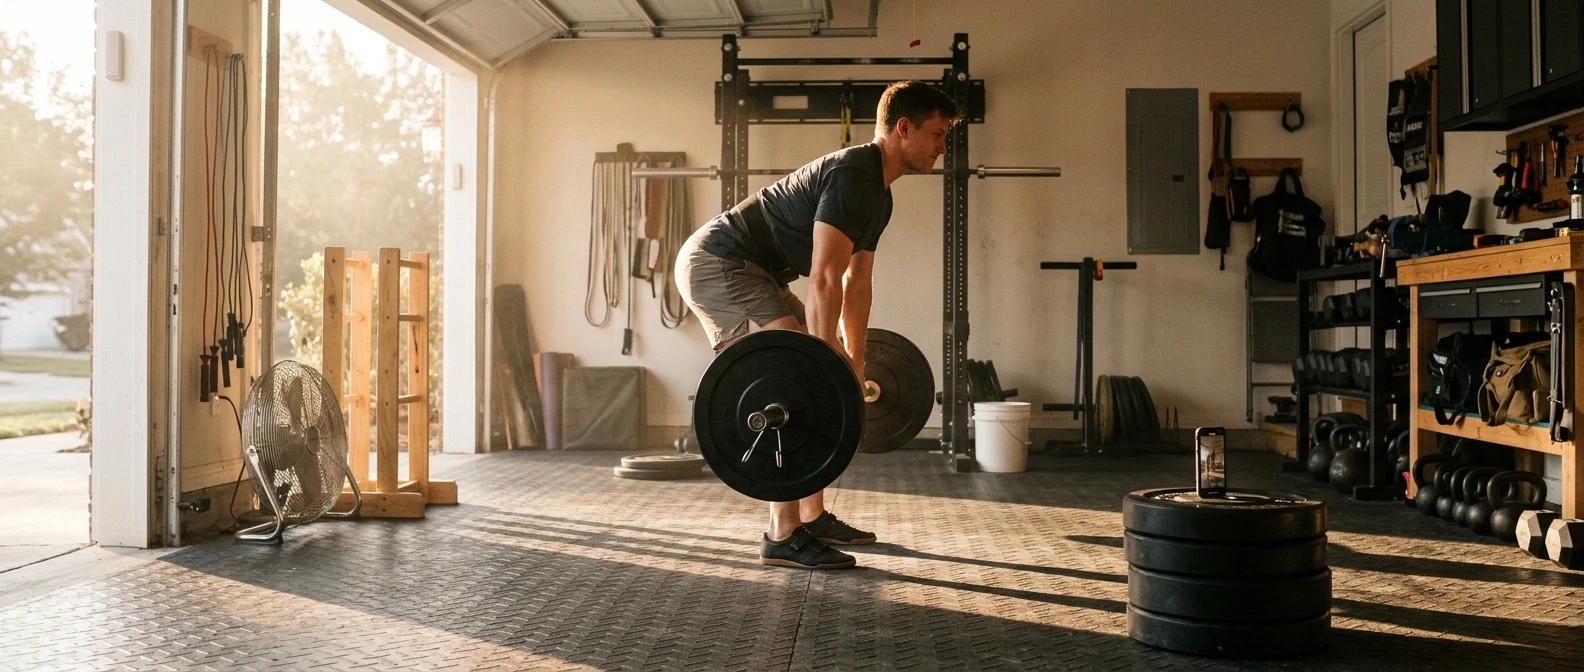
A deadlift can leave the floor slowly before it breaks at the knees, or it can move with intent from the first inch. The difference is often decided before the plates move. A proper deadlift setup for power puts your body in position to create force immediately instead of spending the first half of the rep finding balance, losing tension, or getting pulled out of position.

For a stronger pull that transfers to sprinting, jumping, contact, and total-body strength, treat setup as part of the lift. The bar does not need to move for the rep to begin. Your feet, grip, brace, and ability to pull tension into the bar determine whether you can express the strength you have built.

Deadlift Setup for Power Starts at the Floor

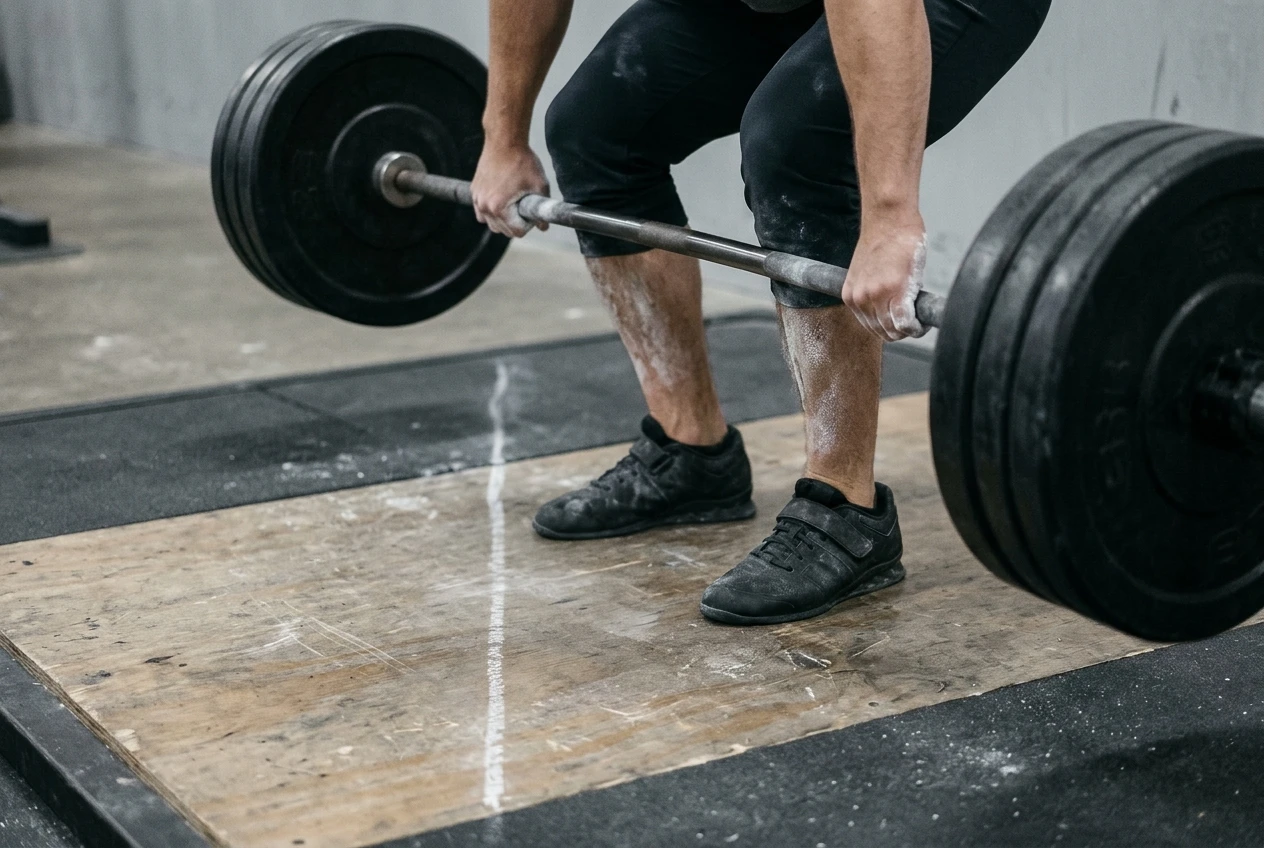
The bar should begin over the middle of your foot, not against your shins and not drifting toward your toes. For most lifters, this places the bar roughly an inch from the shin when standing tall. That position gives you the shortest practical bar path and lets the load stay over your base of support.

Your stance needs to be narrow enough to let your arms hang straight down, yet stable enough to drive hard through the floor. A conventional deadlift stance is usually around hip width, with toes pointed mostly forward or turned out slightly. Do not copy another lifter’s stance just because it looks powerful. Femur length, hip structure, mobility, and the style of deadlift all affect the position that lets you produce the most force.

Think about building pressure through three points on each foot: the heel, base of the big toe, and base of the little toe. You do not need to rock back onto your heels. You need a whole-foot connection to the floor. If pressure shifts to the toes as you pull, the bar will often drift forward and turn a strong leg drive into a fight for balance.

Build Your Position Around the Bar

After setting your feet, hinge down and take your grip without moving the bar. Your hands should hang vertically from the shoulders. In a conventional pull, they will usually sit just outside the legs. Grip width that is too wide increases range of motion and can make it harder to keep the lats engaged. Grip that is too narrow crowds the knees and limits a clean path upward.

From there, bring your shins to the bar by bending your knees. This is where many lifters make their first major error: they drop the hips too low in an attempt to squat the weight up. When the hips start too low, the knees push the bar forward, the shoulders drift behind the bar, and the hips shoot up before the plates leave the floor anyway.

Your hips do not need to be at a prescribed height. They need to be in the height that allows your shoulders to sit slightly in front of the bar, your arms to remain vertical, and your back to stay rigid while your feet can drive into the floor. For a conventional pull, that usually means the hips are above the knees and below the shoulders.

A useful check is to pause in your start position and ask: Can I feel the bar over midfoot? Are my shoulders just ahead of it? Can I push the floor away without the bar rolling? If the answer is no, adjust before you pull.

Set Your Back Without Overextending

A powerful setup requires a rigid torso, but rigid does not mean cranking your lower back into an exaggerated arch. Locking into excessive extension can make it harder to brace your abs and may pull your ribs out of position. Instead, set a neutral spine that feels stacked and strong.

Take a deep breath into your abdomen and sides, then brace as if you are preparing to absorb a hard hit. Your rib cage and pelvis should feel connected. This creates the trunk stiffness needed to transfer force from the legs and hips into the bar.

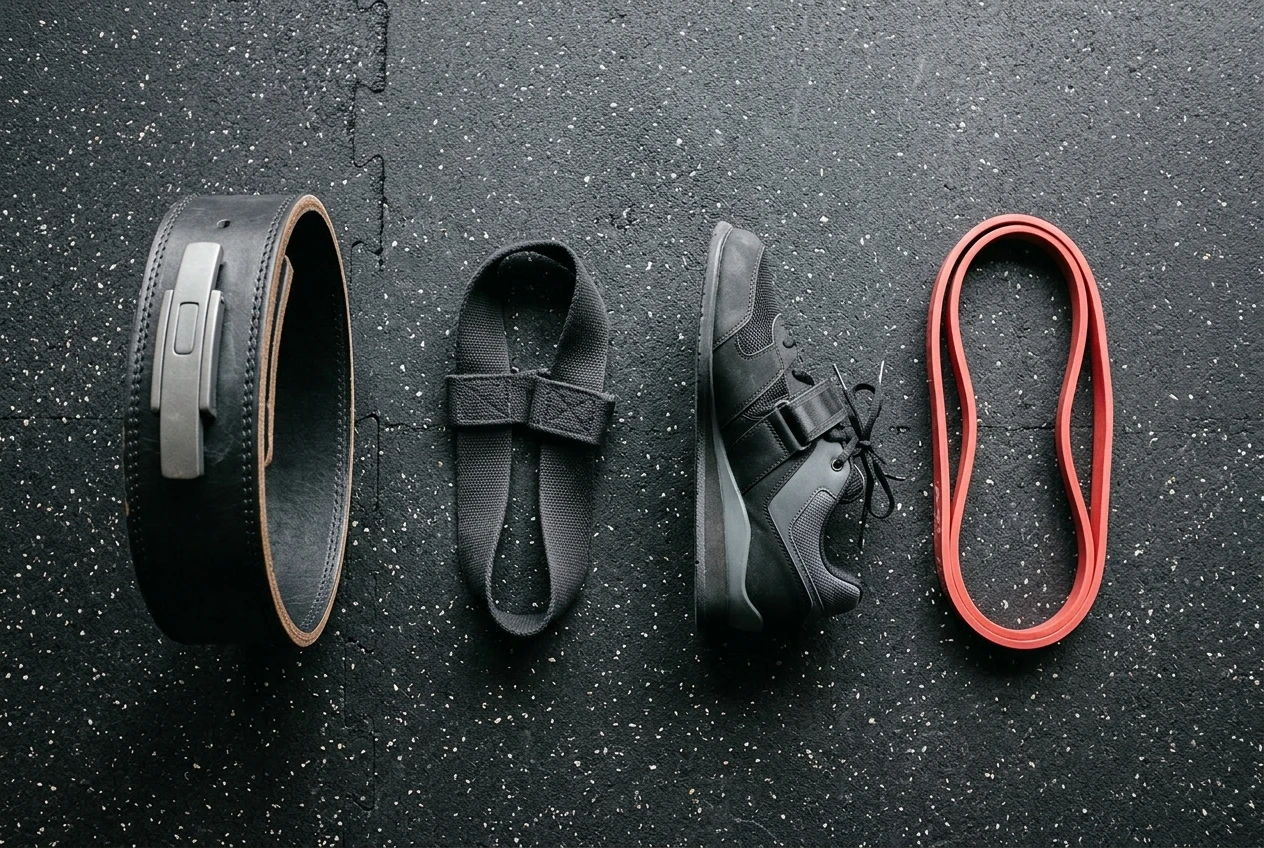
If you use a lifting belt, use it as a surface to brace against, not as a substitute for bracing. Expand into the belt in all directions. A belt can improve your ability to create pressure under heavy load, but it cannot fix a loose upper back, a bar that starts too far forward, or a poor hip position.

Create Tension Before You Pull

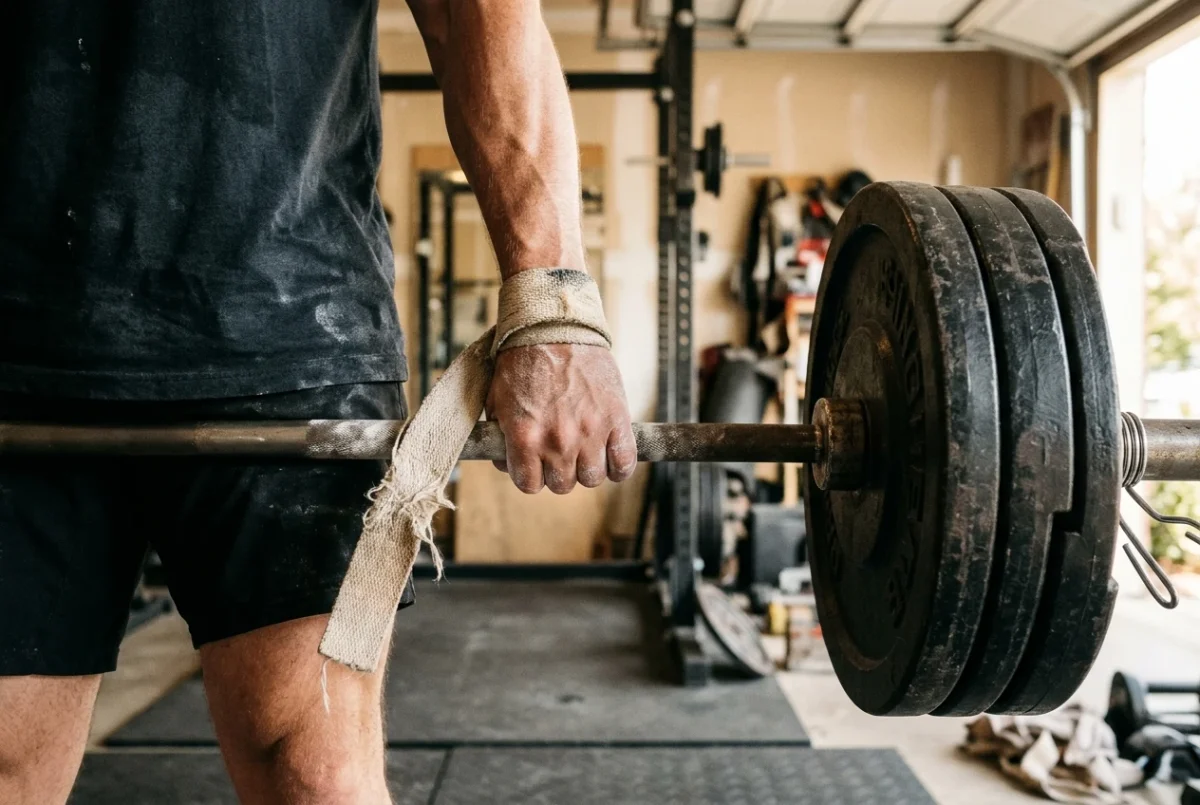
The strongest deadlifters do not yank a loose bar from the floor. They take the slack out first. That means pulling upward on the bar until you feel the system tighten – your arms straighten fully, your lats engage, and the plates settle against the sleeves before the bar breaks the floor.

At the same time, engage your lats by thinking about squeezing your armpits shut or pulling the bar toward your body. The goal is not to row the weight. The goal is to keep the bar close enough that it travels vertically instead of swinging forward. A bar that drifts even slightly forward creates a much longer lever arm against your back.

Your arms are straps. Keep them long and straight. Trying to bend the elbows during a deadlift does not add power. It increases the chance of biceps irritation or injury, especially with a mixed grip.

Before each working rep, build the same sequence: establish foot pressure, grip the bar, bring the shins in, brace, pull slack out, and drive. A repeatable setup gives you repeatable force production. That matters more as the load gets heavier or the speed demand increases.

Drive the Floor Away, Then Finish With the Hips

Once tension is set, initiate the pull by driving your feet through the floor. Think leg press, not jerking the bar upward. Your knees and hips should extend together during the first part of the pull, while your torso angle stays relatively stable.

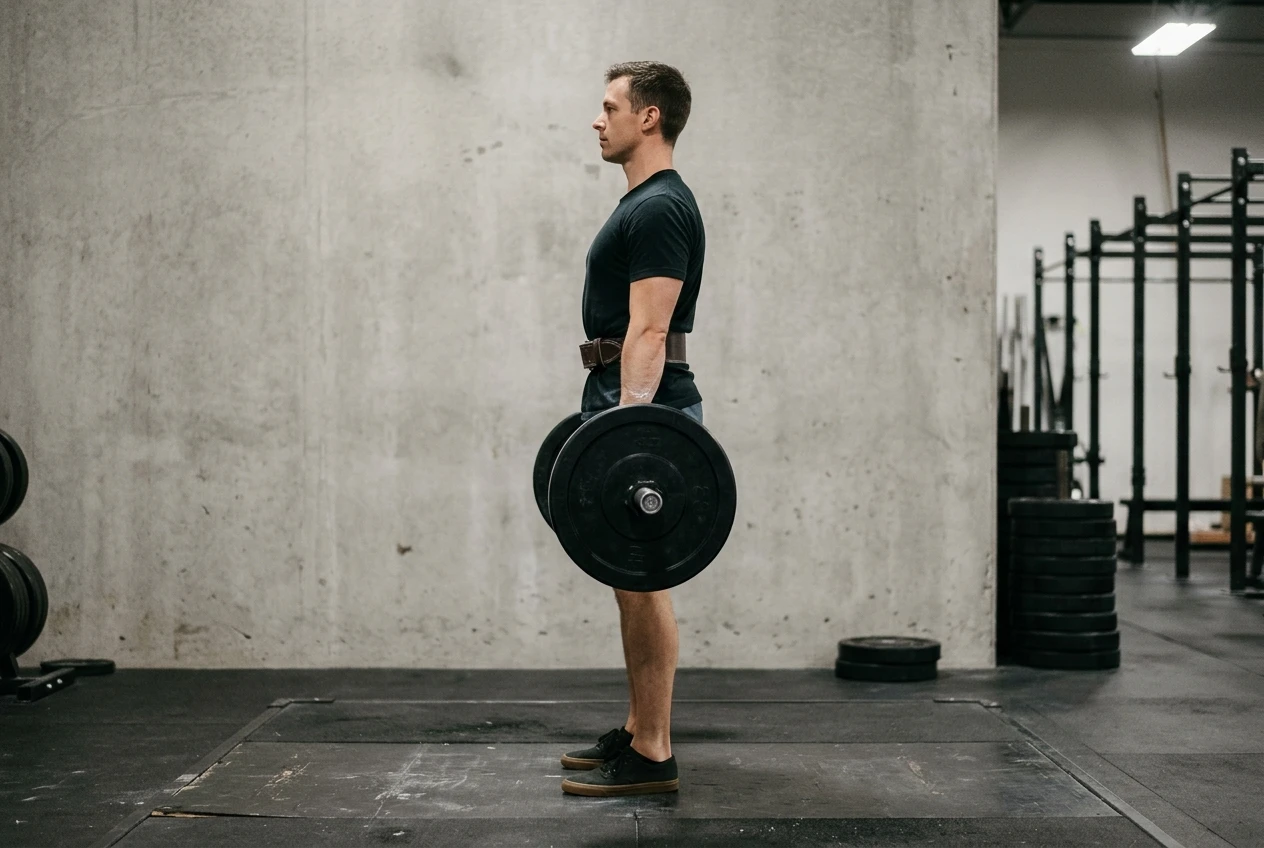
The bar should rise close to your legs. It does not have to scrape your shins, but it should not float out in front of you. As the bar reaches knee level, continue pushing the floor away and bring the hips through. Finish tall with your glutes tight and ribs stacked over the pelvis.

Do not lean back at lockout. Excessive backward lean adds little to the lift and can turn a solid finish into unnecessary stress on the lower back. Lockout is complete when your knees and hips are extended and you are standing tall under the bar.

For power-focused training, intent matters. A heavy deadlift may move slowly, but your effort should still be aggressive. Try to move the bar with speed while preserving position. If a load forces you to lose your brace, hitch the bar, or grind through a distorted start, it is no longer productive power work.

Conventional and Sumo Require Different Answers

The setup principles remain the same across styles: bar over midfoot, full-foot pressure, a hard brace, lats engaged, and slack removed. The exact shape changes.

Conventional deadlifting generally demands more forward torso angle and more posterior-chain contribution from the hamstrings and spinal erectors. It often suits lifters who are comfortable hinging hard and can maintain a strong back position from the floor. Sumo uses a wider stance, toes turned out more, and hands inside the knees. It usually allows a more upright torso and can place greater emphasis on the quads and hips.

Neither is automatically the more athletic or powerful option. The better choice is the one that lets you maintain forceful positions, progress consistently, and recover well enough to train other athletic qualities. If you compete in a sport rather than powerlifting, choose the variation that supports your training plan instead of letting one lift dominate it.

Fix the Setup Errors That Drain Force

When the bar is slow off the floor, do not assume the answer is more deadlift volume. First look at how you start. Most setup breakdowns show up in a few predictable forms:

  • The bar starts too far forward. Move it back over midfoot before bending down. If it rolls forward as you set up, reset.
  • The hips shoot up. Your start position is likely too low, your lats are loose, or you are not pulling slack from the bar.
  • The lower back rounds immediately. Improve your brace, reduce the load, and build strength with paused deadlifts or controlled pulls from the floor.
  • The bar drifts away from the legs. Tighten the lats and keep pressure through the whole foot rather than falling toward the toes.
  • You lose position between reps. Treat every rep as a single. Reset your brace and tension instead of bouncing into another pull.

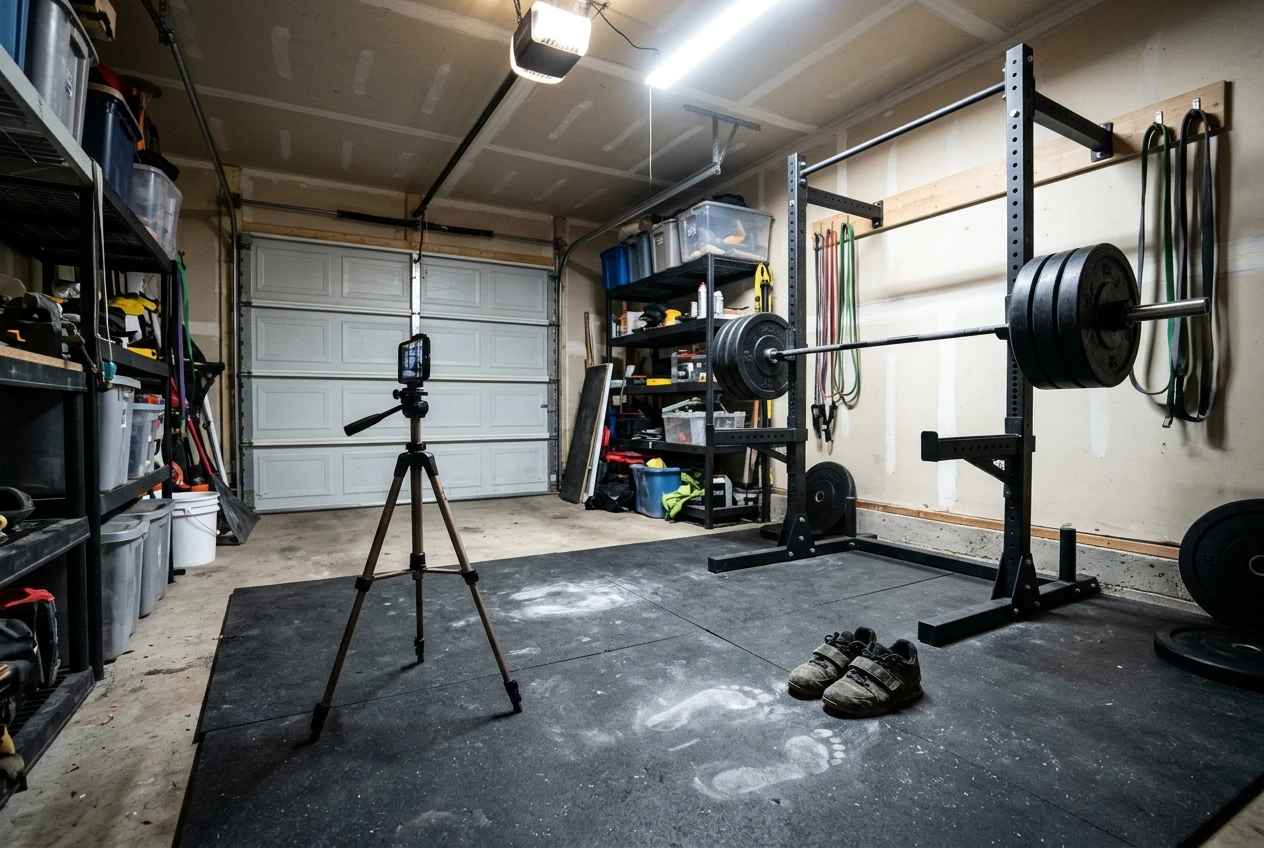
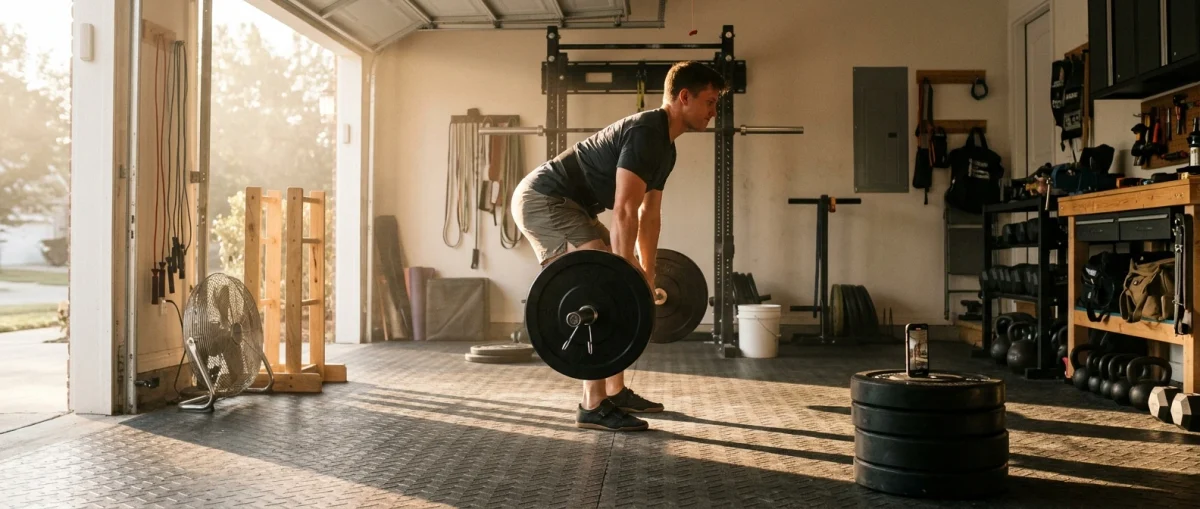
Video from the side is one of the most useful tools for identifying these problems. Watch the relationship between the bar and midfoot, then watch whether your hips and shoulders rise together as the bar leaves the floor. One clear technical issue is more valuable than ten vague cues.

Train the Setup Until It Holds Under Load

Technique should not exist only during warm-up sets. Use your lighter sets to rehearse the exact setup you need for your heavy work. Pause deadlifts one inch off the floor are particularly effective because they expose whether you can keep the bar close and maintain a hard brace during the most demanding part of the pull.

Tempo deadlifts can help lifters who rush into position, while dead-stop repetitions reinforce the discipline of rebuilding tension every time. For athletes training power, moderate-load deadlifts performed with clean, aggressive intent can complement heavier strength work. The right loading depends on your experience, recovery, sport demands, and where the deadlift sits in your weekly program.

The goal is not a setup that looks identical to someone else’s. The goal is a position you can own: balanced over the bar, braced hard, connected to the floor, and ready to apply force without hesitation. Build that position rep after rep, and the bar will start moving like it has a reason to leave the floor.

How to Improve Squat Technique for More Power

Learn how to improve squat technique with bracing, bar control, depth, and smart loading to build stronger, safer, more powerful legs under the bar today.

A squat that folds forward, shifts into one hip, or loses tension out of the bottom is not just an ugly rep. It leaks force. If you want to know how to improve squat technique, start by treating every rep as a chance to produce and transfer force efficiently, not simply as a way to make the set count.

A strong squat gives athletes and lifters more than bigger numbers. It builds leg strength, trunk stiffness, positional control, and the ability to drive against the ground with intent. But those returns depend on repeatable mechanics. You do not need a picture-perfect squat that matches someone else’s proportions. You need a stable, powerful pattern that fits your body and holds up as the bar gets heavy.

Build Your Squat From the Ground Up

Your feet establish the base for everything above them. Start with a stance around shoulder width, then adjust based on what lets you reach depth while keeping your feet planted and your torso controlled. Some lifters will squat best slightly narrower. Others need a wider setup because of hip structure, femur length, mobility, or their preferred bar position.

Turn your toes out enough that your knees can travel in the same direction as your feet. For many lifters, that means roughly 15 to 30 degrees, but there is no prize for using a specific angle. The useful test is simple: can your knees track cleanly over your toes without your arches collapsing or your hips shifting?

Create pressure through three points of each foot: the heel, the base of the big toe, and the base of the little toe. This is often called the tripod foot. It does not mean your weight must stay perfectly centered at every instant. Your pressure will move slightly as you descend and stand. It means the entire foot remains actively connected to the floor.

When the bar feels heavy, do not let your feet become passive. Grip the floor, keep the arches supported, and think about spreading the floor apart with your feet. That cue can help create hip stability without forcing your knees excessively outward.

Set the Bar and Upper Back With Purpose

The bar position changes the squat, but neither high-bar nor low-bar squatting is automatically superior. A high-bar squat generally allows a more upright torso and places greater demand on knee extension. A low-bar squat positions the bar lower on the rear delts, often allowing more forward torso lean and greater hip involvement. Both can build serious strength and power when loaded and performed well.

Whichever position you use, pull the bar into a stable shelf. Squeeze your upper back, bring your shoulder blades into a firm position, and keep your hands as close as your shoulder mobility permits without pain. Your hands do not need to carry the bar, but they should help lock your upper body around it.

Before you unrack, stand tall with the bar balanced over the middle of your foot. Take only the steps needed to clear the rack and establish your stance. A long, loose walkout wastes energy and makes it harder to start each working set in the same position.

Brace Before You Descend

A squat is not powered by the legs alone. Your trunk has to transmit leg drive into the bar without losing position. That is why bracing is one of the fastest ways to improve squat technique.

Take a deep breath into your abdomen and lower rib cage before each rep. Then tighten your midsection as if preparing to absorb a hard body shot. The goal is 360-degree pressure: your abdomen, sides, and lower back all resist movement. Do not simply suck your stomach in or lift your chest until your ribs flare.

Hold that brace through the descent and the hardest part of the ascent. For most moderate and heavy reps, breathe again only after you have returned to a secure standing position. On longer sets, reset at the top between reps rather than trying to rush through weak breaths.

A belt can make a good brace stronger, but it cannot create one from nothing. Use it as something to press into around your entire trunk. If your position falls apart without a belt, include beltless work at manageable loads while you improve your breathing and trunk control.

Descend Under Control, Not Hesitation

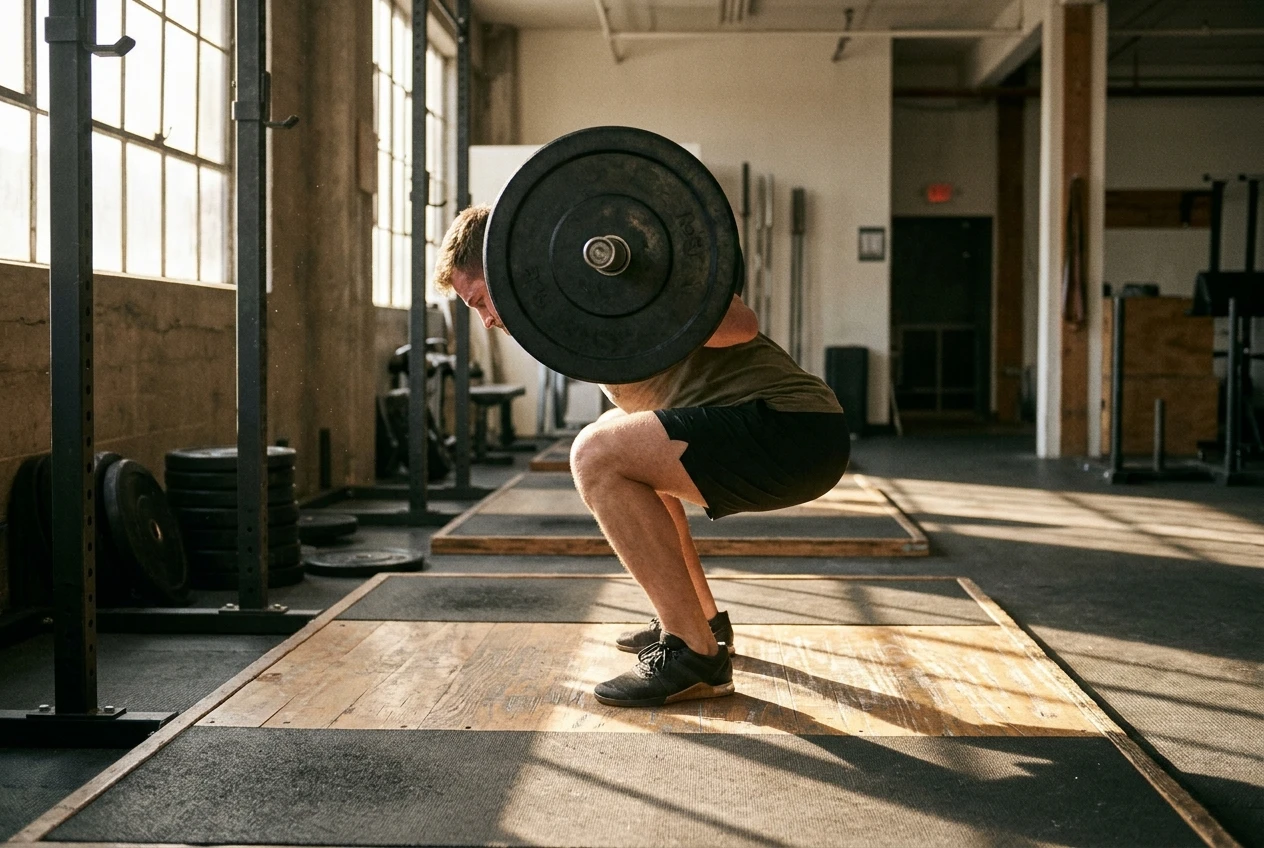
Start the squat by allowing your hips and knees to bend together. The exact balance will vary. Long-femured lifters and low-bar squatters often need more hip break and torso lean. High-bar squatters and lifters with good ankle mobility may allow the knees to travel farther forward.

The common rule is not “knees never past toes.” Knees can and often should travel forward in a squat. The real concern is whether you can maintain balance, foot pressure, and control. The bar should remain stacked over the middle of your foot. If it moves too far forward, you may pitch onto your toes. If it moves too far back, you may lose your balance or cut depth.

Descend with control, but do not turn the lowering phase into a slow-motion test of endurance. A deliberate, confident descent lets you preserve tension and use the stretch reflex at the bottom. If you crash into the bottom and lose your brace, slow down. If you are overly cautious and feel disconnected, descend with more intent while maintaining position.

Find Depth You Can Own

For most strength athletes, a productive standard is reaching at least parallel, meaning the crease of the hip is level with or below the top of the knee. Deeper squats can be useful if you can maintain pelvic control, foot pressure, and a stable spine. The right depth is the deepest position you can consistently control under the load and for the goal of your training.

Do not chase depth by forcing your lower back into a pronounced tuck at the bottom. A small change in pelvic position can occur in deep squats, especially for lifters with certain structures. A major loss of lumbar control, however, is a sign to adjust. Try a slightly wider stance, more toe turnout, reduced load, improved ankle range of motion, or a depth that you can own before progressing lower.

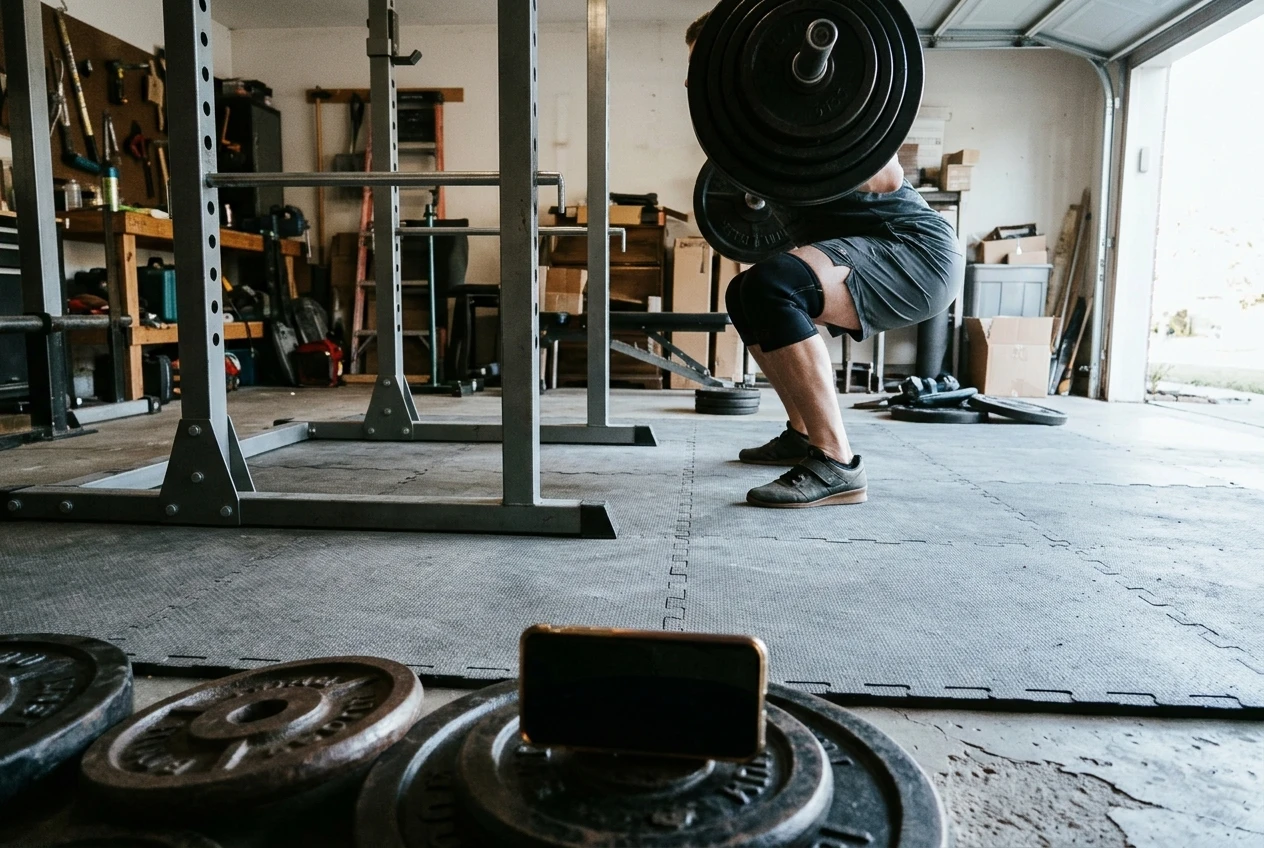
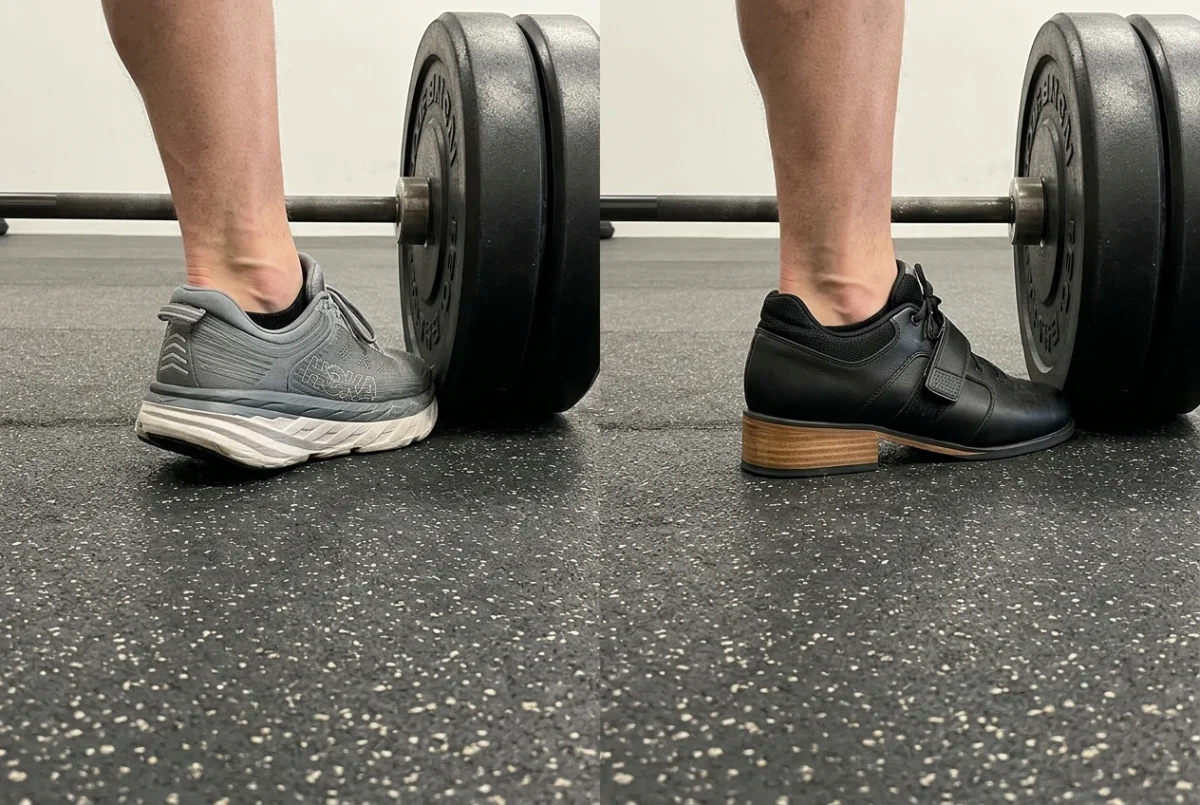
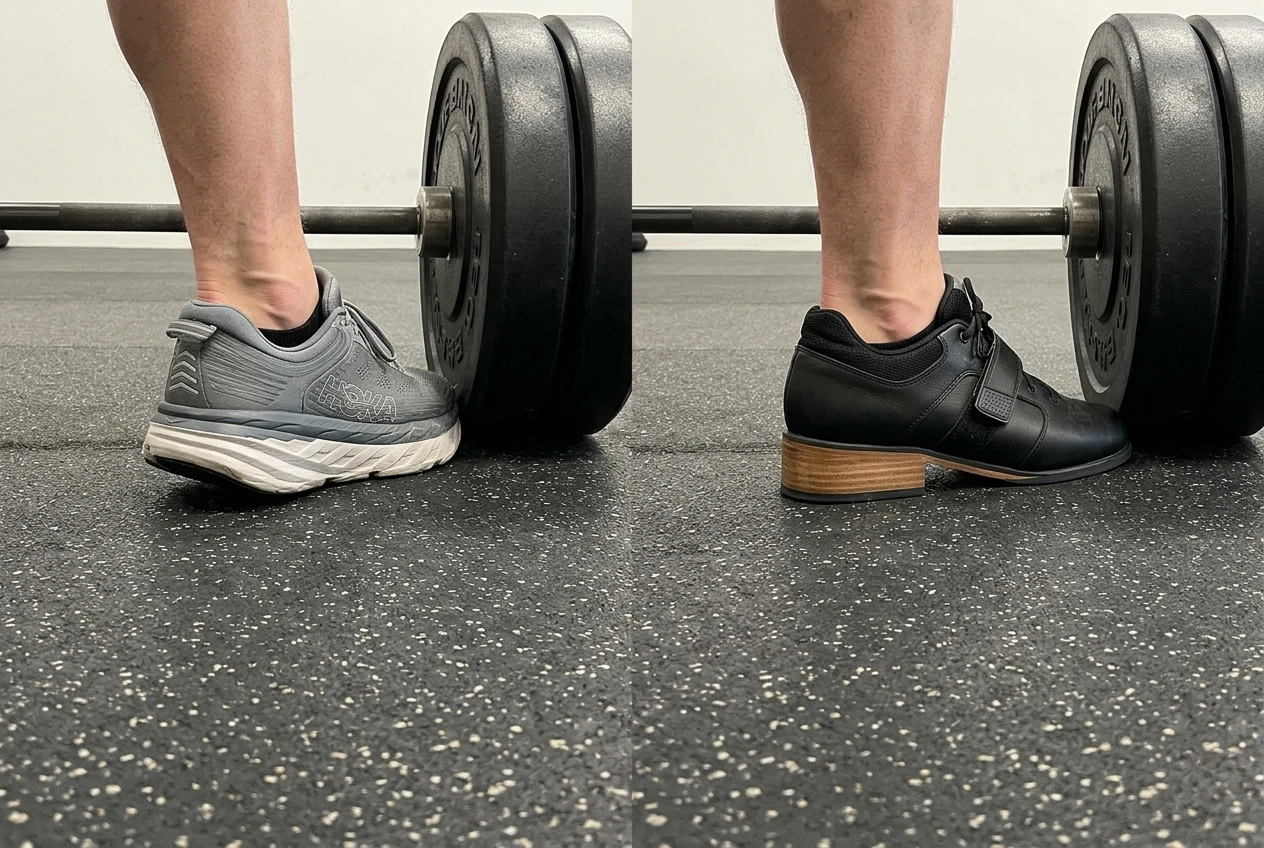
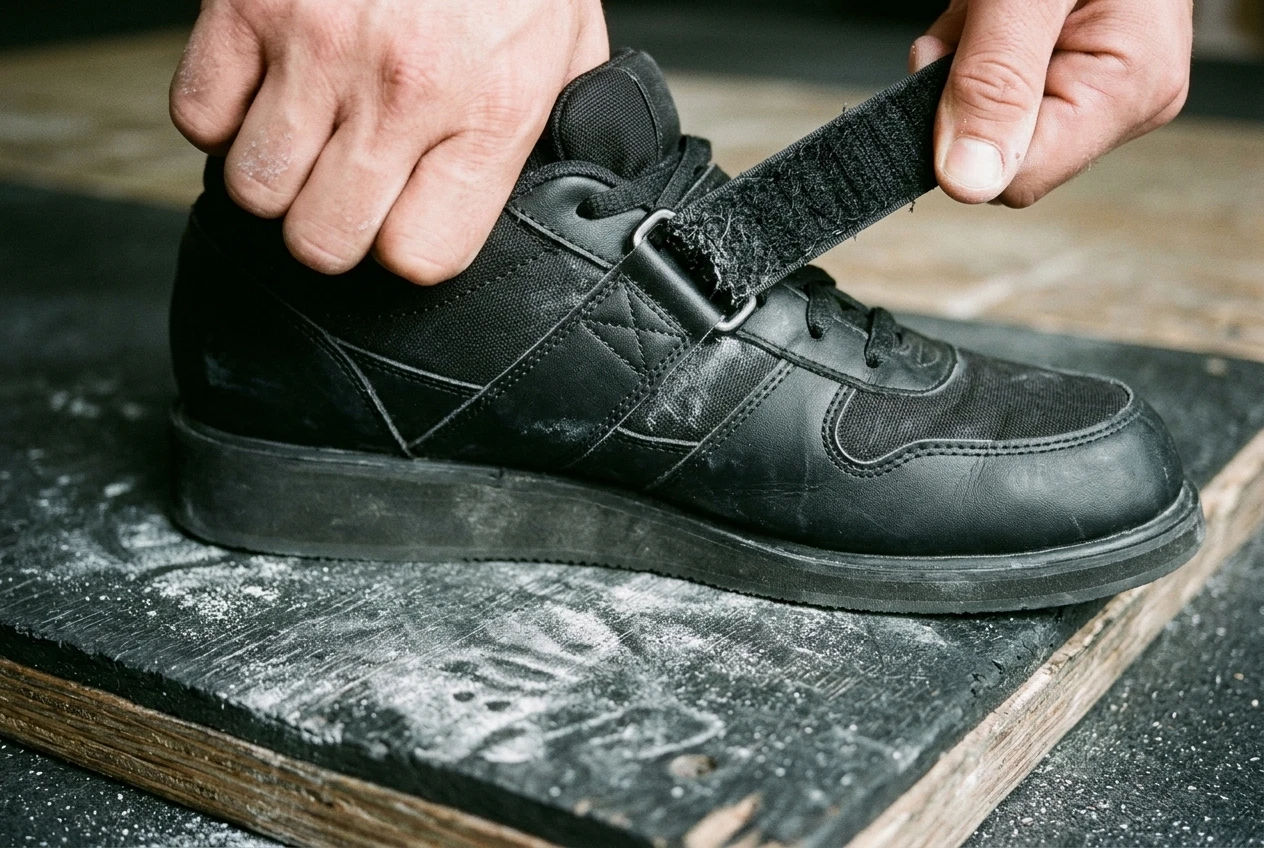
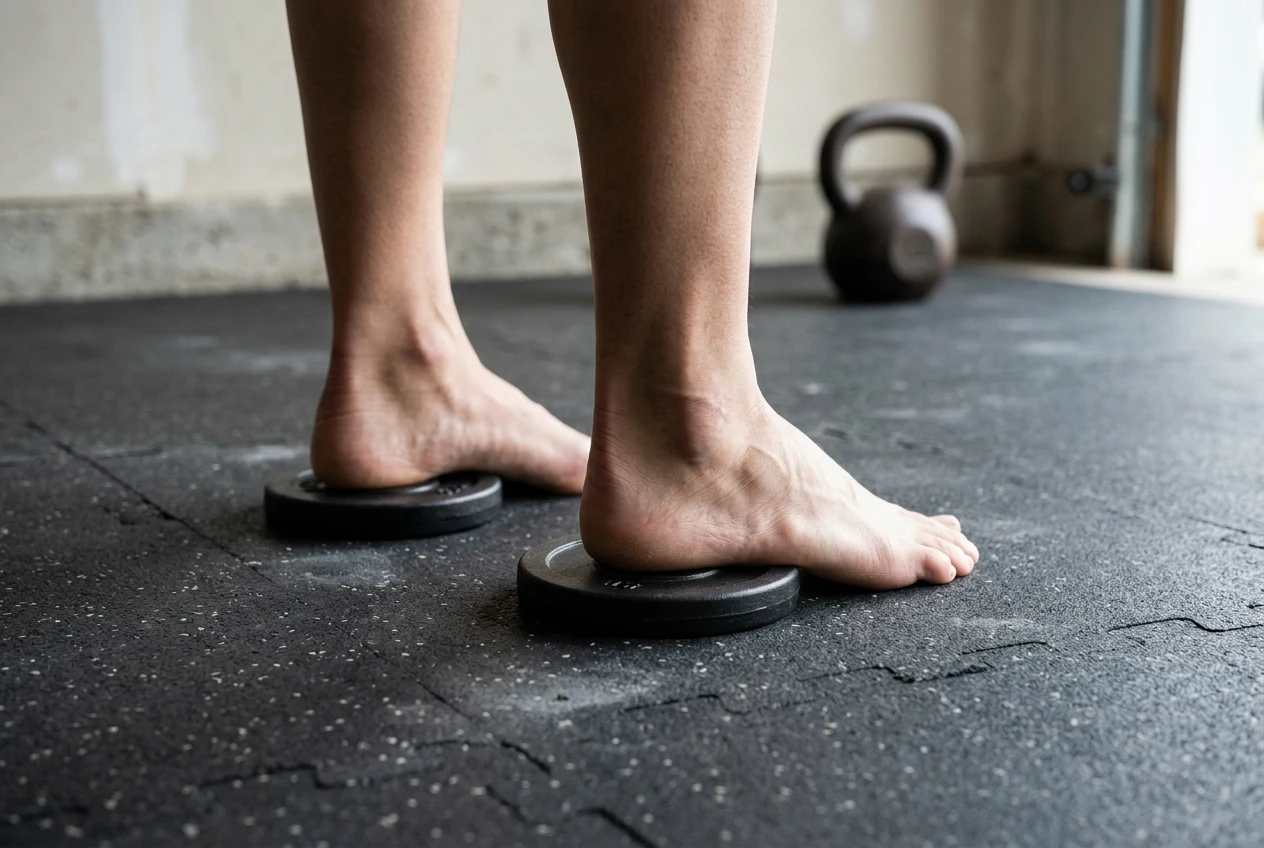
If ankle mobility limits your depth, weightlifting shoes or a small heel elevation can be practical tools. They allow more knee travel and a more upright torso for many lifters. They are not mandatory, and they do not replace mobility or control, but they can make a well-suited squat pattern easier to repeat.

Drive Out of the Bottom With One Position

The ascent begins before you ever reverse direction. Stay tight at the bottom, keep the bar over midfoot, and drive your whole foot through the floor. Think “stand up with the bar” rather than shooting your hips straight back.

Hip shoot is one of the most common power leaks. Your hips rise first, your chest drops, and the squat turns into a difficult good morning. This usually happens because the load is too heavy for your current position, the upper back loses tension, the quads are underdeveloped, or you are rushing the reversal.

Use the cue “chest and hips rise together,” but apply it intelligently. Your torso angle will change somewhat based on bar position and body proportions. You are not trying to stay perfectly vertical. You are trying to avoid a sudden collapse that shifts the bar forward and forces your back to finish a rep your legs should have driven.

At the top, finish with your knees and hips extended, then reset your breath and brace. Do not relax under the bar until the rack has taken the weight.

Use the Right Drills to Fix the Right Problem

Technique improves fastest when you identify the actual breakdown instead of adding random mobility work. Record sets from the side and from a rear three-quarter angle. Use loads that are challenging enough to reveal your habits but light enough that you can correct them.

For a forward collapse, pause squats and tempo squats teach you to keep the upper back and brace engaged. For unstable feet or knees that cave in with no control, lighter goblet squats, split squats, and deliberate warm-up sets can rebuild your base. For hip shoot, front squats and high-bar paused squats often build the quad and upright-position strength that is missing.

If depth is inconsistent, use a box only as a repeatable depth target, not as a seat. Lightly touch it while staying braced, then stand. For lifters who lose tension in the hole, a one- to two-second pause slightly above their failure position can build confidence and force production where the lift usually breaks down.

Let Load Earn Its Place

No cue survives a weight that you cannot control. If your technique changes dramatically from 225 to 275 pounds, 275 is not yet productive training weight for that rep scheme. Reduce the load, accumulate clean repetitions, and build back with small jumps.

A useful approach is to keep your main squat work in a range where bar speed and position remain consistent, then use variations to strengthen weak positions. Heavy work has a place, especially when you are preparing to test or compete. But hard, technically sound volume is what gives you more chances to improve the pattern.

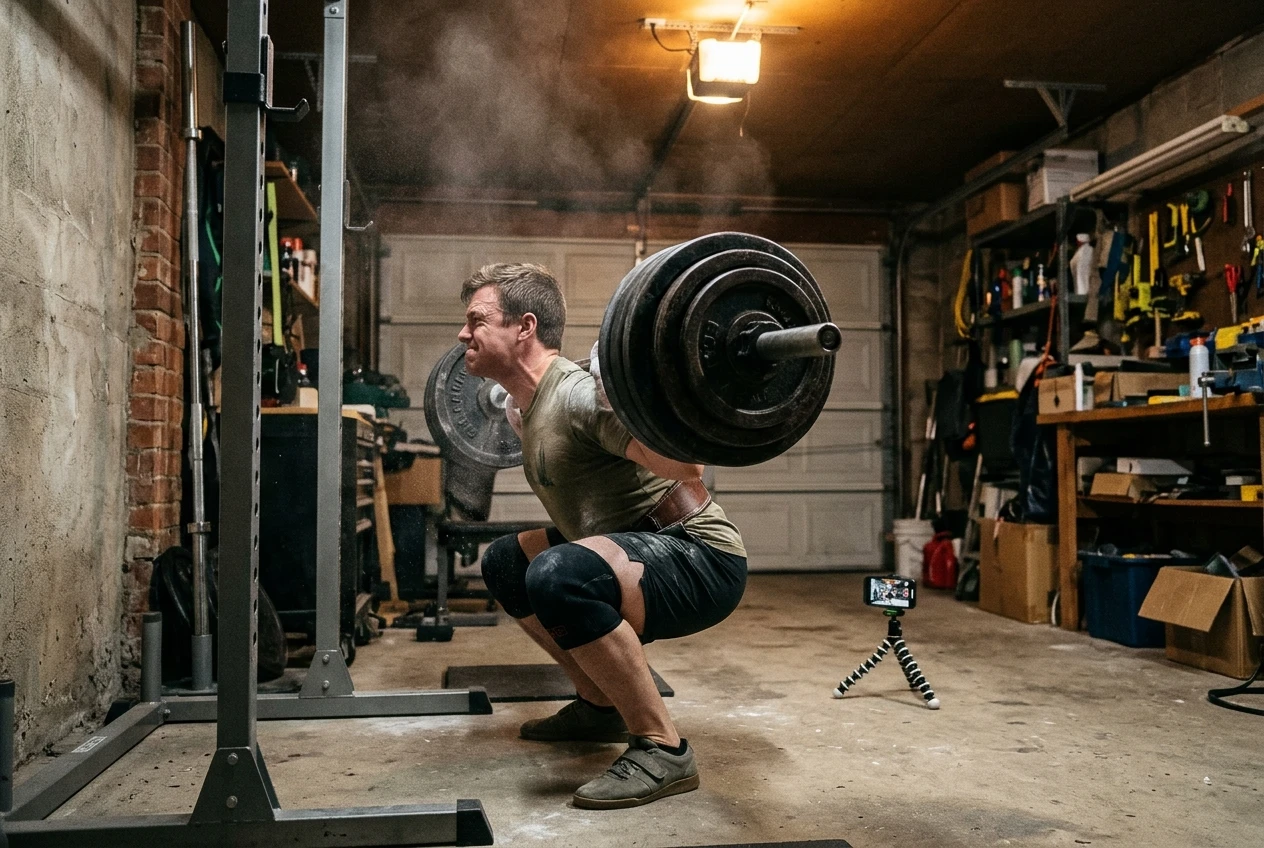
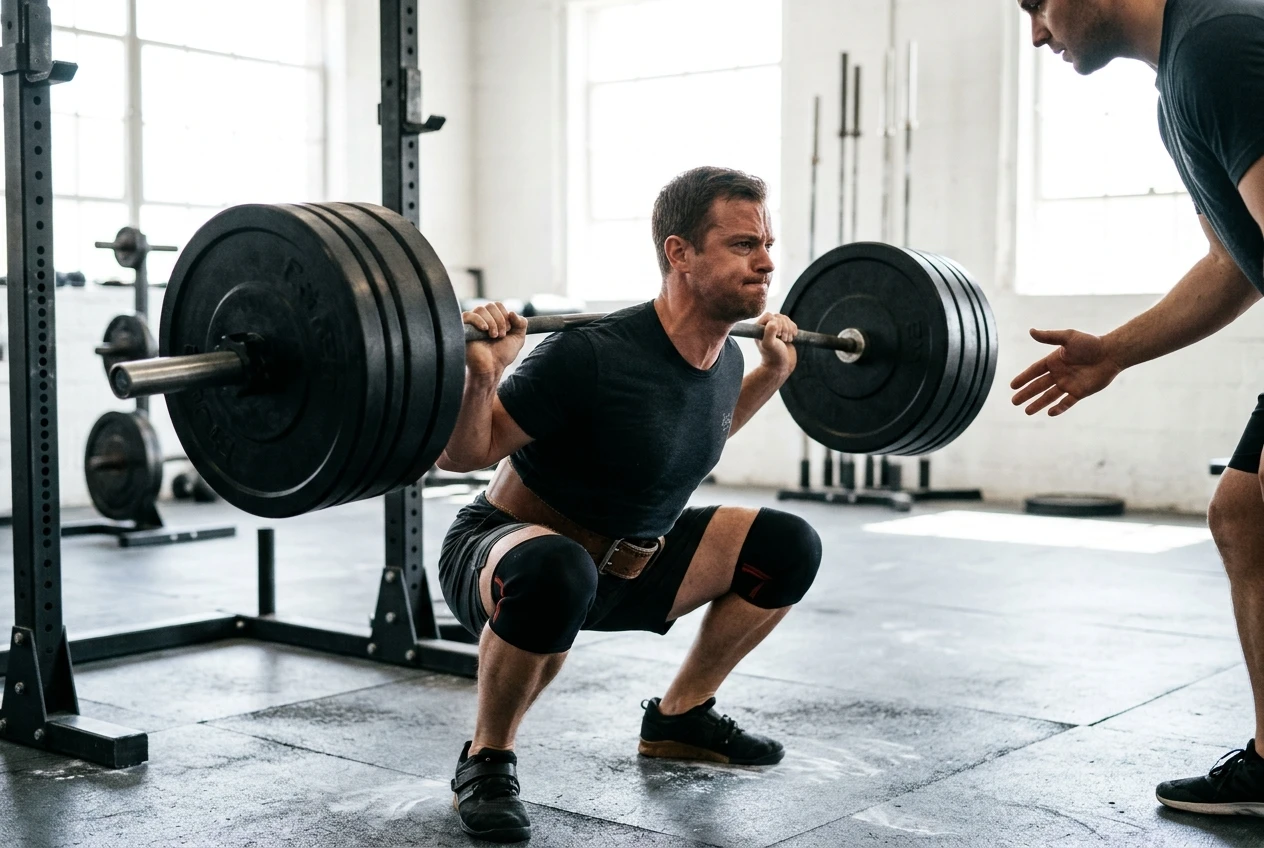
Do not change your stance, bar position, shoes, breathing method, and program all in the same week. Make one meaningful adjustment, train it long enough to assess it, and let the evidence guide the next decision. Strong squatting is built through disciplined repetition: own the position, drive hard, and make every pound on the bar earn your respect.

Barbell Workout for Beginners That Builds Strength

Start a barbell workout for beginners with a clear plan for technique, strength, and power. Learn the lifts, loading, and progression that build results.

A barbell does not need to be complicated to be effective. A productive barbell workout for beginners starts with a small number of movements, repeatable technique, and enough loading to force adaptation without turning every session into a test. Your first goal is not to chase a personal record. It is to earn the positions and movement control that let you build strength for years.

For athletes and performance-minded lifters, the barbell is more than a way to add muscle or burn calories. It teaches you to produce force through the floor, brace under load, and coordinate your whole body. Those qualities carry over to sprinting, jumping, contact sports, physical work, and stronger training across the board.

What a Beginner Barbell Plan Should Do

A beginner program should make you better at the foundational patterns: squat, hinge, press, pull, and carry or brace. You do not need a long exercise menu to make that happen. In fact, changing movements every workout makes it harder to learn what strong technique feels like and harder to see whether you are progressing.

The trade-off is that basic training can feel less entertaining than a random circuit. That is fine. Productive lifting is not built around novelty. It is built around accumulating quality reps, recovering from them, and gradually handling more weight with the same standard of execution.

Train three nonconsecutive days per week, such as Monday, Wednesday, and Friday. That schedule gives beginners enough practice to improve quickly while leaving room for recovery. If you play a demanding sport or have a physically intense job, two sessions may be the better starting point. The right amount of training is the amount you can repeat with quality.

The Barbell Workout for Beginners

Use the following full-body workout for your first six to eight weeks. Begin each session with five to 10 minutes of general movement, then perform a few lighter ramp-up sets before your work sets. A ramp-up set is practice, not fatigue: add weight in small jumps while keeping reps low.

Day A: Squat, Press, Pull

Start with the back squat for three sets of five reps. Use a stance that lets you keep your full foot on the floor and your knees tracking in line with your toes. Take a full breath before each rep, brace your trunk as if preparing for contact, descend under control, and drive the floor away as you stand.

Follow with the standing overhead press for three sets of five. Squeeze your glutes, keep your ribs from flaring, and press the bar in a close path. At the top, your arms should finish beside your ears, not forward of your body.

Finish with a barbell row for three sets of eight. Hinge into a stable torso position, lock in your back angle, and pull the bar toward your lower ribs. Do not turn the row into a standing heave. If your torso rises every rep, the load is too heavy for the purpose of the exercise.

Day B: Hinge, Bench, Single-Leg Work

Begin with the conventional deadlift for two sets of five. Set the bar over the middle of your foot, bring your shins close, grip the bar, then pull your chest up until your back is tight. Push the floor away and keep the bar close to your legs throughout the lift. A deadlift should look deliberate from the first inch off the floor, not like a bar being yanked upward.

Next, perform the barbell bench press for three sets of five. Set your upper back firmly on the bench, keep your feet planted, and lower the bar under control to a consistent touch point on the lower chest. Press up and slightly back toward the rack. A moderate arch is normal when it helps you stay stable, but the lift should come from a tight body position, not exaggerated movement.

Then complete either barbell reverse lunges or split squats for two sets of six reps per leg. Single-leg training exposes side-to-side differences and develops the leg strength needed to transfer force through one foot at a time. Use a lighter load than your ego wants. Balance and position matter more than loading here.

Alternate Day A and Day B across the week. Your first week may look like A, B, A; the next becomes B, A, B. This setup gives you frequent exposure to the main lifts without burying a new lifter in excessive volume.

Choose Starting Weights With Discipline

Your starting weight should allow every prescribed rep to look nearly identical. For most beginners, that means ending a set with two to four good reps still available. You should feel that you worked, but you should not be grinding, twisting, holding your breath for too long, or losing your positions.

The empty 45-pound bar is a legitimate starting point for many lifts. For the overhead press, a fixed lighter bar or dumbbells may be necessary until you can control the standard bar. There is no performance value in forcing a load that prevents sound mechanics.

Use these standards to decide whether a weight is appropriate:

  • You can maintain your brace and bar path through every rep.
  • You can control the lowering phase rather than dropping into position.
  • Your range of motion remains consistent from set one to the final set.
  • You could complete another clean rep if required, even though you stop at the planned number.

If one of those standards breaks down, hold the weight steady next session or reduce it slightly. Technical consistency is the first form of progression.

How to Progress Without Rushing

When all work sets are completed with clean form, add weight at the next session. Add 5 pounds to the squat and deadlift at first, and 2.5 to 5 pounds to the bench press, overhead press, and row. Smaller jumps are often necessary for upper-body lifts because those muscle groups have less absolute strength to gain from week to week.

This is called linear progression: make a small improvement, recover, then repeat. It works well for beginners because your technique, coordination, and strength are all improving at once. But it only works while the jumps remain manageable. Adding weight just because it is written on paper, despite ugly reps, teaches poor movement and creates avoidable stalls.

When you miss the same weight for two sessions, reduce that lift by roughly 10 percent and build back up. That is not failure. It is a controlled reset that gives your body time to consolidate better technique under loads you can own.

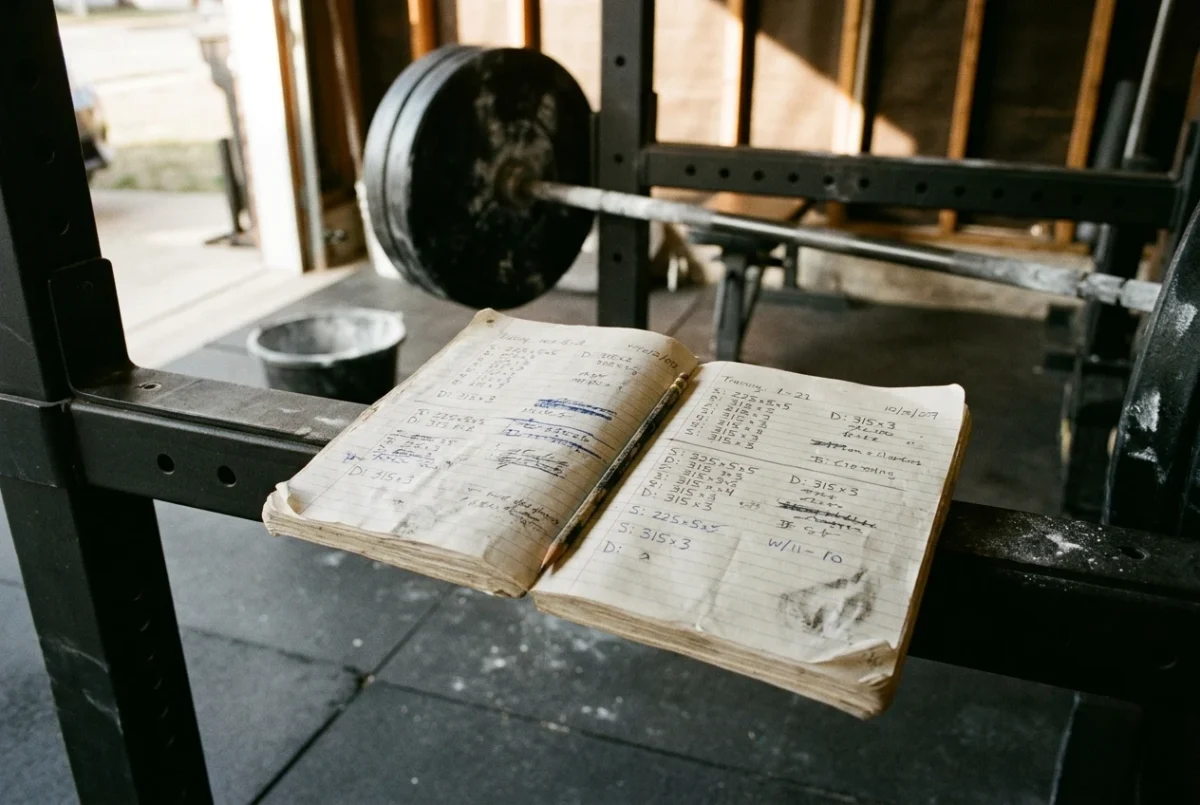
Keep a training log. Record the weight, reps, and one brief note about the set quality, such as “squat depth consistent” or “press lost brace on final rep.” A log turns training from a vague feeling into measurable work. It also reveals whether a rough session was a real problem or simply one difficult day.

Build Power After You Build Positions

Beginners often confuse power training with moving light weights as fast as possible. Speed matters, but meaningful power depends on your ability to get into strong positions and apply force without leaking it through poor bracing or unstable joints.

For your first several weeks, stand up aggressively from squats, press with intent, and deadlift with controlled force. The bar may not move fast yet, and that is expected. Intent to move explosively helps develop the habit of forceful execution while the moderate loads and simple lifts teach you how to stay connected to the bar.

Once your squat, hinge, and pressing mechanics are dependable, add low-volume explosive work before your main lift one or two days per week. Three sets of three vertical jumps or broad jumps work well if you can land quietly and consistently. Keep the reps crisp and stop before fatigue turns jumps into conditioning. Olympic lift variations can be valuable later, but they are not required for a beginner to develop power.

Recovery Is Part of the Program

Strength is built after the set is over. Aim for consistent sleep, eat enough protein and total food to support training, and leave at least one day between barbell sessions. If soreness is severe enough to change your movement, you did more than you could currently recover from. Reduce volume before assuming you need more motivation.

Do not add extra heavy sets because a workout felt easy. A session that leaves you capable of training well again is often exactly right. The barbell rewards patience: show up, make the next clean increase, and let disciplined work turn into measurable power.

Strength Training for Speed That Transfers

Build faster acceleration and top-end speed through strength training for speed that develops force, power, and resilient sprint mechanics for athletes.

Speed is not just a gift of quick feet. Every hard acceleration begins with force pushed into the ground, and the athlete who can produce more useful force in less time has an advantage. Strength training for speed builds that capacity when it is programmed to support sprint mechanics, explosive intent, and recovery instead of simply adding fatigue.

For athletes and lifters, the goal is not to turn the weight room into a second sport practice. It is to build a stronger engine. The right barbell work raises the ceiling for force production, while power work teaches the body to apply that strength fast enough to matter on the field, track, court, or platform.

Why Strength Makes You Faster

Sprinting requires an athlete to apply high levels of force during extremely short ground-contact times. At acceleration speeds, there is more time to push, which makes raw lower-body strength especially valuable. As speed rises, the available time shrinks, so rate of force development, stiffness, coordination, and elastic qualities become increasingly important.

This is why a bigger squat alone does not guarantee a faster 40-yard dash. Strength is a foundation, not the finished product. A stronger athlete has more force available, but that force must be directed through sound positions and expressed with speed.

A useful way to think about the relationship is simple: maximum strength raises potential, explosive training improves access to that potential, and sprinting teaches the athlete to use it in the movement that counts. Remove any one of those pieces and progress can stall.

Strength Training for Speed Starts With the Right Lifts

The best exercises are not necessarily the ones that create the most soreness. They are the movements that build force in positions relevant to running while allowing consistent progressive overload.

Squats Build Force for Acceleration

Back squats, front squats, safety-bar squats, and trap-bar deadlifts can all serve a speed program. The choice depends on the athlete’s structure, skill, equipment, injury history, and sport demands. There is no prize for forcing one variation when another allows better positions and harder productive training.

Squatting strength is particularly useful for early acceleration, where the body leans forward and the athlete must project themselves down the field. Train through a controlled range of motion, use stable technique, and get stronger over time. For most athletes, sets of three to six reps with challenging but clean loads are highly productive.

Hinge Strength Supports Powerful Hip Extension

The posterior chain matters because sprinting demands forceful hip extension and control of the pelvis under high speed. Romanian deadlifts, conventional deadlifts, good mornings, and hip thrusts can develop the hamstrings and glutes, but they do not all do the same job.

Romanian deadlifts are particularly valuable for loading the hamstrings at longer muscle lengths. Hip thrusts can build hip-extension strength with less spinal loading. Deadlifts build total-body force but can carry a high fatigue cost, especially when trained heavily alongside sprint work. Use the lift that gives you the intended stimulus without draining the quality from the rest of your week.

Single-Leg Work Closes Gaps

Sprint contacts happen one leg at a time. Split squats, reverse lunges, step-ups, and single-leg Romanian deadlifts are not replacements for heavy bilateral lifting, but they are strong supporting tools. They expose side-to-side differences, challenge pelvic control, and build strength through unilateral positions.

Keep these movements demanding but disciplined. A hard set of split squats should improve your ability to produce and control force, not become a balance contest performed to exhaustion.

Power Work Bridges Strength and Sprinting

Heavy strength work teaches you to produce more force. Power training teaches you to produce force quickly. Both matter, but power work must be performed with intent. If a jump, throw, or Olympic lift slows down because fatigue takes over, its value for speed development falls.

Olympic lift variations such as power cleans, hang cleans, clean pulls, and snatches can be effective for trained athletes with competent coaching and enough time to learn them. They are not mandatory. Loaded jumps, trap-bar jumps, medicine-ball throws, kettlebell swings, and plyometrics can also train explosive output with less technical demand.

The key is selecting a method you can execute aggressively and safely. An athlete with strong squat mechanics and crisp trap-bar jumps may get more from that pairing than from poorly learned cleans. Exercise selection should serve power production, not ego or tradition.

Match the Weight Room to Your Speed Work

The biggest programming mistake is treating sprinting and lifting as separate stressors. They train the same athlete. A heavy lower-body session can affect acceleration, max-velocity mechanics, and hamstring readiness for the next 24 to 72 hours depending on training age, volume, and intensity.

When speed is a priority, schedule your highest-quality sprint work when fresh. Many athletes benefit from pairing intense sprinting and lower-body lifting on the same day, then following with a lower-intensity recovery day. This concentrates high neural stress rather than spreading moderate fatigue across the entire week.

For example, an athlete training speed twice weekly might perform acceleration work followed by squats and Romanian deadlifts on one day. Later in the week, they could perform max-velocity sprint work followed by explosive pulls, split squats, and hamstring assistance. The exact layout depends on sport practice, game schedules, and recovery capacity, but the principle remains: protect the quality of fast running.

Use Enough Load, Not Endless Volume

Speed-focused lifters often need less volume than they think. Adding sets because a workout feels too short is a reliable way to turn useful training into fatigue that lingers.

For primary strength movements, two to five hard work sets are often enough. Accessory work should fill genuine needs such as hamstring strength, calf capacity, trunk control, or unilateral development. It should not be random punishment at the end of the session.

A practical weekly lower-body framework might include:

  • One to two primary strength lifts performed for three to six reps
  • One explosive movement performed for two to five reps per set
  • One unilateral exercise and one posterior-chain accessory
  • Calf, trunk, and hamstring work dosed according to individual needs

Leave a rep or two in reserve on most strength sets, particularly during competitive seasons or high-speed sprint blocks. Grinding maximal lifts may build toughness, but it can also disrupt the movement quality you are trying to improve.

Do Not Neglect the Lower Leg and Trunk

Fast athletes need more than powerful hips. The calves and feet transfer force to the ground, while the trunk helps maintain the positions that let the hips produce force efficiently. Weak links here can limit speed even when squat numbers look impressive.

Train calves with both straight-knee and bent-knee variations to address the gastrocnemius and soleus. Use controlled heavy raises as well as isometric holds when appropriate. Build trunk strength through loaded carries, anti-rotation work, hanging leg raises, and bracing under squats, pulls, and split squats.

These areas do not need flashy programming. They need consistent work. A stronger lower leg can improve force transfer and help prepare tissues for the repeated high forces of sprinting.

Progress Without Losing the Point

Progressive overload still drives adaptation. Add load, reps, range of motion, density, or technical quality over time. But in strength training for speed, the scoreboard is larger than the barbell. Track sprint times, jump performance, body weight, training loads, and how well you recover between hard sessions.

If your squat rises while your sprint times worsen and your legs feel permanently flat, the program needs adjustment. You may need less lifting volume, better exercise placement, more recovery, or more actual sprint practice. If sprinting improves but strength stagnates for a few weeks, that may be an acceptable trade when speed is the primary goal.

Train hard enough to build force. Move explosively enough to express it. Then give your body the recovery required to make that new strength show up when your foot hits the ground.

Barbell Training for Athletes That Builds Power

Barbell training for athletes builds force, speed, and durable strength. Learn how to select lifts, load them, and program work that transfers to sport.

A stronger squat does not automatically make an athlete faster. A bigger deadlift does not automatically improve a first step, a tackle, a jump, or a change of direction. The transfer comes from how the strength was built, how the athlete moves under load, and whether the program develops force without burying the qualities that make sport performance possible. That is the real purpose of barbell training for athletes: build usable strength and power, not gym numbers that live only on the platform.

The barbell remains one of the best tools available because it allows precise loading, measurable progression, and movement patterns that demand full-body coordination. Used well, it develops the capacity to produce force. Used poorly, it becomes fatigue for its own sake. Athletes need the first outcome.

What Barbell Training for Athletes Should Develop

Athletic performance depends on more than maximal strength. An athlete needs force production, but also the ability to apply force quickly, control positions at speed, absorb force safely, and repeat quality efforts. Barbell work supports those qualities when it has a clear role in the larger training plan.

For a field athlete, that may mean stronger hips and legs for acceleration, braking, and contact. For a court athlete, it may mean improved jump output and more resilient knees and ankles. For a combat athlete, it may mean a stronger trunk and the ability to drive force through the ground without losing position. The sport changes, but the need for organized strength development remains.

The best programs usually build from three related qualities. First is foundational strength: the ability to move meaningful loads through stable, repeatable positions. Second is explosive strength: applying force fast through jumps, Olympic lift variations, throws, and dynamic barbell work. Third is durability: enough structural strength in the legs, trunk, upper back, and pressing muscles to tolerate practice, competition, and hard training.

A program does not need every quality pushed at maximum volume all year. In fact, that approach usually creates flat, tired athletes. The priority should change with the season, the athlete’s training age, and the demands already created by sport practice.

Build Around Movements That Earn Their Place

Exercise selection should be simple enough to progress and specific enough to serve the athlete’s needs. The goal is not to collect variations. The goal is to build a base of lifts that can be trained hard, assessed honestly, and adjusted when needed.

A productive barbell menu generally includes four categories:

  • Squat patterns, such as the front squat, back squat, or safety bar squat
  • Hinge patterns, such as the conventional deadlift, trap-bar deadlift, Romanian deadlift, or clean pull
  • Horizontal and vertical presses, including the bench press, overhead press, and push press
  • Explosive lifts, including power cleans, hang cleans, power snatches, high pulls, and push jerks

The right choice depends on the athlete, not on which lift looks most impressive. A front squat can be an excellent choice for an athlete who needs upright posture, strong upper-back positioning, and a manageable recovery cost. A back squat may be better for an experienced lifter who can use it to build substantial lower-body strength without losing movement quality. Neither lift is universally superior.

The same rule applies to Olympic lift variations. The power clean is valuable because it trains rapid extension, coordination, and intent. But it requires coaching and enough mobility to catch safely. If an athlete cannot maintain positions, clean pulls, high pulls, loaded jumps, and medicine ball throws can develop explosive intent with less technical demand. Do not force a complex lift onto an athlete who has not earned it.

Strength First, Then Express It Fast

Power is force multiplied by velocity. That means athletes need enough force capacity before speed-focused barbell work can reach its full value. A novice who cannot squat with control, brace under load, or hinge without losing spinal position does not need a complicated contrast-training circuit. They need competent strength training.

For newer lifters, spend most of the work on squatting, hinging, pressing, rowing, bracing, and learning to control the eccentric phase of each lift. Sets of five to eight reps can build muscle, improve technical consistency, and establish the positions needed for heavier loading later. This does not mean every rep should be slow. Every concentric rep should still be performed with intent to move the bar aggressively, even when the load moves slowly.

As strength improves, introduce more dedicated power work. This can include sets of two or three power cleans, push presses, jump squats with light loads, or speed deadlifts performed with crisp technique. Keep the reps low and the rest periods long enough to preserve speed. If bar speed, jump height, or technical sharpness drops hard, the set has stopped training power and started accumulating fatigue.

Heavy strength work and explosive work can live in the same session. A common setup is to perform jumps or throws first, then an explosive barbell movement, then the primary strength lift. For example, a lower-body session might begin with broad jumps, continue with hang power cleans, and finish with front squats. The order protects the quality of the fastest work while still allowing the athlete to build strength.

Use Loading That Matches the Goal

Athletes often make one of two mistakes: they train too light because they are afraid of getting slow, or they train heavy every week because they confuse exhaustion with progress. Both approaches miss the point.

Heavy loading has a place. Sets in the three-to-five rep range build the ability to produce high force, especially when technique is stable and total volume is controlled. Moderate loading in the five-to-eight rep range is useful for building muscle and reinforcing movement quality. Lower-load explosive work can improve intent and rate of force development when it is performed fast and stopped before fatigue takes over.

Instead of chasing a one-rep max every month, use submaximal progression. Add a small amount of load when all prescribed reps are clean. Add a rep within the target range. Improve bar speed at the same weight. Reduce technical errors. Those are real signs of progress, and they usually create more long-term athletic value than frequent max attempts.

A simple rule helps: the closer a lift is to technical breakdown, the less useful it becomes for power development. Grinding has limited value for testing resolve, but athletes do not need to rehearse slow, compromised reps as their default training pattern. Leave one or two quality reps in reserve on most working sets, especially when sport practice is demanding.

Program Around the Athlete’s Actual Week

The best lifting plan on paper fails if it ignores practices, games, conditioning, travel, and sleep. An off-season athlete may handle three or four barbell sessions per week. During a competitive season, two concise full-body sessions may be enough to maintain strength and keep power available.

In the off-season, use more total volume to build muscle and address weak links. A two-day lower-body emphasis and two-day upper-body emphasis can work well for athletes with enough recovery capacity. Keep at least one explosive element in each session, but let the main strength lifts carry most of the progressive loading.

As competition approaches, reduce unnecessary volume and keep intensity exposure. Athletes generally do not lose strength quickly when they continue to lift moderately heavy. They lose freshness when they do too much. During the season, prioritize a few high-value lifts, keep reps efficient, and avoid soreness that interferes with practice or game-day movement.

A practical in-season session might include three power cleans, three sets of front squats, two sets of bench press, and a small amount of pulling and trunk work. That is not flashy. It is enough when the athlete is already sprinting, practicing skills, and competing.

Technique Is a Performance Skill

Technical coaching is not separate from athletic development. A solid brace, a stable foot, a controlled descent, and a forceful drive out of the bottom determine whether the athlete can safely use the strength they are building. Poor positions leak force and raise the recovery cost of training.

Start with repeatable setup habits. In squats, establish foot pressure before descending, brace before the rep, and keep the bar over the middle of the foot. In deadlifts, create tension before the bar leaves the floor rather than jerking it upward. In presses, avoid turning every rep into a loose lower-back extension. These details are not cosmetic. They make productive loading possible.

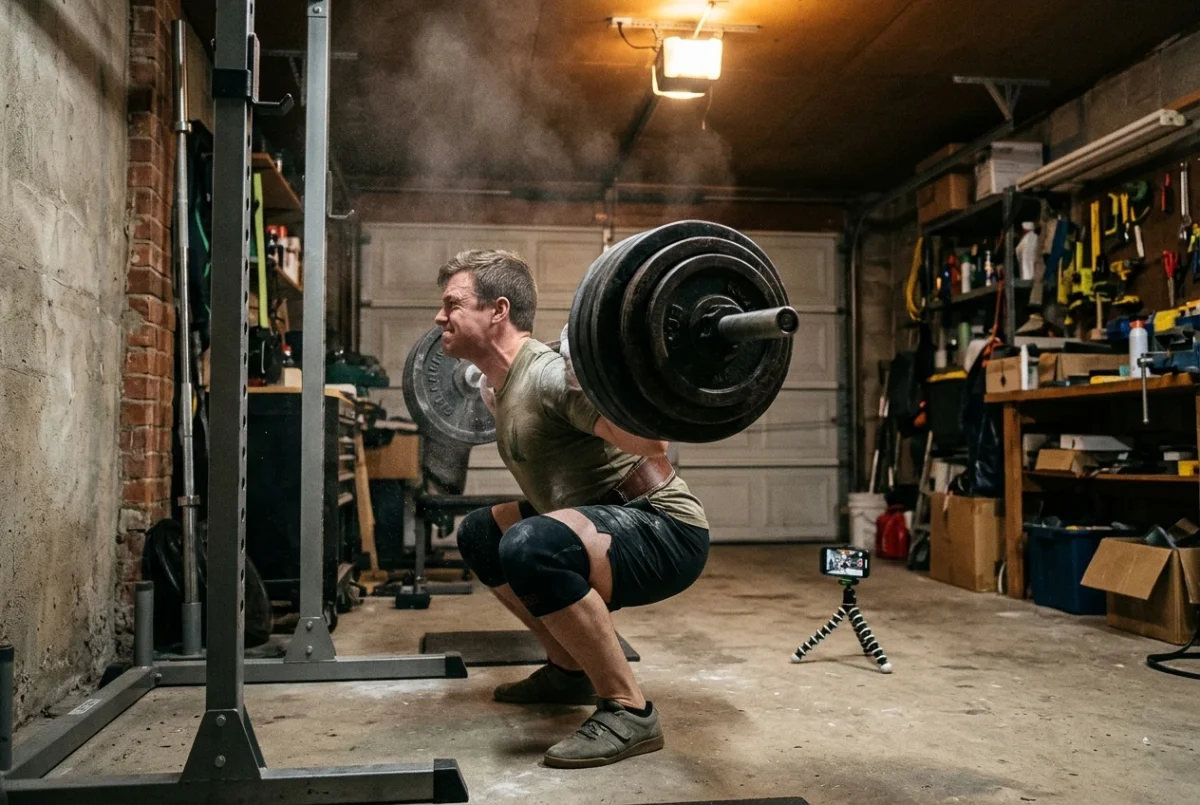
Film key sets when training alone. Bar path, depth, spinal position, and speed are easier to evaluate on video than by feel. If a technical problem repeats, reduce the load and solve it before adding more weight. Discipline here protects both performance and longevity.

Avoid the Training That Looks Athletic but Delivers Little

Randomly rotating exercises, maxing out too often, and turning every session into conditioning are common ways athletes stall. Variety can be useful, but frequent change makes progression impossible to track. Conditioning matters, but it should not erase the quality of the strength work meant to support it.

There is also no prize for using the most advanced variation. A well-executed front squat, Romanian deadlift, bench press, and clean pull can build more athletic value than a poorly performed Olympic lift complex. Progress comes from repeated high-quality work, not from making training complicated.

Keep the barbell as a tool for measurable force development. Train the big movements with intent, load them progressively, and protect the speed and skill that sport demands. When your lifting supports better practice, stronger positions, and more explosive movement, the weight room is doing its job.

Using Core Stability To Prevent Injuries

https://weightliftingforpower.com/using-core-stability-to-prevent-injuries/

Using Core Stability To Prevent Injuries

Core stability is the foundation of your body’s overall strength and balance because it involves maintaining your core’s position and movement; this doesn’t simply mean having a six-pack, but rather that your deep abdominal muscles work together as a unit. A stable core matters far beyond appearance because it is essential for performing everyday actions efficiently and safely. Whether you are lifting a heavy box or getting up from a chair, a strong core supports your movements and lessens the strain on your spine and limbs.

As a result, the joints and muscles suffer less wear and tear, and injuries are avoided. Scientific studies point out the importance of core stability in preventing injuries; they show that a strong core aids in distributing the forces of impact, which in turn reduces the stress placed on any one part of the body, and by making sure that the body’s energy moves smoothly when moving, the chance of strains and falls is decreased.

The transverse abdominis and rectus abdominis, along with the pelvic floor and diaphragm, form a strong core network that stabilizes the pelvis and spine, providing a firm base for movement while improving alignment and lowering injury risk. Therefore, using core stability to prevent injuries is crucial.

The Connection Between Core Stability and Common Injuries

A weak core is a common cause of many injuries, especially in the musculoskeletal system. It’s not only athletes who suffer; anyone with weak core muscles can experience these problems during everyday activities. When the core is weak, the rest of the body usually has to make up the difference, which can cause strains or injuries in places such as the back or knees; lower back pain is a common example, since it results from an inability to support the spine properly when moving. Knee injuries are also a common problem.

If you don’t have strong core muscles to maintain your stability, your knees may have to cope with stress for which they were not intended. As a result, you could end up with conditions like patellar tendonitis or, in some cases, more serious ACL injuries. There are plenty of real-life examples, particularly in the field of sports. Many athletes have improved their performance and experienced fewer injuries by focusing on building their cores.

The accounts of people who have returned from injury stronger by developing a more stable core are not only inspiring but also informative. Health professionals often stress the importance of preventing injury by strengthening the core. Because they have seen firsthand how essential a stable core is in reducing some injuries, many people can live more active lives while also being less prone to injury.
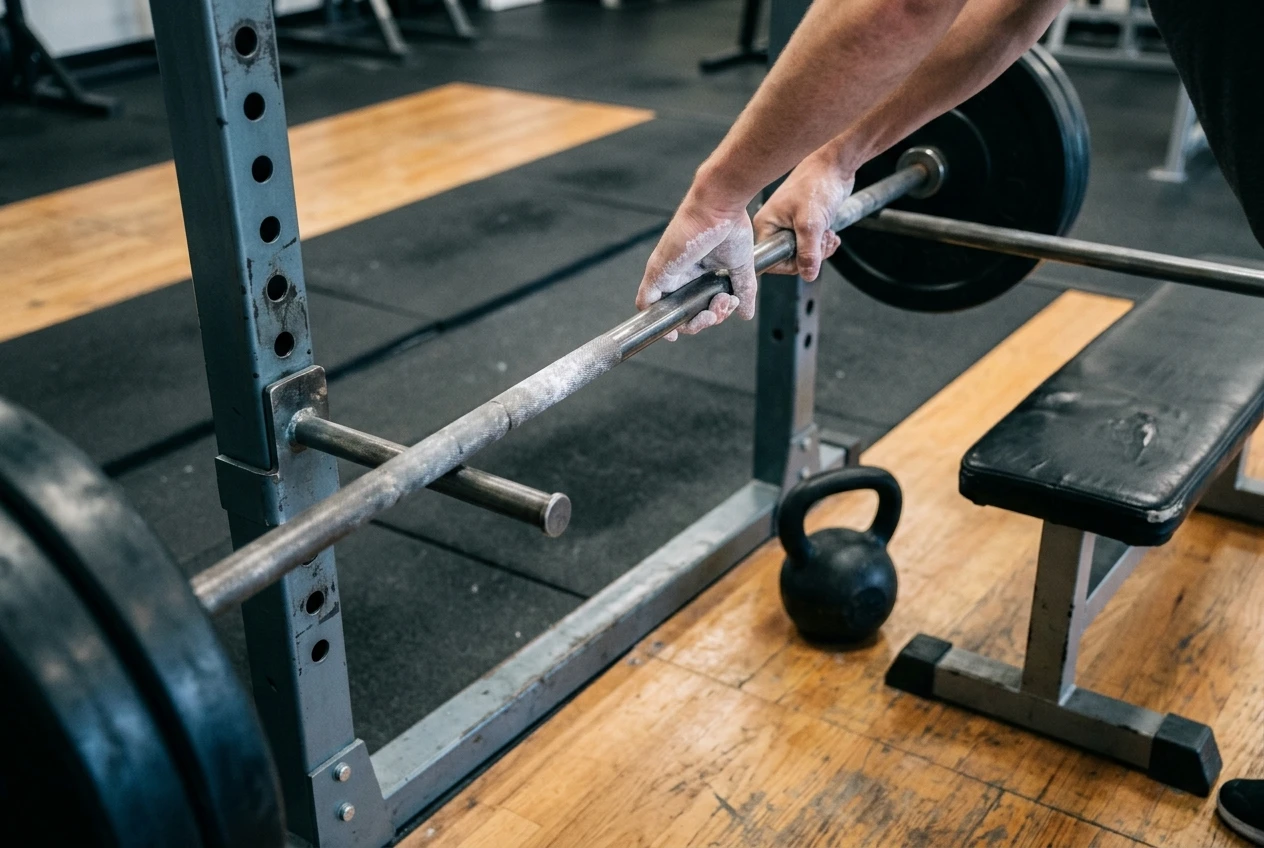
Understanding the role of the core in overall body mechanics emphasizes the significance of using core stability to prevent injuries. This approach can transform how individuals engage in physical activities and reduce the likelihood of injury.

Core Stability Exercises: Strengthening Your Injury Defense

It’s more about activating the right muscles than putting in a lot of effort to build a stable core. You don’t need special gym equipment or much time to start core exercises. Simple exercises, done with the right technique, can produce amazing results. Effective exercises to add are planks, bridges, and side planks. They strengthen the major muscles and suit all fitness levels.
They help improve your core’s endurance, strength, and total stability. The plank is fairly simple—place your forearms on the ground, position your elbows directly under your shoulders, and lift your body so you form a straight line from your head to your heels. Hold this position for thirty seconds to a minute, keeping your core engaged. When you become stronger, increase the duration.

Get the technique right with basic exercises, since incorrect form can cause injury and cancel out the benefits you are trying to achieve. Always brace your core, breathe evenly, and avoid straining your neck or back.You may be unsure whether to do bodyweight exercises or use equipment. While equipment offers more variety and resistance, bodyweight exercises let you do them anywhere. Choose the option that suits your preference, but start with the fundamentals to build a strong base.
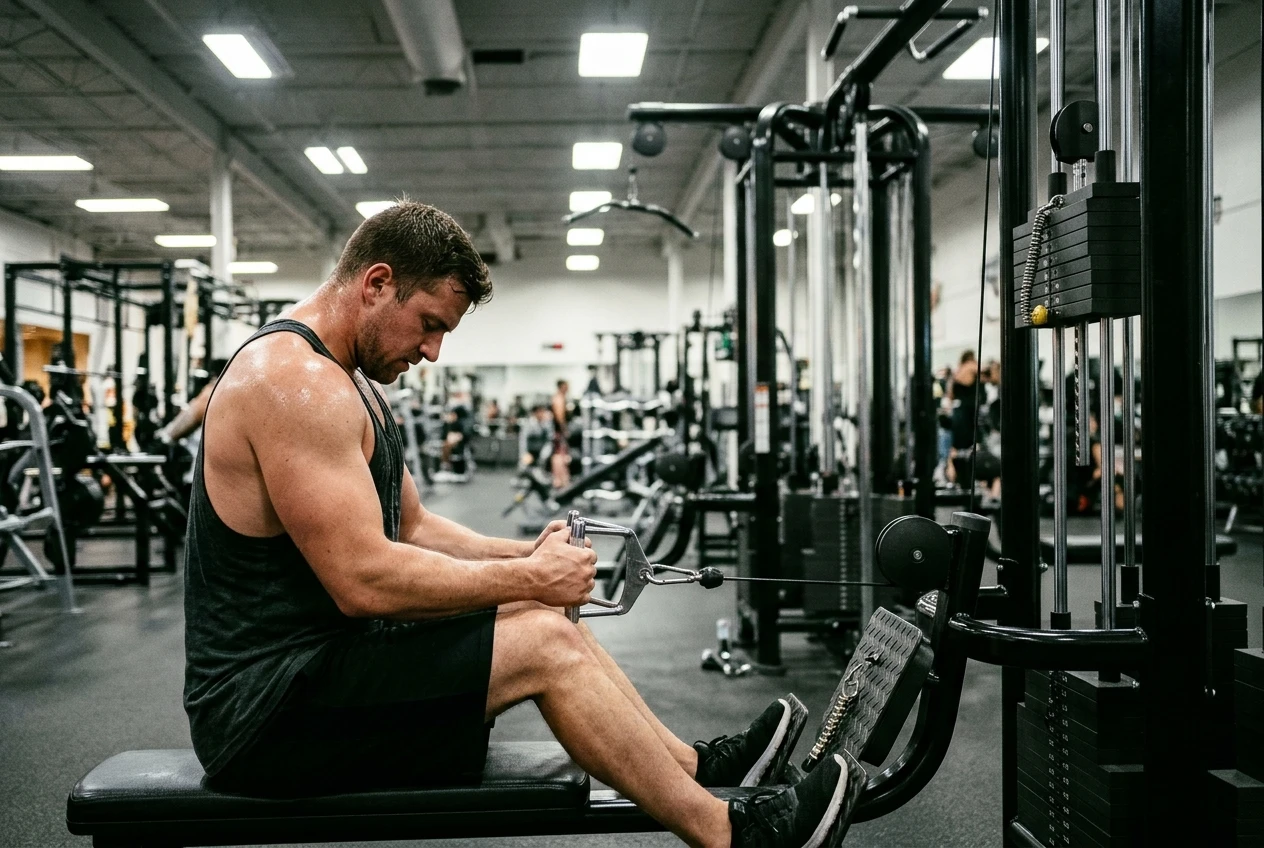
Building Your Personalized Core Stability Plan: Moving Toward a Safer Future

The best way to get the most out of your efforts is to create a core stability program suited to your individual needs. First, evaluate your current fitness level and clarify your goals, such as improving posture, relieving pain, or boosting athletic performance. A well-balanced core routine should include a variety of exercises that target different core muscle groups.

To ensure you work all the important muscles effectively, vary the exercises. This variety may include a combination of static exercises, such as planks, and dynamic ones, such as Russian twists. You can track your progress by setting benchmarks or weekly objectives; noticing even small improvements can boost your motivation and help you stay committed.

Also, regularly reviewing your progress helps you make the necessary adjustments to your plan. Including core strength exercises in your daily activities can make a big difference to your functional fitness. When you walk, lift things, or sit at your desk, make an effort to engage your core. This conscious activation will help improve your stability and assistance throughout the day. When you’re just beginning, expert advice is very valuable.

You might do well to hire a personal trainer or physiotherapist who can give you specific advice and help you improve your technique. Many online resources provide video tutorials and apps to guide you through your routines. It can be difficult to stay motivated, but if you set specific goals and praise yourself each time you take a step forward, you’ll maintain your momentum. Since forming a habit is a gradual process, be patient with yourself as you move toward a more secure, more stable future.

http://www.wikipedia.org

Core Stability Essentials