You pull the bar off the floor, it passes your knees, and then it stops somewhere around mid-thigh. Or it gets to the top only because you lean back with your ribs flared, which looks like a lockout but is not one. How to fix deadlift lockout depends on why the bar stalls, and there are several possible reasons.
This article gives you four causes to check, one technique cue for each, and one accessory drill for each. That way your training time and your gear budget go to the problem you actually have.
Where your deadlift actually stalls: floor, knee, or the last few inches
A deadlift can slow down in three places. Each one points to a different problem.
- Floor: the bar barely moves, or it moves slowly for the first few inches. This is usually about the setup, leg drive, or tension in the upper back before the pull.
- Knee: the bar leaves the floor fine and slows as it passes the kneecaps. This often comes from the hips rising too fast or the bar swinging away from the legs.
- Last few inches: the bar moves well to mid-thigh or just above, then crawls or stops before your hips and knees are fully extended.
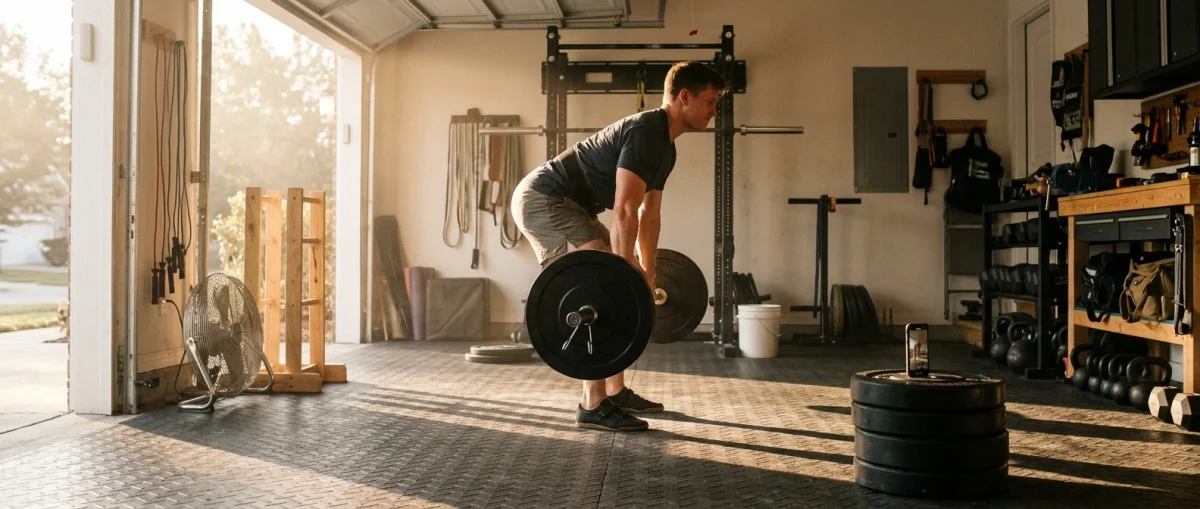
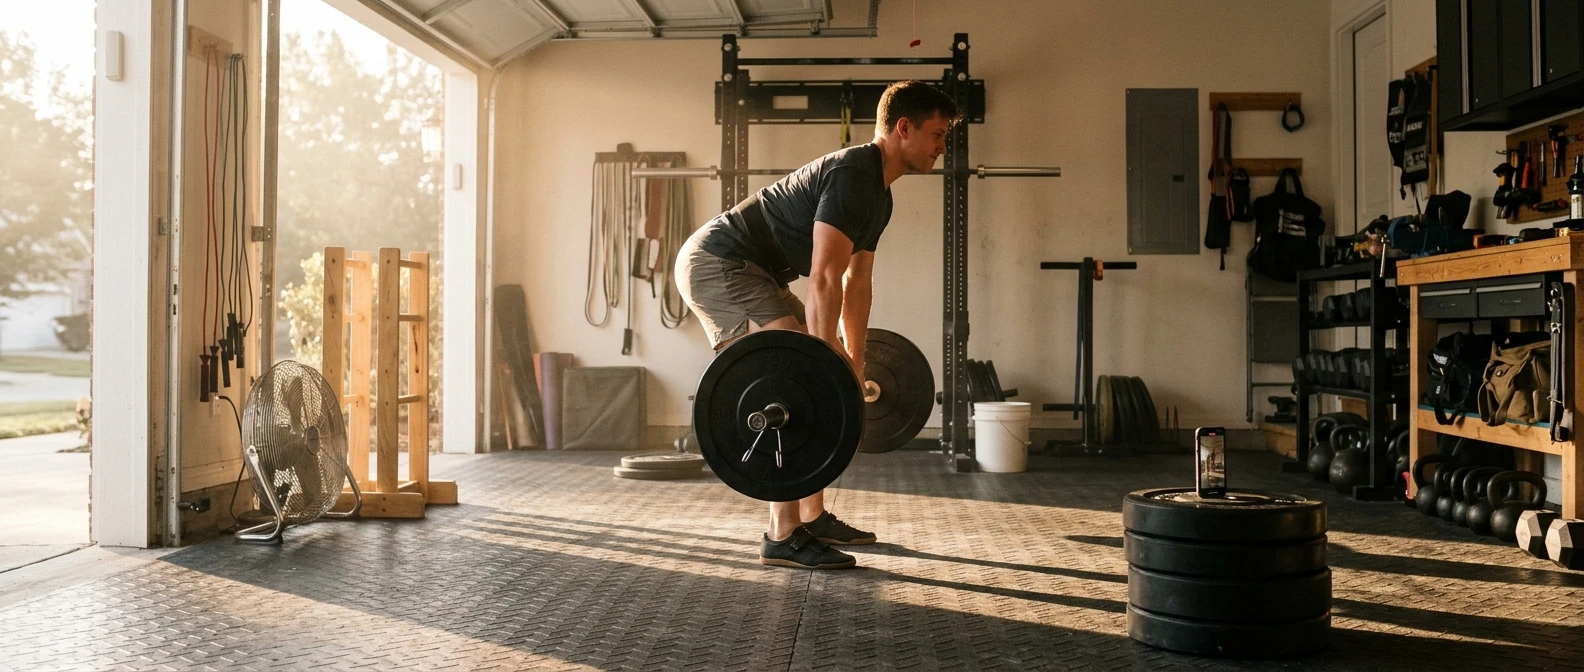
To find out which one is yours, film a working set from the side with the phone at about hip height and a few steps back. Use a weight that is hard but not a true max, and play the clip back at half speed. Note the point where the bar speed visibly drops.
If the slowdown is in the top third of the lift, this article is for you. If it happens at the knee, parts of it still apply, because two of the four causes below show up there as well as at the top.
Four reasons you cannot finish the lift, and how to tell which one is yours
Watch your side-view clip and check these four things in order. Many lifters have more than one, but one is usually the biggest.
1. Your hips shoot up early. In the first part of the pull, your hips rise faster than your shoulders, so your torso ends up closer to horizontal than it started. The lift turns into a stiff-legged pull, and your lower back and hamstrings do the work that your legs should have shared. Look for hips that rise while the bar has barely moved.
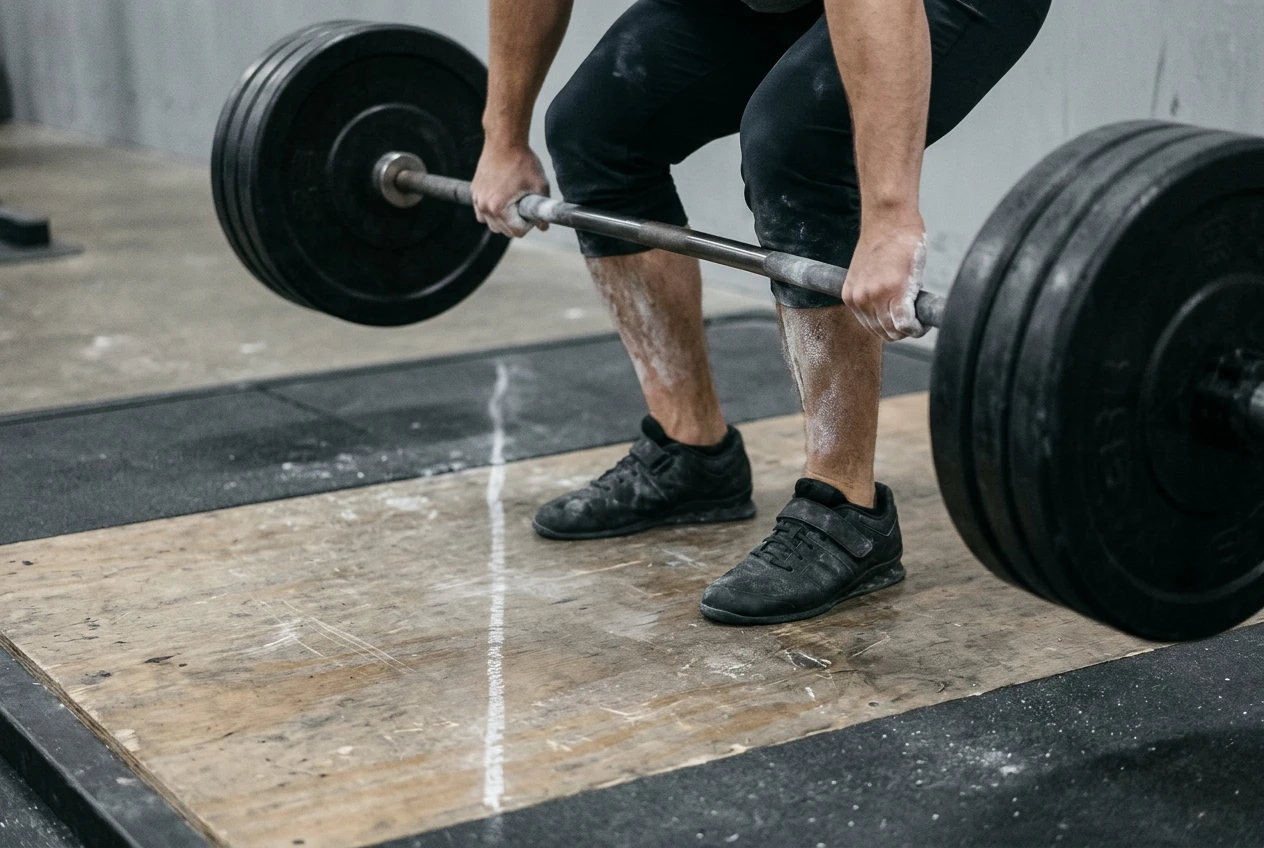
2. The bar drifts away from your legs. The bar should travel in a close vertical line over the middle of your foot. If it loops forward as it passes the knees, the load gets farther from your hips, and the top of the lift becomes much harder. Look for a gap between the bar and your thighs, or a bar path that curves out and back.
3. Your hip extension is weak. Your setup and bar path look fine, the bar travels smoothly to just above the knee, and then it slows while your hips are still bent. Your glutes are not producing enough force to finish the movement. You will often feel the stall in your glutes and hamstrings and see no obvious technique error.
4. Your grip or upper back gives out. The bar rolls toward your fingertips, your grip opens before you finish, or your shoulders round forward and drift ahead of the bar near the top. The legs and hips may have more to give, but your hands and upper back cannot hold the bar in place.
Write down which one you see. The next sections cover the technique fixes, and the accessory work follows after that.
Fix the setup first: bar path, hip height, and keeping the bar against your legs
Setup problems cause causes 1 and 2, and sometimes they also make cause 4 look worse than it is. Fixing them costs nothing, so do them before buying or adding anything.
Bar position. Set up with the bar over the middle of your foot. When you bend down to grip it, your shins should be close to or touching the bar. If the bar starts a hand’s width in front of you, it will want to stay out there.
Hip height. Your hips should start above your knees and below your shoulders. Too low, and the lift becomes a squat, which makes your hips shoot up as the bar breaks the floor. Too high, and the lift loses leg drive, which sends all the work to your lower back and hamstrings.
Cue for hips shooting up: push the floor away. Instead of thinking about pulling the bar up, think about pressing your feet into the floor as if you were leg pressing it. This keeps your legs working, so your hips and shoulders rise together. Use a lighter weight first, because this cue often feels like you are going slowly.
Cue for bar drift: drag the bar up your legs. Pull your shoulder blades down and back before the bar leaves the floor, as if you were trying to put your shoulder blades into your back pockets. This engages your lats, which hold the bar close. Wear long socks or long trousers if you are worried about scraping your shins.
Neither cue is a fix by itself, but each one gives you something specific to think about while you practice the drills in the accessory section.
How to finish by driving your hips through instead of leaning back
This is the cue for cause 3, and it matters for every lifter because many lifters finish the movement incorrectly even when their strength is fine.
At the top of a deadlift, you want to be standing upright. Your hips are under your shoulders, your knees are straight, and your ribs are stacked over your pelvis. Many lifters at the top shoot their shoulders back behind the hips and arch the lower back to make the bar move. This looks like a lockout, but the movement comes from your spine instead of your hips, so it wastes the hip extension you need.
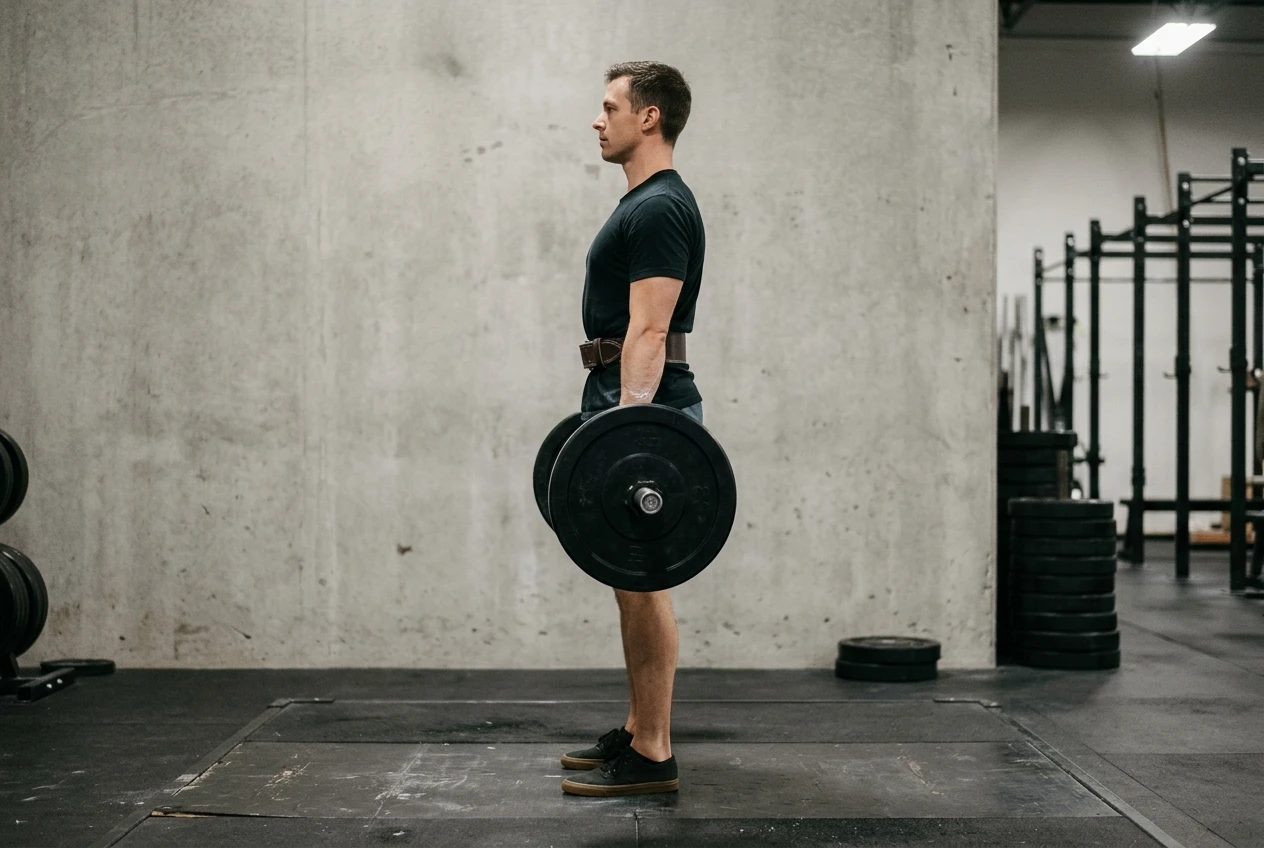
Cue: push your hips forward into the bar. As the bar passes your knees, think of pushing your pelvis toward the bar rather than pulling the bar toward you. Squeeze your glutes at the top so your hips and knees finish straight together. Then stop. A lockout is a tall stance, with the bar resting against your thighs, and no extra lean is needed.
A few notes on practice:
- Film the top of the lift again. Your shoulders should be over or just slightly behind your hips, with no visible arch in your lower back.
- If you cannot finish without leaning back, the weight is probably too heavy for the practice to be useful. Drop it by an amount that lets you finish tall on every rep.
- Brace your abs as you would for a deep breath, and keep that tension as you finish. A belt can help here, and the belt section below covers it.
Accessory lifts that build lockout strength: hip thrusts, rack pulls, and kettlebell swings
Match the drill to the cause you found. This table of four is all you need for the next four weeks.
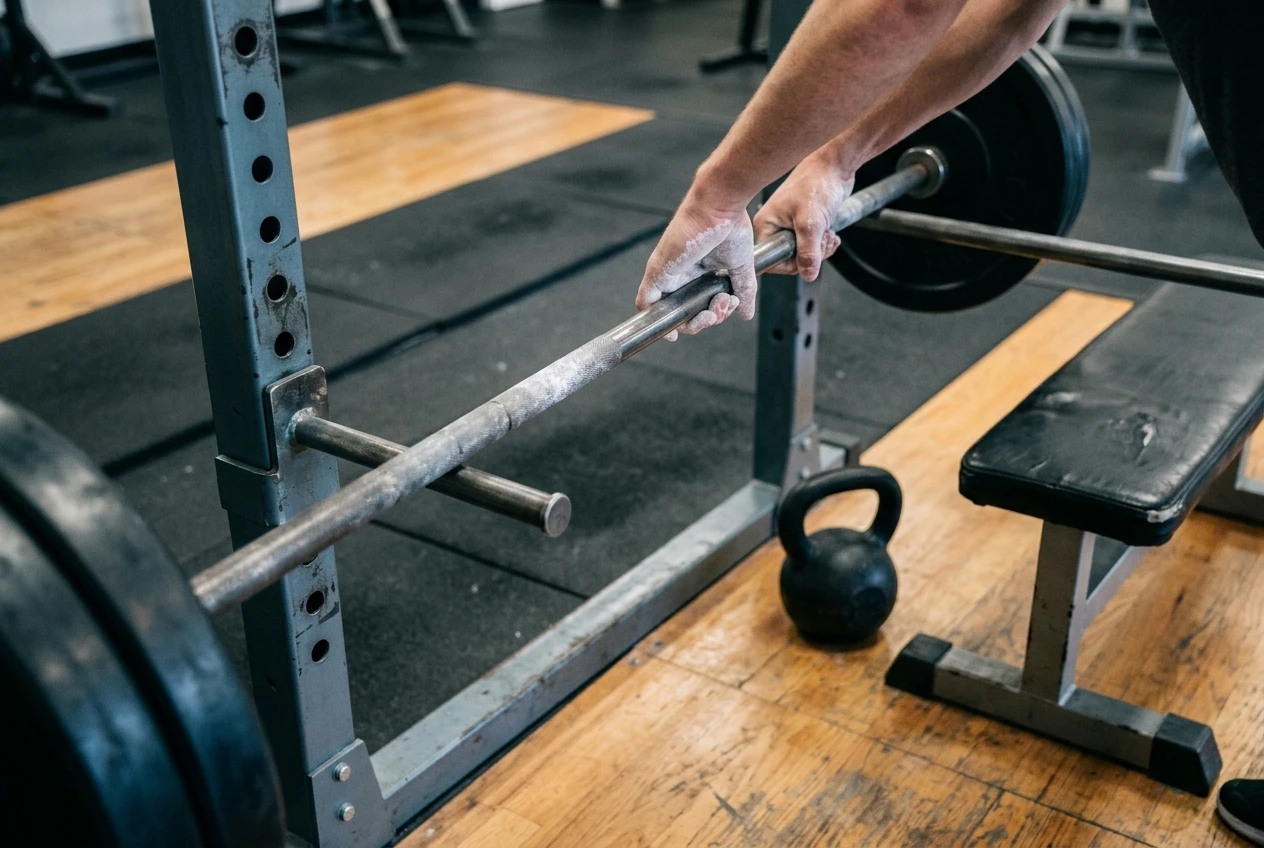
- Hips shoot up early: paused deadlifts. Pull a lighter weight to just below the knee, hold for one to two seconds, and then finish. The pause forces your hips and shoulders to rise together. Use about 60 to 70 percent of your usual working weight and focus on the cue above.
- Bar drifts away: rack pulls. Set the bar on pins at about knee height. Pull your shoulder blades down, drag the bar up your thighs, and finish tall. Because the range is short, you can handle more weight than on a floor pull and practice the bar path under a heavier load.
- Weak hip extension: hip thrusts and kettlebell swings. Hip thrusts load your glutes in the same direction as the top of a deadlift, so they are a direct way to build the strength you are missing. Kettlebell swings train the same hip drive at speed, and the lighter load makes them a better place to practice pushing the hips forward and standing tall. Two to four sets of 6 to 10 hip thrusts and a few sets of swings fit into most weeks.
- Grip or upper back gives out: rack pull holds. Pull from the pins and hold the lockout for a few seconds. Keep your shoulder blades down and back. This trains your grip and upper back in the position where they are failing. If your grip is the main problem, do the holds without straps and use straps only for your heaviest sets.
Pick one drill for the cause that looks biggest, and add a second only if the first one feels easy. Spreading across all four is how a plan gets too long to finish.
Where bands, straps, and a belt help with this work, and where they do not
Gear can support the drills above. It does not replace the diagnosis.
Bands. A band around your knees or hips can make hip thrusts easier to feel in your glutes, and a band can add resistance at the top of a lift. If you are deciding which ones to buy, this comparison of resistance bands for powerlifting accessory work covers the options. Bands are a tool for the hip thrust drill, and they will not fix a drifting bar path.
Straps. If your grip gives out before your legs and hips do (cause 4), straps let you keep training the hips and upper back at heavier weights. The tradeoff is that your grip gets less work. A reasonable approach is to do your lighter sets without straps and use them for the heaviest sets or for rack pulls. For help choosing a type, see figure-eight or lasso straps for heavy deadlifts.
Belt. A lifting belt gives your abs something to push against, which can help you brace and keep your ribs down at the top. It does not add hip strength. If your lockout stalls because your glutes are weak, a belt will not change that, and you may feel more stable without getting any stronger.
If you can only buy one thing, buy the item that supports the drill for your cause: bands for hip thrusts, straps if grip is the limit. Skip anything that promises to fix lockout on its own.
A four-week lockout fix plan you can add to your current training
This plan adds to your existing program. Keep your regular deadlift day, and add one accessory block either at the end of that session or on another lower-body day. If you are not sure how to increase weights from week to week, this guide to adding load week to week shows how.
Week 1: learn the cue. On your normal deadlift sets, use the cue that matches your cause and drop the weight if you need to. Add your chosen drill for 3 sets of 8 at a weight that feels easy. Film one set from the side.
Week 2: add load. Keep the cue. Add a small amount of weight to the drill, such as the smallest plate increment you have, as long as every rep still finishes tall and controlled. Film again and compare to week 1.
Week 3: add a set or a second drill. If the first drill felt manageable, add a fourth set or bring in a second drill from the list. Keep deadlift sets at a weight where you can finish every rep without leaning back.
Week 4: ease off and retest. Reduce the drill volume by about a third. Then do a heavy set of deadlifts at a weight that used to stall, and film it. Compare the clip to your first one: is the bar closer to your legs, do your hips rise with your shoulders, and do you finish standing tall?
If the stall has moved up or down the lift, or if you finished a rep you could not finish before, the plan is working, and you can run another four weeks with heavier loads. If nothing changed, go back to the four causes and check whether you chose the right one.
If hip extension is your weak link
If your diagnosis points to weak hip extension and you want guided swing and hinge work you can follow on screen, read the Kettlebell Monster review to see what the program covers. You can also look at the program directly through the Kettlebell Monster affiliate link.
Affiliate disclosure: this is an affiliate link, so this site earns a commission if you buy through it.