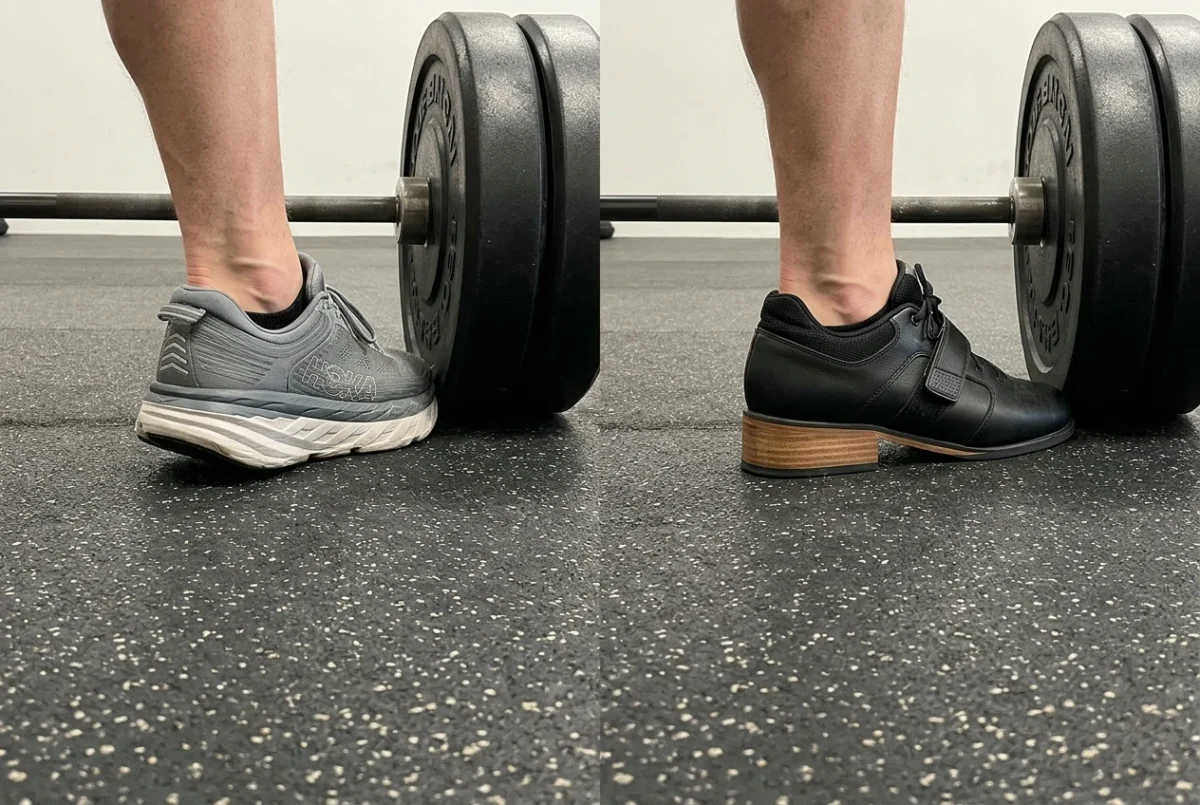
Lifting shoes change three things under a heavy squat: how far your ankles have to bend, how firmly your foot sits on the floor, and where the bar travels over your foot. Whether they help you depends on your build and the squat you use, so the best lifting shoes for squats are the ones that match your proportions. A shoe that gives one lifter another inch of depth can feel awkward on a lifter with different limbs.
This guide covers what each type of shoe changes, who gains the most, how to test one on camera before you spend money, and what to try first if you are not ready to buy.
What a lifting shoe actually changes under a heavy squat
A lifting shoe does two jobs. The raised heel shifts your shin forward relative to your foot, so you need less ankle bend to reach the same depth. The hard sole stops your foot compressing under load, so the force you push into the floor goes into the bar and not into squashing foam.
Running shoes and most gym trainers have cushioned midsoles. Under a heavy bar the cushioning compresses unevenly, usually more at the heel, and that gives a slight rocking sensation in the bottom position. Many lifters feel it as a vague wobble they never trace to the shoe.
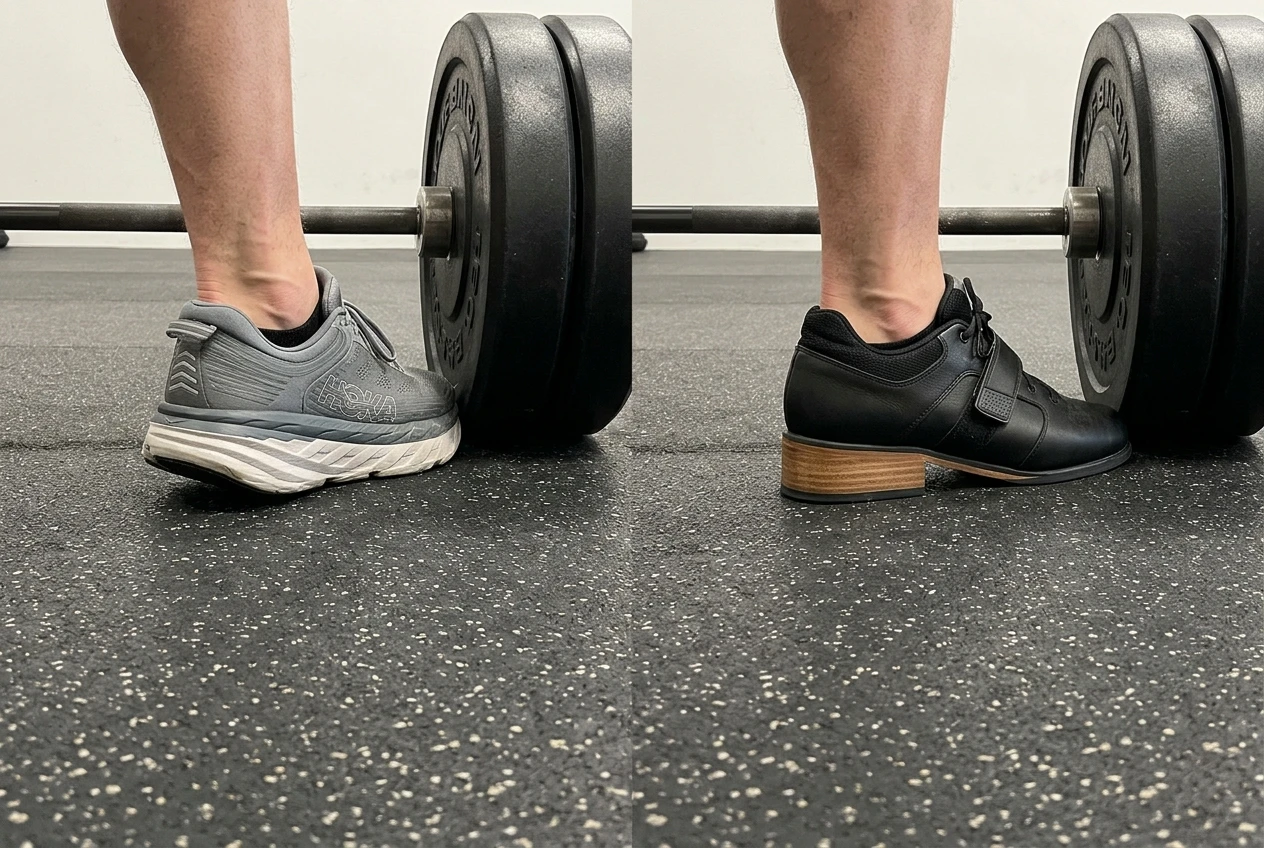
A raised heel typically sits around three-quarters of an inch to an inch (roughly 18 to 25 mm) in weightlifting shoes. Some shoes made for powerlifting sit much lower, and flat-soled lifting shoes have no raise at all. All three can be firm. Heel height and firmness are separate features, and you can choose them separately.
Why heel height changes depth: ankle mobility, femur length and torso angle
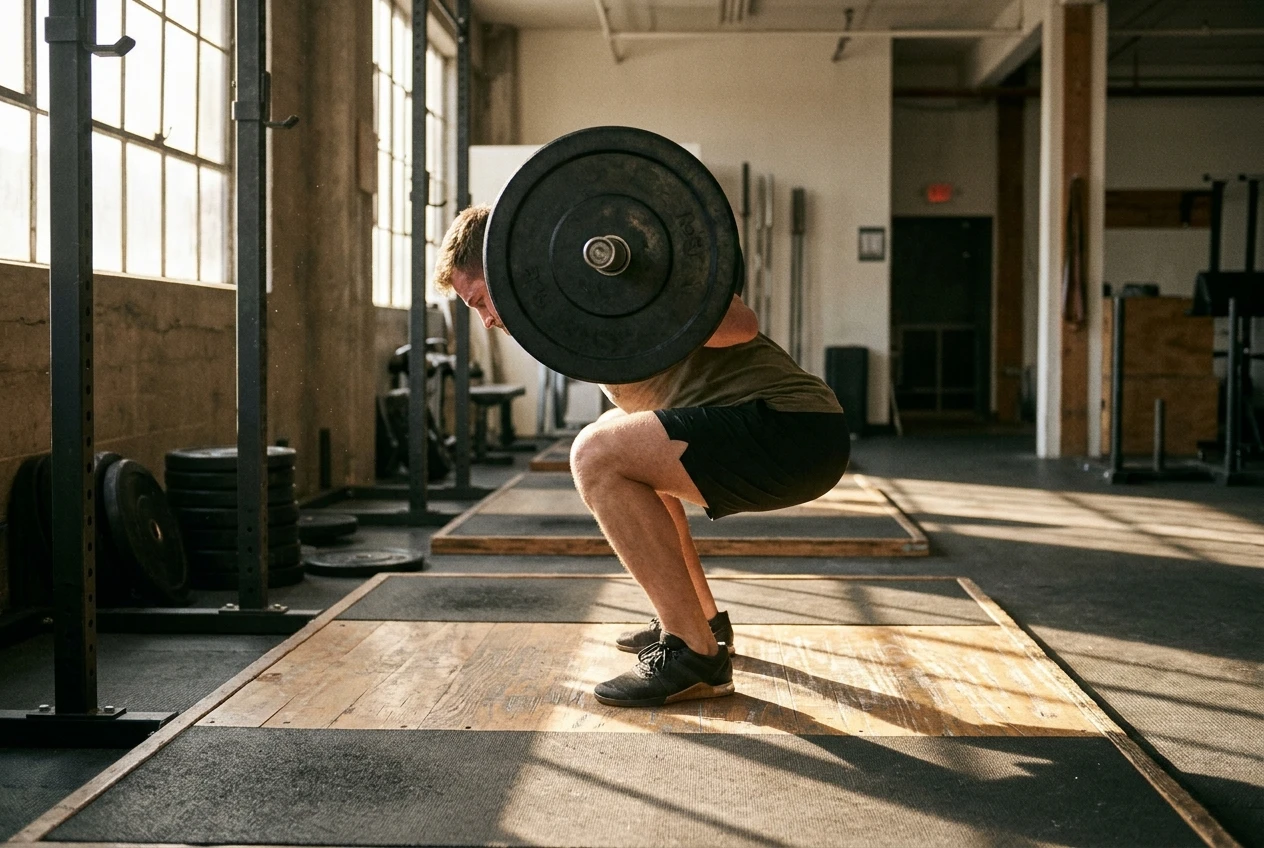
To squat deep, your knees move forward over your toes while your torso stays over your midfoot. The ankle has to bend (dorsiflex) to let the shin tilt forward. If the ankle runs out of range before you reach depth, something else compensates: your heels lift, your torso folds forward, or your pelvis tucks under at the bottom.
Raising the heel gives you more effective ankle range. The same ankle angle now puts your knees further forward, so you reach depth with a more upright torso.
Femur length matters because a long thigh bone relative to your shin and torso pushes your hips further back to keep the bar balanced. That produces a more forward-leaning torso and more load on the lower back. A raised heel lets your knees travel forward, which shortens the lean.
Torso length works the opposite way. A short torso with long legs gives you less room to keep the bar over midfoot at depth, so small changes in lean show up quickly as balance problems. Those lifters often notice the biggest difference from a heel.
Which body types gain the most from a raised heel, and who may not need one
The lifters most likely to gain from a raised heel:
- Stiff ankles. If your heels lift or your knees stop short at depth, ankle range is the limit and a heel directly addresses it.
- Long femurs with a shorter torso. You lean forward more than you want, and a heel lets you sit more upright.
- Lifters who squat with a narrow, upright style. Anyone who wants the knees well forward gets more from the extra range.
Some lifters get little from a heel:
- Good ankle mobility and balanced proportions. If you already hit depth with your whole foot flat and a steady torso, the heel adds little.
- Short femurs relative to the torso. These lifters tend to stay upright without help.
- Lifters who prefer a wide stance with the hips back. The shins stay more vertical, so ankle range is not the limiting factor.
If you do not know which group you fall in, the film test further down answers it with your own footage and no guesswork.
Raised heel, flat sole or in between: matching the shoe to high bar, low bar and your other lifts
The squat style you use changes how much heel helps. High-bar squats put the bar on the upper traps, keep the torso upright and push the knees far forward, so they demand the most ankle range. A raised heel suits them well. Low-bar squats sit the bar lower on the back, lean the torso further forward and send the hips back, so the shins stay steeper and the heel matters less. If you are unsure which style fits you, the high bar versus low bar squat comparison covers the technique, so this piece does not repeat it.
A rough way to match the shoe to the lift:
- High-bar or Olympic-style squat: a full raised heel is the usual pick.
- Low-bar squat: a low heel or a flat, firm sole often feels better, because a tall heel can tip your weight toward your toes and make the forward lean harder to control.
- A mix of both: a moderate heel (the lower end of the raised range) is a reasonable middle option.
Your other lifts matter too. Deadlifts generally work best from a flat, firm sole, since a raised heel lengthens the pull and moves your weight forward. If one pair of shoes has to cover squats and deadlifts, a low-heel or flat shoe is the safer compromise. If you only wear the shoes for squats and change before pulling, you can choose purely for the squat.
Stability features that matter: firm sole, strap or lacing, fit and width
Once you have settled on heel height, four features decide whether the shoe feels solid:
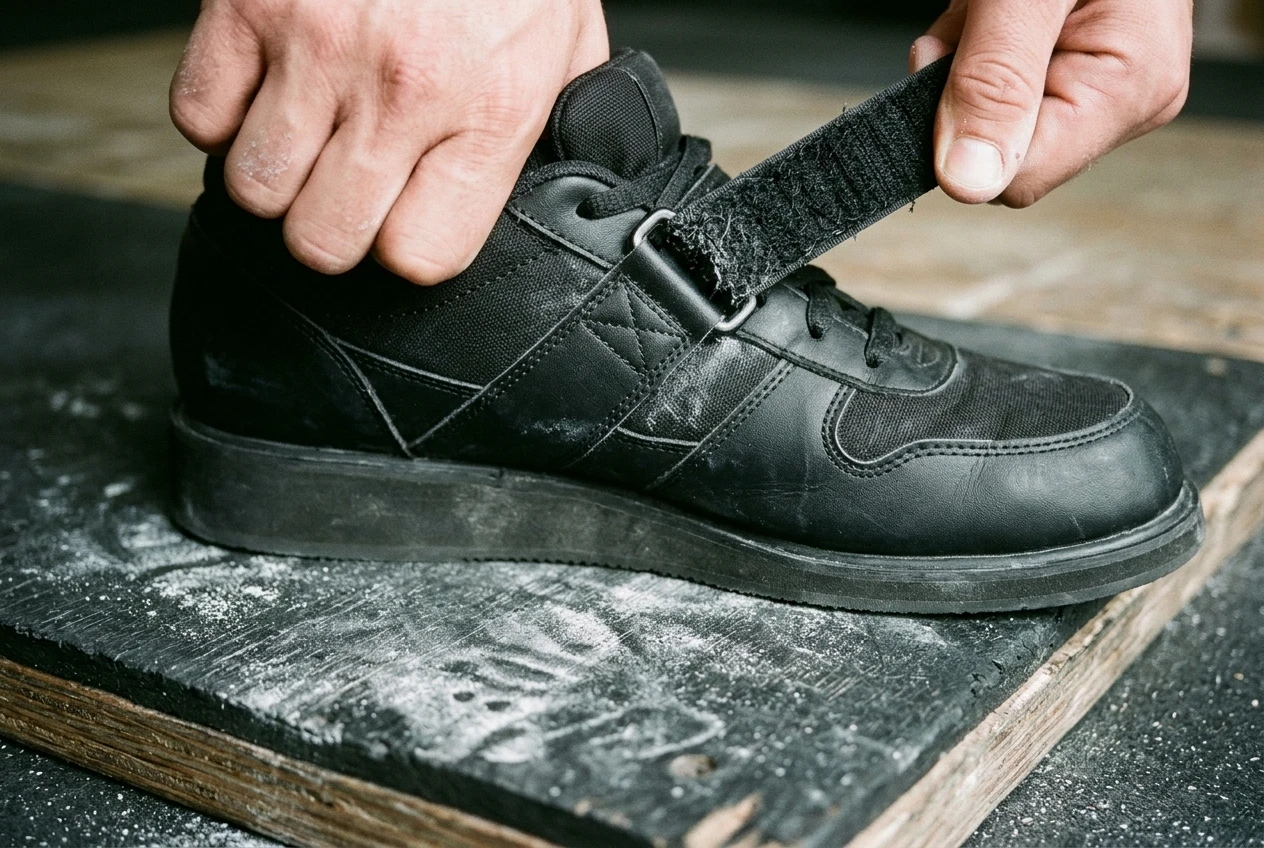
- Sole firmness. The sole should not compress when you press a thumb into it. Wood, dense plastic and hard TPU all work. A visible foam wedge or air pocket is a warning sign for heavy squatting.
- Strap or lacing. A midfoot strap, usually hook-and-loop, locks your heel into the back of the shoe so it cannot slide as you drive up. Lacing alone can feel snug standing but loosen under load. Many shoes have both, and you will be pulling the strap tight before every working set.
- Fit. Your heel should not lift inside the shoe. Check this with the strap fastened, then squat with an empty bar and watch for heel slip.
- Width. A narrow toe box squeezes your toes together and reduces how well you can grip the floor. If your forefoot is wide, check the shoe’s toe box before you commit, because width is hard to fix later.
Fit is the one feature that changes the result most often. A technically excellent shoe that slips at the heel is worse than a plainer one that holds still.
How to test a shoe before you commit: a barefoot versus shoe film check
Filming is the cheapest way to see whether a heel changes anything for you. Prop your phone at about hip height, side-on, with your whole body and the bar in frame. Do the same set twice, once in your current footwear and once in the shoe type you are considering.
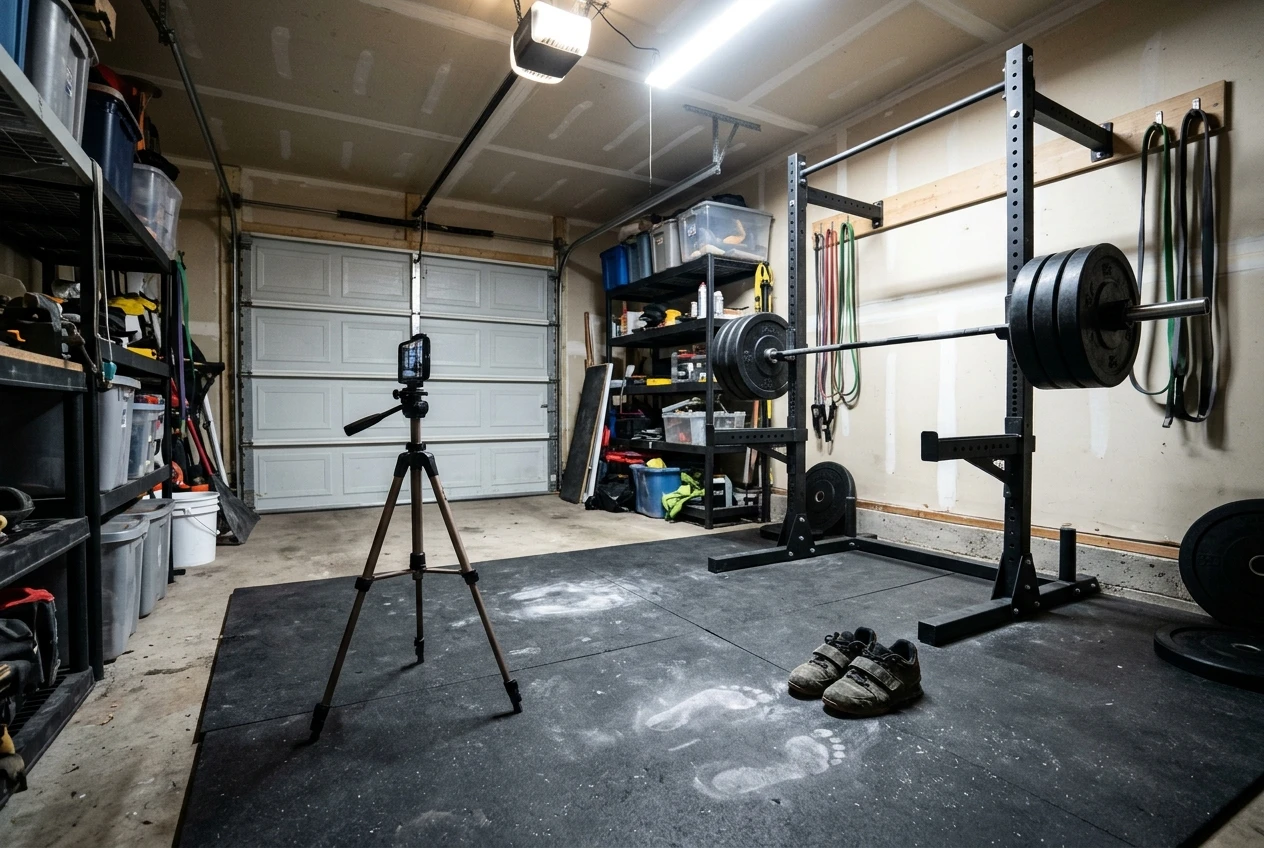
Keep everything else identical: the same weight, the same stance width and the same bar position. Use a working weight that is demanding but not a max, and film three to five reps of each. You can borrow a friend’s lifting shoes, try a pair in a store that lets you squat an empty bar, or fake the heel with plates (see the next section) to preview the effect.
Compare the two clips on these points:
- Depth. Does your hip crease get lower relative to the top of your knee?
- Torso angle. Do you stay more upright in the bottom position, or does your chest still fold forward?
- Heel contact. Does your heel stay planted, or does it lift at the bottom?
- Balance. Does the bar travel in a straight line over midfoot, or drift forward and back?
- Speed out of the hole. Does the rep slow noticeably just below parallel, and does the shoe change that?
If depth and balance improve clearly in the second clip, the shoe type suits your build. If the clips look almost the same, spend your money elsewhere. If depth improves but balance gets worse, you probably need a smaller heel than the one you tested. The phone video check guide linked at the end walks through these checks in more detail.
Cheaper fixes to try first: plates under the heels, mobility work and stance changes
Before you buy anything, three free changes are worth a week of testing.
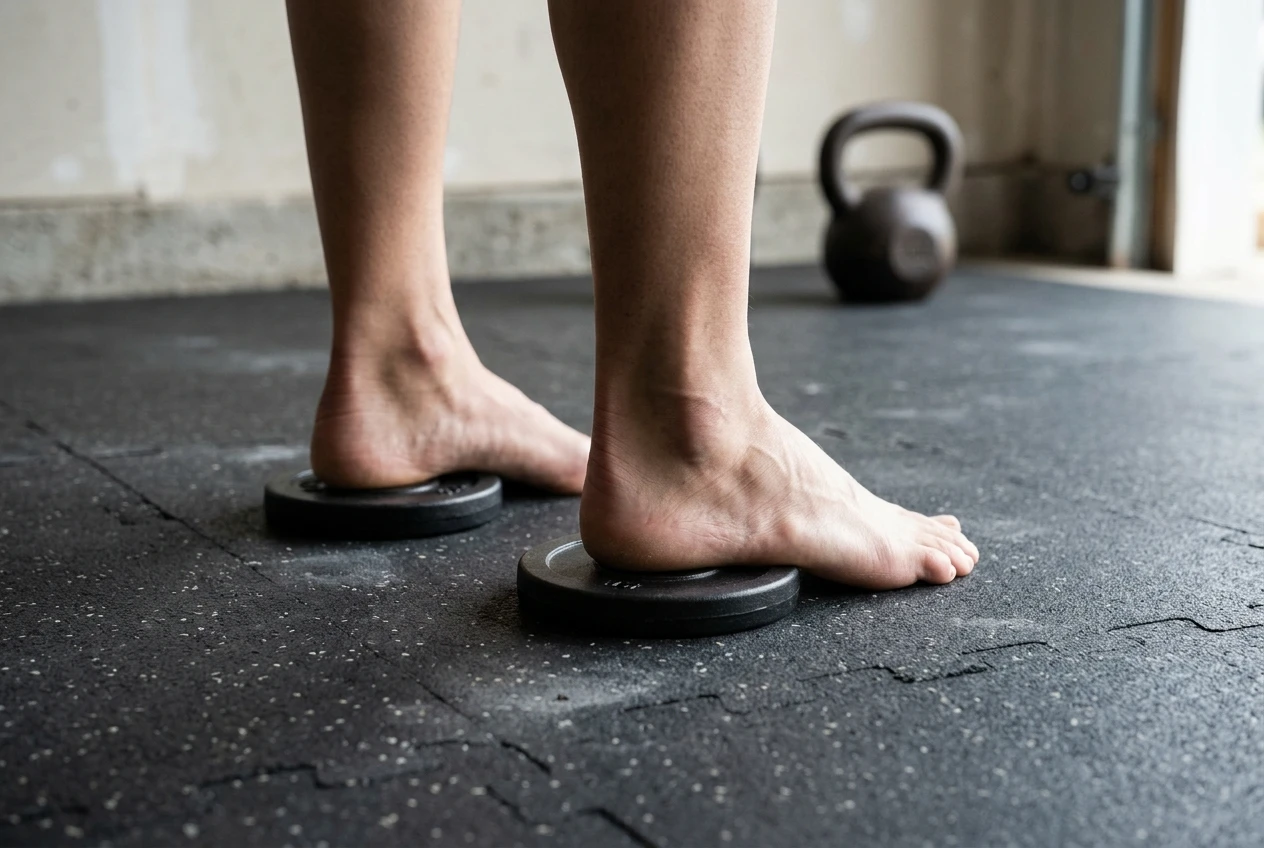
Plates under the heels. Standing with each heel on a small, flat weight plate or a firm board raises your heel by a similar amount to a lifting shoe. Use plates on a flat floor and make sure they cannot slide or tip. This works for light sets and for the film test, but it is not a safe long-term setup under a heavy bar, since a plate can shift. If it clearly helps, that is a good sign a real heel will too.
Ankle mobility work. If stiff ankles are the cause, regular ankle work can raise your range over weeks. A common drill is the knee-to-wall test: kneel facing a wall and see how far your toes can sit from it while your knee still touches. Hold ankle stretches and loaded dorsiflexion drills for a few minutes before squatting. Mobility work takes time, and a shoe helps today, so many lifters do both.
Stance and toe angle. A slightly wider stance with the toes turned out can give your hips more room and reduce the ankle demand. Film a set with a stance a little wider or with more toe flare than usual and compare it to your normal stance. Sometimes a change of two or three inches does what a shoe would have done.
If these changes fix your depth and your balance, you may never need lifting shoes. If they help but only partly, a shoe stacks on top of them.
A shortlist by shoe type
This shortlist is by shoe type, not by brand. It does not link to individual models, so there are no affiliate links or disclosures to attach here. Choose the type, then check the fit and sole features above on whichever pair you try.
- Full raised-heel weightlifting shoe. Best for high-bar and Olympic-style squats, stiff ankles, and long femurs with a shorter torso. It gives the most depth help and the firmest platform. It is the least suited to deadlifts.
- Moderate-heel lifting shoe. Best if you do both high-bar and low-bar work, or want a compromise for squats and some other lifts. It gives a smaller depth gain but feels less tippy for low-bar lifters.
- Flat, firm-soled lifting shoe. Best for low-bar squatters with decent ankle mobility, and for anyone who also deadlifts in the same shoes. It adds stability without changing your geometry.
- Flat minimalist shoes or going barefoot. Best for lifters whose film check shows no gain from a heel. It costs the least, but it gives you no heel help and needs a decent ankle range.
Start with the type that matches your body and your squat, and let your film decide whether to spend.
Film one working set in your current shoes and one in the shoe type you are considering, then compare depth and balance using the phone video check guide.