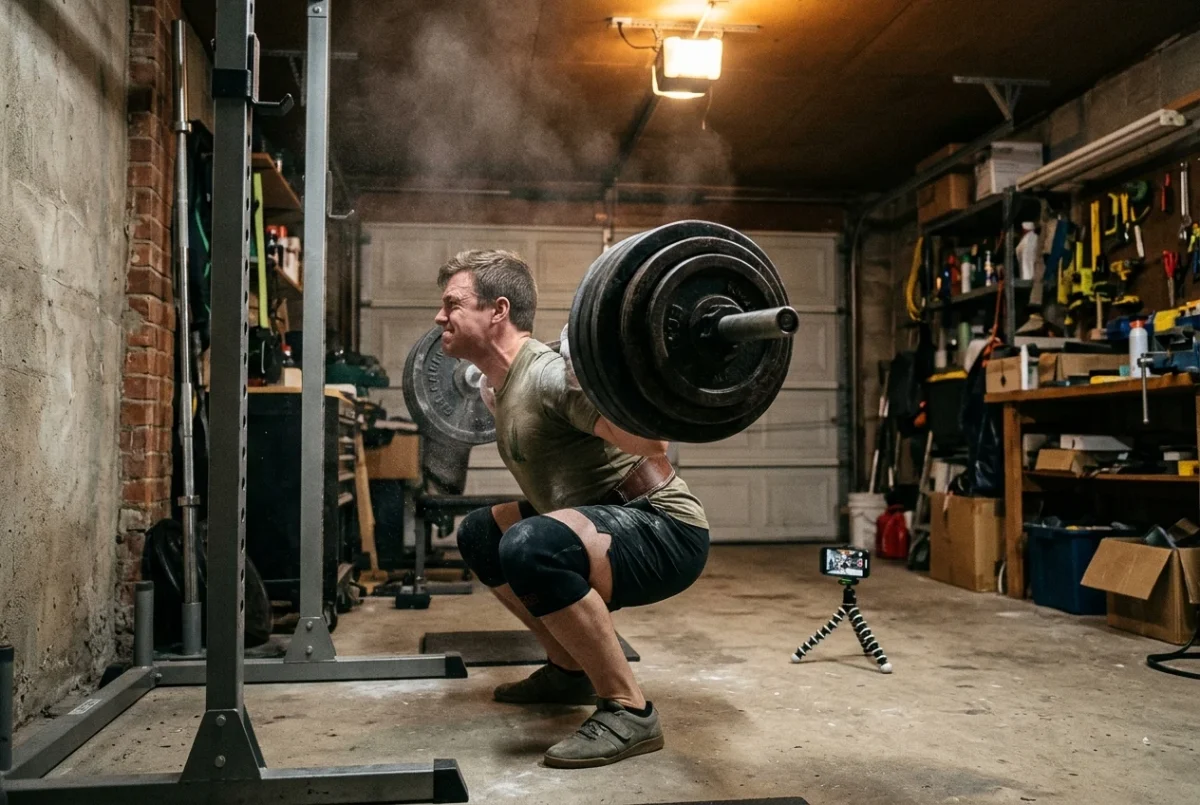
A stalled squat, bench or deadlift usually sends lifters to a list of accessory exercises, and the list is usually the problem. The best accessory exercises for a powerlifting plateau are the ones aimed at the exact spot where your lift slows down, and that spot differs from lifter to lifter. Two people with the same stuck squat number can need completely different work.
This article gives you a method that covers all three lifts. You find where the bar slows, work out which muscle or position is behind it, choose one or two accessories for that, and judge them over four to six weeks against a clear test.
Why more accessory work won’t break a plateau
Accessory work draws on the same recovery you use for the main lifts. Every extra set of rows, curls or leg extensions adds fatigue, and that fatigue shows up the next time you squat, bench or pull. If the added work doesn’t target what limits the lift, you pay the recovery cost and get nothing back.
A long list of accessories also makes it impossible to learn anything. If you add six new exercises and your bench goes up, you can’t tell which one helped. If it stays flat, you can’t tell whether one of them dragged it down. Fewer exercises, chosen for a reason, give you a result you can read.
Adding sets has its own limits too, covered in how to add sets without wrecking your elbows, knees and lower back. The question here comes first: before you decide how much more to do, decide what is worth doing.
Find the actual sticking point on each lift
A sticking point is the part of the rep where the bar moves slowest or stops. You can only see it on hard reps, so use a set at RPE 9 or higher (one rep or fewer left in the tank), a heavy single, or the last grinding rep of a heavy set. Light reps move too fast to show you anything.
Film the set from the side, or from a 45-degree angle for the bench. If you haven’t filmed your lifts before, this phone video check for depth, knees and bar path covers camera placement for the squat, and the same angles work for the other two lifts. Watch the rep and answer two questions:
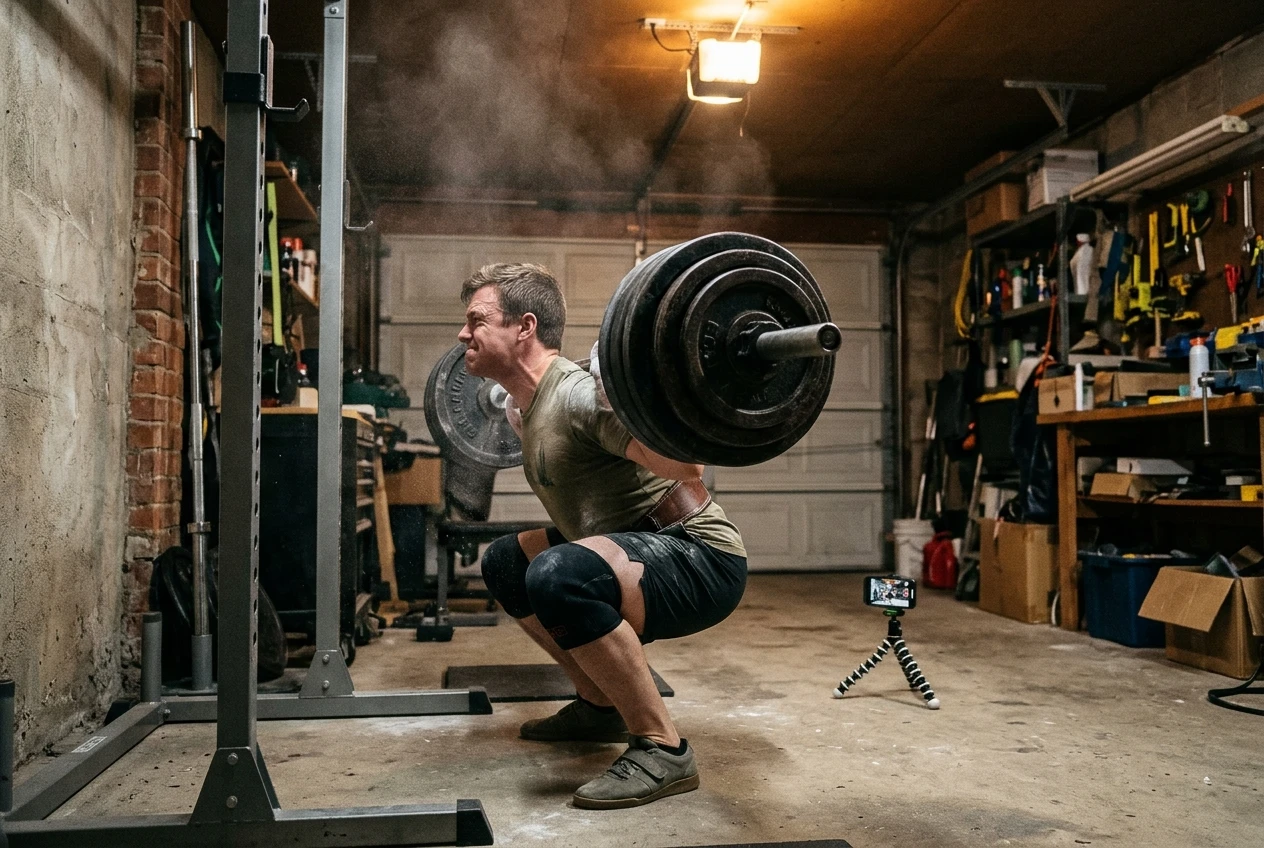
- Where does the bar slow down or stop? Note it in terms of the lift: off the floor, at the knees, just below parallel, off the chest, halfway up, near lockout.
- What does your body do at that moment? Note which joint moves first, whether your torso changes angle, whether the bar drifts away from you, and whether your hips rise faster than your shoulders.
The second question matters as much as the first. A bar that stops at the same height can stop for different reasons. In a squat, one lifter’s hips shoot up while the chest stays low, and another’s torso folds forward while the hips stay put. Those are different problems with different fixes.
Do this across several sessions, not one. A single bad rep can come from a poor setup or a bad day. A sticking point is the place that shows up repeatedly on your hardest sets.
Match the weak spot to the muscle or position behind it
Once you know where the bar slows, ask whether the cause is strength in a muscle, control of a position, or both. Position problems usually respond to pauses, tempo and lighter variations that make you hold the correct shape. Strength problems respond to loading the specific muscle harder than the main lift does.
Here are the common pairings:
- Off the floor in the deadlift: quads and the ability to keep the back tight while the legs push. If the hips rise first and the back rounds, the quads or the setup are failing.
- Around the knees in the deadlift: hamstrings, glutes and lats. The lats keep the bar close, and if it drifts forward, the lift gets harder at this point.
- Deadlift lockout: glutes and upper back. The lockout piece on this site, why you stall at the top of your deadlift, goes deeper on this one lift.
- Out of the hole in the squat: quads, plus upper back strength if your torso collapses forward.
- Mid-range squat, with the hips rising too fast: often quads that are weak relative to the hips and low back.
- Off the chest in the bench: chest and front delts, and often the ability to stay tight and use leg drive.
- Halfway up in the bench: shoulders and upper chest.
- Bench lockout: triceps.
These are tendencies, not guarantees. A lifter with long arms and a lifter with short arms can show the same sticking point for different leverage reasons. Use the table as a first guess, then let the results of your block confirm or correct it.
Pick one or two accessories per sticking point
Choose one main accessory and, if you want it, one secondary. More than that for a single sticking point splits your effort and your recovery.
The main accessory should be a compound or close variation of the lift that loads the weak area harder or in a better position than the competition lift does. Make it your priority after the main lift. Use 3 to 4 sets of 5 to 8 reps at RPE 7 to 8, which means stopping with two or three reps still available. Add load gradually; the reason is that you want enough weight to drive a training effect without the form breakdown that comes from grinding every set.
The secondary accessory is a single-joint or machine movement that isolates the muscle. Use 2 to 3 sets of 8 to 15 reps at RPE 8 to 9. Isolation work is easier to push close to failure because it taxes your joints and low back less.
Run each accessory once or twice a week, placed on the day of the lift it supports. Squat accessories go after squats, bench accessories after bench, and so on. If you only train each lift once a week, one accessory slot per sticking point is plenty.
To make a hard session more manageable, schedule accessories that mostly load the same muscles you just trained at the lower end of the effort range. A day with heavy deadlifts followed by heavy RDLs and heavy rows will cost more recovery than the same day with the RDLs at RPE 7.
Squat, bench and deadlift examples
Each example below pairs a sticking point with a main and secondary accessory. They are starting points to test, not prescriptions.
Squat: stuck out of the hole
What you see: The bar slows at the bottom, and either the hips rise ahead of the chest or the torso folds forward.
Likely cause: Quads that are weak relative to the hips and back, or an upper back that can’t hold the torso up.
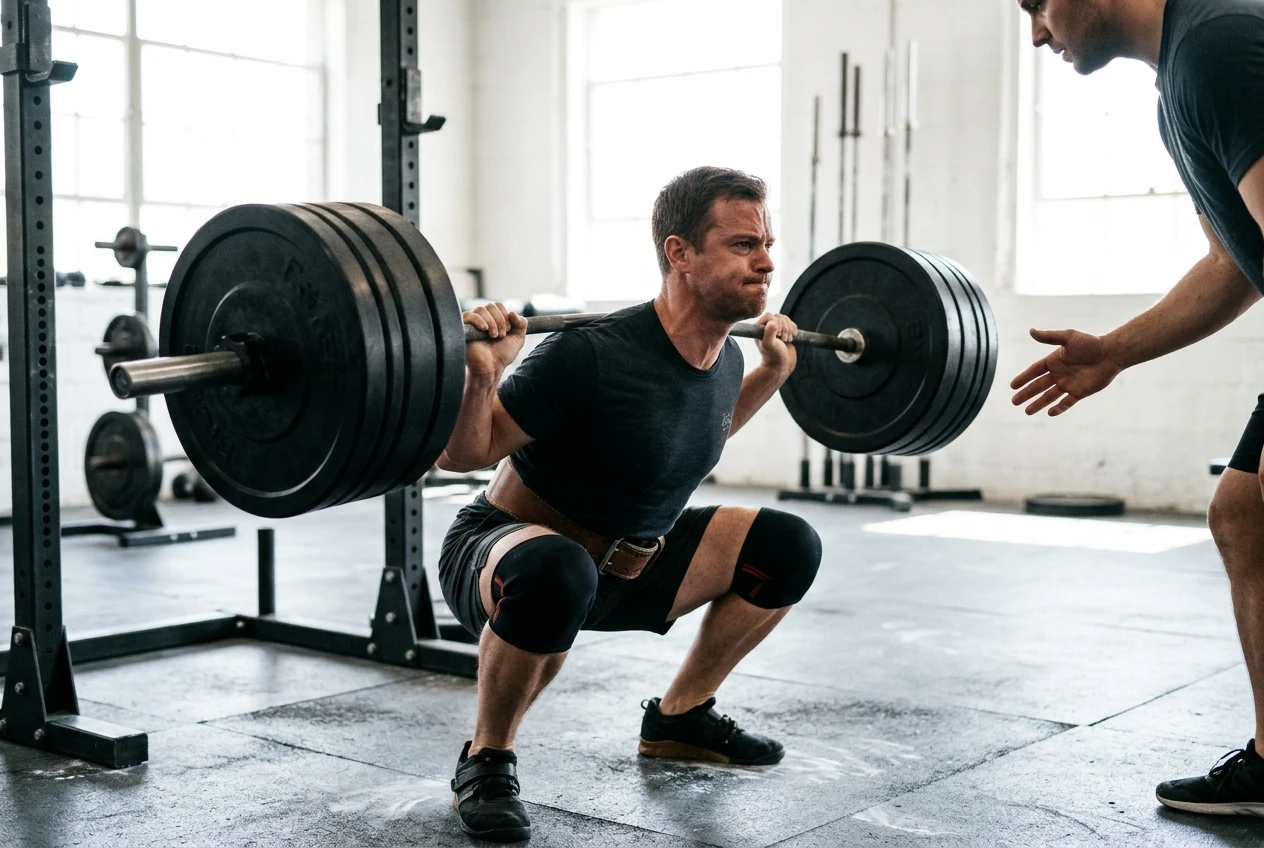
Main accessory: Pause squats, with a 2 to 3 second hold in the bottom position, using a lighter load than your regular working weight. Front squats also work, because the bar position punishes a collapsing torso. Pick one.
Secondary accessory: Leg press or leg extensions for the quads, or chest-supported rows if the torso fold is the issue.
If you aren’t sure which pattern you have, film a few reps first. The difference between hips rising and chest folding is easy to see from the side. Differences between the high bar and low bar positions also change which muscles take the load; the piece on high bar versus low bar squat differences covers that.
Bench: stuck at lockout
What you see: The bar moves well off the chest and through the middle, then slows or stalls in the top third.
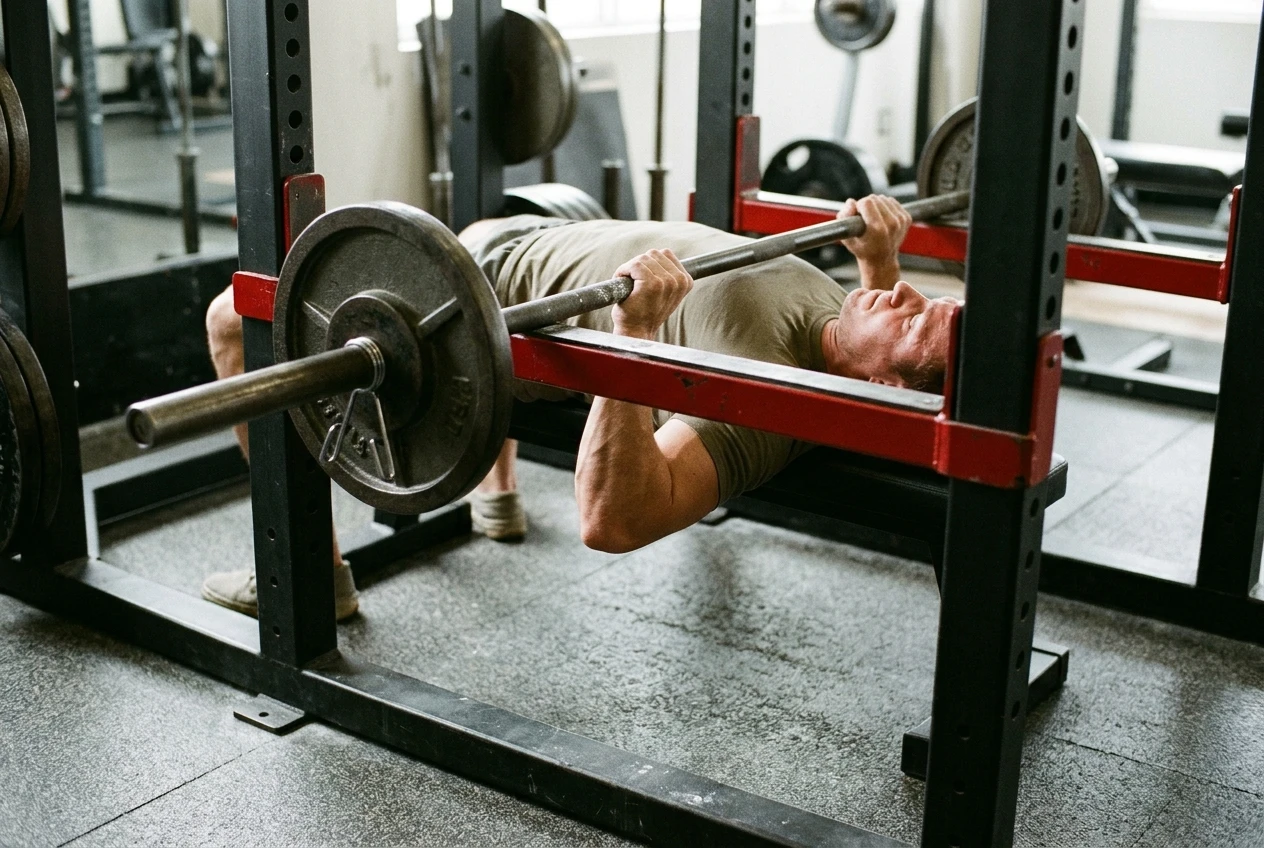
Likely cause: Triceps strength.
Main accessory: Close-grip bench press at 3 to 4 sets of 5 to 8, or a pin press from a height just below where you stall.
Secondary accessory: Triceps pushdowns, overhead triceps extensions or dips, for 2 to 3 sets of 8 to 15.
If the sticking point is off the chest instead, swap the main accessory for pause bench or dumbbell bench press. A pause removes the bounce and makes you generate the force from a dead stop, which is exactly the weakness.
Deadlift: stuck off the floor
What you see: The bar leaves the floor slowly, the hips shoot up, and the back rounds or the bar drifts forward before it reaches the knees.
Likely cause: Quads that can’t drive the floor away, or loose upper back tension at the start.
Main accessory: Deficit deadlifts at a lighter load, with the deficit small enough that your back position stays the same as your regular pull. A pause deadlift, stopping for a second just below the knee, also trains position through the weak range.
Secondary accessory: Leg press, front squats or chest-supported rows to build quad and upper back strength.
If the weakness is at the knees or the lockout instead, Romanian deadlifts and rack pulls are the usual choices, with hip thrusts as a glute-focused secondary.
How to run an accessory block for four to six weeks
A block gives the accessories time to work and gives you a clean comparison. Four weeks is the minimum for most lifters. Six weeks suits slower-progressing lifters or lifters who train each lift once a week.
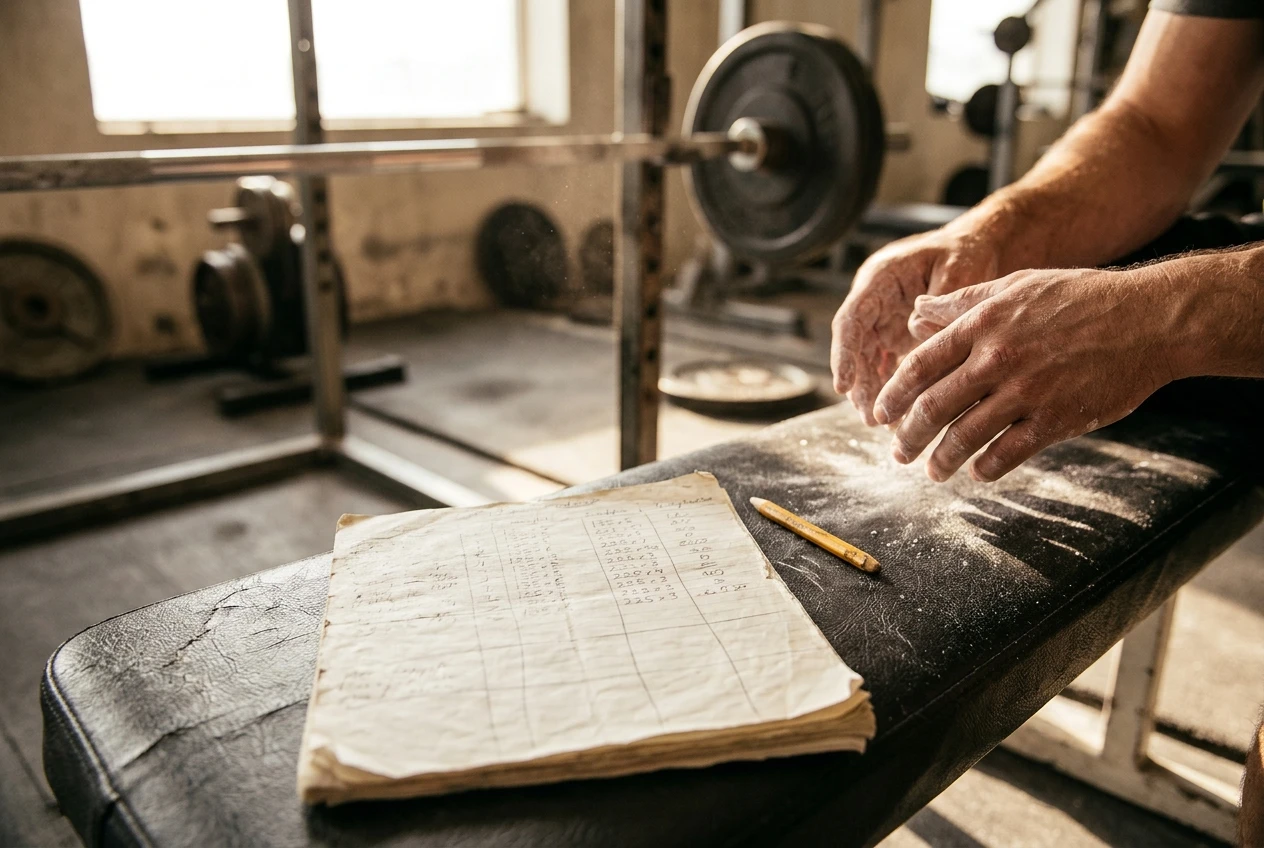
Before you start, set a benchmark. Choose a test you can repeat exactly. A common one is a fixed-load set on the main lift, such as the top set you hit at RPE 8, filmed, with the reps and bar speed noted. Also record your starting weights and reps on the accessories.
During the block:
- Keep the main lift programming otherwise the same. If you change it as well, you can’t tell what caused the change.
- Add reps first. When you reach the top of the rep range on all sets at the target RPE, add a small amount of weight and drop back to the bottom of the range. This guide to adding load week to week walks through that kind of progression.
- Log each accessory session: load, sets, reps and RPE.
After the block, retest with the same fixed-load set. Compare three things:
- Reps or RPE at the same weight. More reps or a lower RPE means you got stronger at that load.
- Bar speed through the old sticking point. Check the video. A bar that now passes the old trouble spot without slowing is the clearest sign of success.
- Accessory progress. Did the accessory itself get stronger?
Then read the combination:
Accessory progressed Main lift improved What it suggests Yes Yes The diagnosis was right. Keep going or move to the next weak spot. Yes No The accessory got stronger, but it may not be the limiter. Re-check the video. No No Dose, recovery or exercise choice is off. Review sleep, food and total fatigue. No Yes The gain likely came from something else, such as the main lift programming.
When to swap an accessory out, and when to stay with it
Stay with an accessory while it is still progressing and the sticking point is still there. Linear progress on an accessory is a good sign, and cutting it early to try something new throws away the benefit of the weeks you already put in.
Swap an accessory when:
- The sticking point has moved. If your bench now stalls off the chest instead of at lockout, the triceps work has done its job and a different weak spot needs attention.
- It has stalled for three or more weeks even though your recovery is reasonable. Try a close relative, such as dumbbells in place of a barbell, rather than a totally different pattern.
- It causes joint pain. Muscle soreness is normal. Sharp or persistent pain in an elbow, knee, shoulder or lower back is a reason to replace the movement.
- The video shows the diagnosis was wrong. If the accessory improved and the lift didn’t change, go back to the footage and look for a different cause.
Avoid swapping every week or two. Most accessories need several weeks before the changes show up in the main lift, and constant rotation leaves you with nothing to compare.
Gear that helps accessory work, and when you can skip it
Most accessory work needs no special equipment beyond what’s in a normal gym. A few items do make specific exercises easier or let you use them in ways a barbell can’t.
Resistance bands add accommodating resistance, where the load gets heavier as you move through the range. They are also useful for pull-aparts, band-resisted triceps work and warm-ups. If your gym has cables and dumbbells, you can skip bands for most accessory purposes, but they are cheap and portable for home training.
Lifting straps let you complete rows, Romanian deadlifts and rack pulls when your grip gives out before the target muscles do. Using straps on these accessories makes sense when the goal is to train the back or hamstrings, not the grip. Keep your grip unassisted on the work where grip is part of what you want to train, and read when to use lifting straps and when your grip should do the work to decide which situation you are in.
A belt is optional for accessories. Most accessory sets are lighter than your main work, so skip it unless a heavy movement like a deficit deadlift or a heavy front squat feels better with it.
If you want to add band accessory work, the guide to which resistance bands are worth buying for powerlifting covers what to look for and which bands suit which exercises. Affiliate disclosure: that guide includes affiliate links, and I may earn a commission if you buy through them.