Lifters tend to sort gear into two camps: serious people who use it and purists who refuse it. That argument has no answer because it treats a belt, a pair of straps, a knee sleeve, and a squat shoe as the same kind of object. They do different jobs, and the question of whether do lifting aids prevent injury has a different answer for each one.
This article sorts the common aids by what they do and which injury risk they can lower. It also covers the problems an aid can cover up without fixing, so you can decide lift by lift whether a piece of gear protects you over the long run or only hides a limitation.
Why the “crutch” argument asks the wrong question
A crutch replaces a function you have lost. Most lifting aids do something else: they change a specific variable of the lift, such as trunk stiffness, wrist angle, how much load the hands carry, or how far the ankle has to bend. Whether that change is good depends on which variable you are changing and why.
Better questions to ask about any piece of gear:
- What exactly does this change about the lift?
- Which tissue or joint does that change protect?
- Is the thing it changes my actual limiting factor, or is it a symptom of one?
- Would I still be able to train that pattern safely without it?
An aid that gives you something you have no way to build yourself, like a stable sole under a squat, is a tool. An aid that lets you lift past a problem you could fix with a few weeks of work is a deferral. The same piece of gear can be either one depending on the lifter and the lift.
What an aid can change: bracing, leverage, joint position, and load on a weak link
Nearly every common aid falls into one of four jobs.
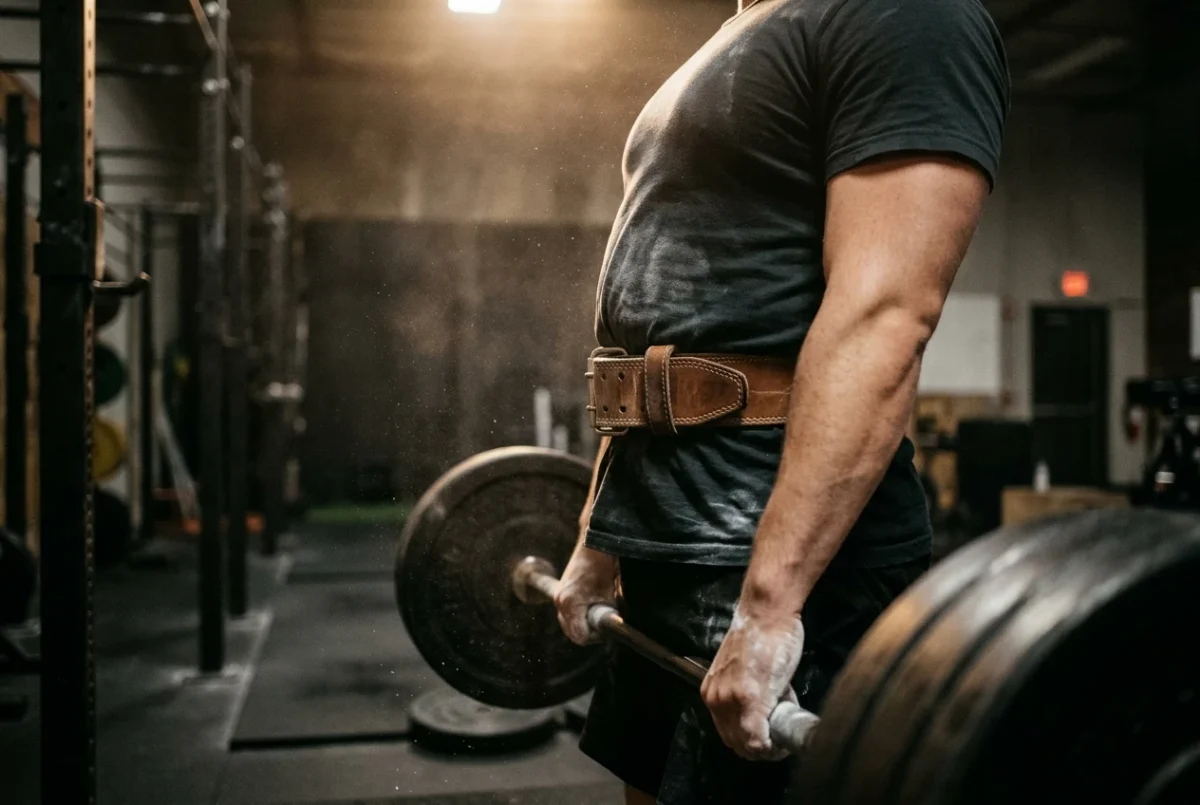
Trunk bracing. A belt gives your abdominals something to push against, which makes it easier to build pressure inside the torso and keep the spine stiff under load. The risk it targets is the spine losing position under heavy squats, deadlifts, and overhead pressing.
Leverage. A raised heel changes how much ankle bend a squat requires. A flat, firm sole changes how far you have to reach in a deadlift. These shift where the load sits relative to your joints and how upright your torso can stay.
Joint position. Wrist wraps hold the wrist in a straighter line under a pressing load. Knee wraps and sleeves add compression and warmth around the joint. These aids address position and comfort, and they do not replace the structure of the joint.
Load on a limiting link. Straps take the hands out of a pull so the grip stops being the first thing to fail. The target is the back, hips, and lats getting the work you meant them to get.
Each job has a limit. No aid builds the strength or skill underneath it, and none makes a bad movement pattern safe. They shift where the stress lands, and sometimes they let you lift heavier, which carries its own risk.
Belts and the trunk: where bracing help is real and where it isn’t
A belt works by giving you a surface to brace against. When you take a big breath into your belly and push your abs outward into the belt, you can build more pressure inside the torso than many lifters manage without one. That stiffens the trunk, and a stiffer trunk holds a neutral spine more reliably on heavy squats and deadlifts.
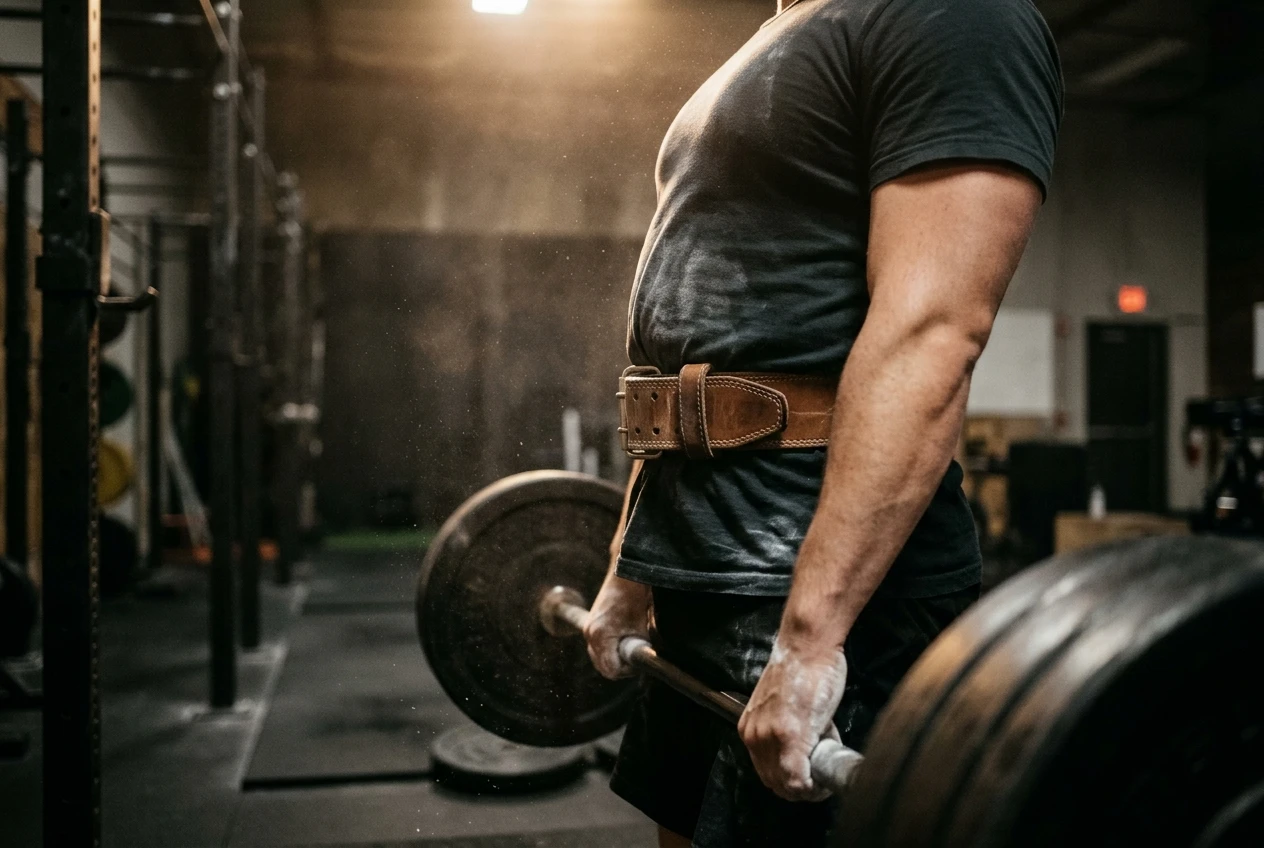
That mechanism is well established. The claim that belts prevent back injuries over a lifetime goes further than the evidence does, because most research measures trunk pressure and lifting performance rather than long-term injury rates. A belt makes a heavy set more stable. It does not make a spine immune to load.
Where a belt helps:
- Heavy sets of squats and deadlifts, where the limiting factor is holding a braced trunk under near-maximal load.
- Overhead pressing when you are using heavy loads and your lower back tends to arch.
- Lifters who already know how to brace and want to add a cue to push against.
Where it does not help:
- Warm-ups and light work, where wearing it all session means you never practice bracing on your own.
- Lifters who have not learned to brace without it. A belt amplifies a brace you already have; it does not teach one.
- Back pain with no known cause. Strapping it tighter and loading it heavier does not diagnose anything.
A reasonable pattern is to train your lighter and moderate sets without the belt so your own bracing stays practiced, and put it on for the heaviest work. If you are still deciding which one to get, the lifting belt buying guide on this site covers that choice separately.
Wraps, sleeves, and shoes: protecting wrists, knees, and ankles on specific lifts
Wrist wraps
On the bench press and overhead press, the bar should sit over the stack of the forearm. When it rolls back toward the fingers, the wrist bends backward under load and the joint takes the strain. Wraps limit how far the wrist can fold, which can reduce that stress during heavy sets.
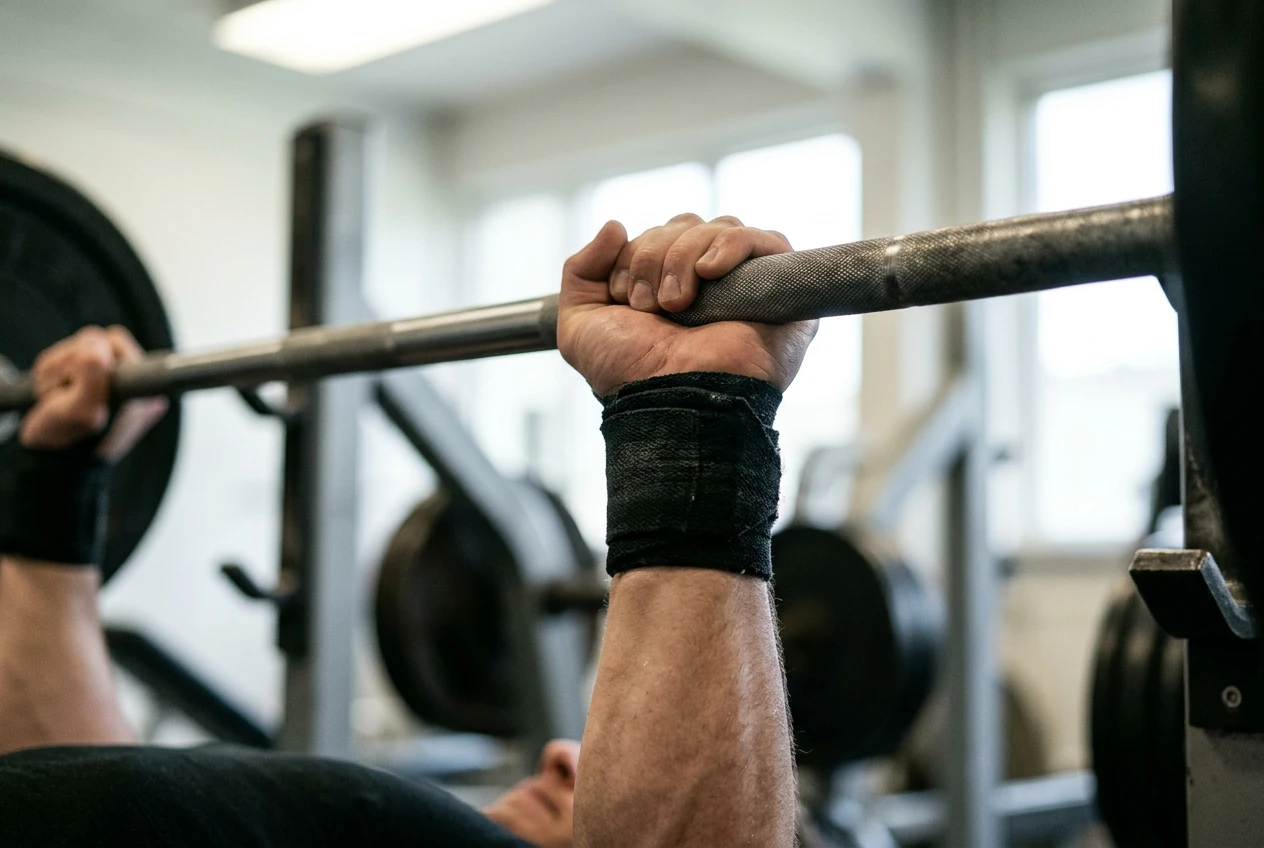
A wrap compensates for a bar sitting in the wrong place in your hand. If you have not checked your grip, the wrap may be covering a setup error you could correct for free. The piece on wrist pain on the bench press walks through fixing the grip first, and then deciding whether wraps still earn a place.
Knee sleeves and wraps
Neoprene sleeves keep the joint warm and add light compression. Many lifters find they feel more stable and comfortable in them, but a sleeve is soft and does not mechanically hold the kneecap or ligaments in place. Treat the benefit as comfort and warmth, and do not count on structural protection.
Knee wraps, the long elastic bandages used in some powerlifting, are a different tool. They store and return some energy at the bottom of a squat, which helps you lift more. That is a performance aid, and the heavier loads it allows add stress rather than remove it.
Elbow sleeves
Elbow sleeves work like knee sleeves: warmth and compression, with comfort as the realistic benefit. They are common among lifters with heavy pressing or pulling volume who feel stiffness around the joint. If your elbows hurt because your volume jumped, a sleeve will not change the workload. The guide on adding sets without wrecking your elbows, knees, and lower back covers how to raise volume at a rate your tissues can adapt to.
Lifting shoes
A raised, firm heel lets the knee travel forward over the toes with less ankle bend required. For lifters with limited ankle mobility, longer legs relative to torso, or a tendency to fold forward out of the bottom, that often means a more upright torso and a deeper squat position. A solid sole also gives a more stable base than a cushioned running shoe, which compresses under load.
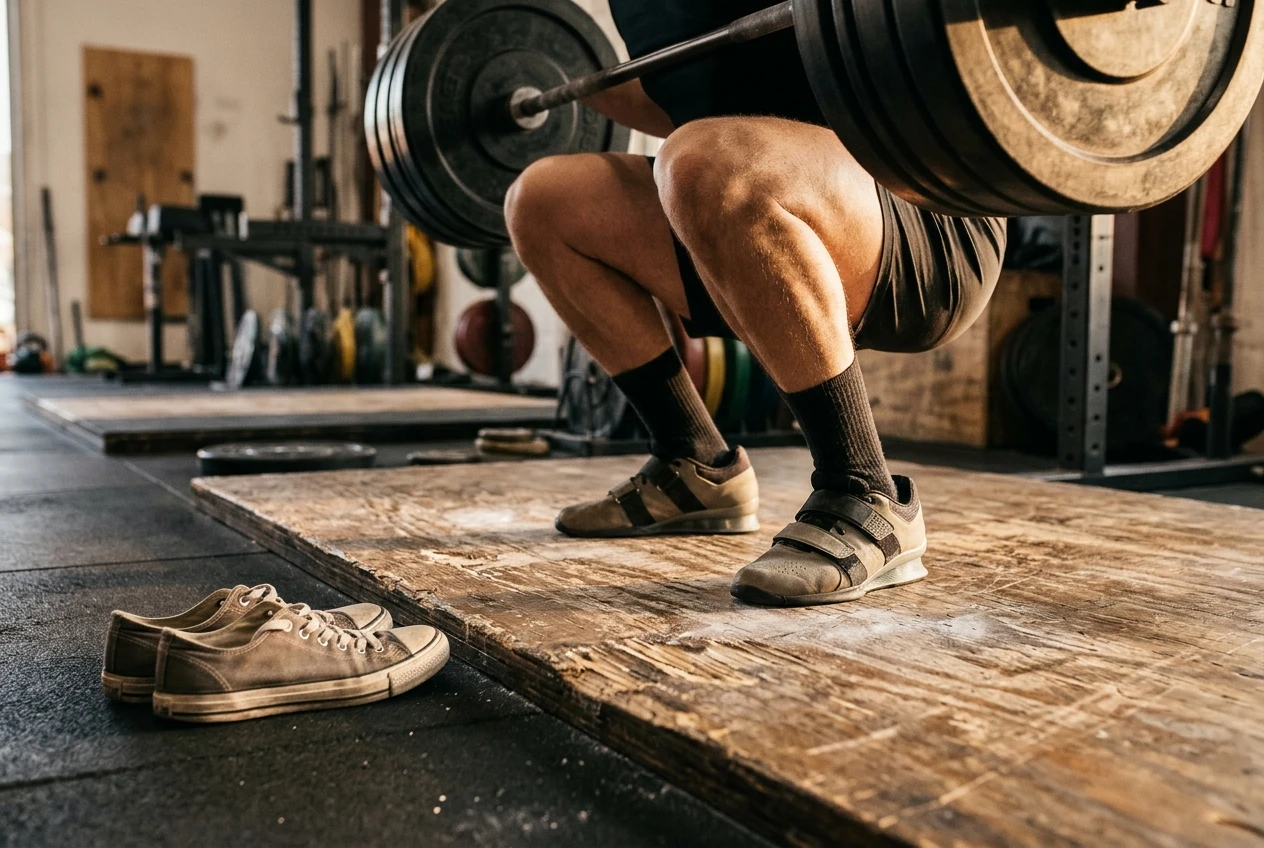
The protective value here is stability and position. A shoe does not increase your ankle mobility; it works around the limit. If you want better ankle range as well, you can train that separately and use the shoe in the meantime. How much heel you need depends on your build, which choosing lifting shoes for squat depth and stability breaks down by body type.
For deadlifts, many lifters prefer a flat, thin sole or no heel lift at all, because a raised heel pushes the hips slightly farther from the bar’s path. Shoes are lift-specific, and the shoe that suits a squat can work against a pull.
Straps and grip: taking load off the hands without skipping grip work
On rows, rack pulls, and heavy deadlift sets, the hands often give out before the back or hips do. When that happens, the muscles you are trying to train never receive their full stimulus. Straps remove the grip from the equation so the target muscles can work to their limit.
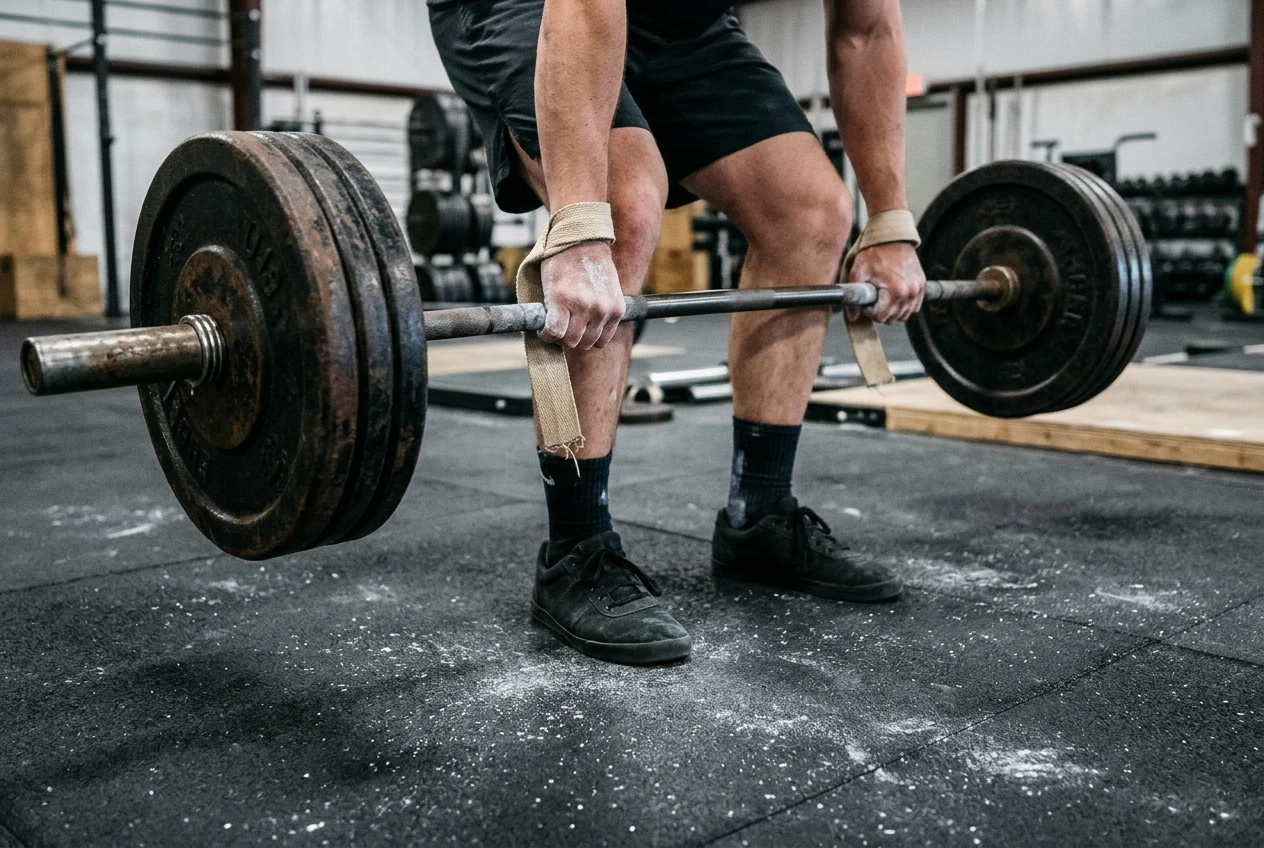
Straps also change which risks you face. A mixed grip in the deadlift puts the underhand arm’s biceps in a stretched position under heavy load, and many lifters use straps on top sets to avoid that. Straps can also spare the skin of the hands during high-volume pulling.
The downside is that grip is a quality you build, and straps used on every set at every weight leave it undeveloped. A reasonable split:
- Do your warm-up and working sets without straps up to the weight where grip is clearly the limit.
- Use straps for the heaviest sets or the highest-volume back-off work.
- Train grip directly with holds, carries, and hangs, so the strength is not left to chance.
The post on when to use lifting straps and when your grip should do the work gives a fuller set of rules, and the comparison of figure-eight and lasso straps covers the hardware once you decide to use them.
When gear is hiding a problem: pain, form breakdown, and what to fix first
An aid is doing its job when it lets a healthy lifter train a good pattern under heavy load. It is hiding something when you reach for it in response to a symptom. Warning signs:
- Pain that you started wearing gear to manage. If the sleeve or wrap is the only reason a movement is tolerable, the pain has a cause that the gear is not addressing.
- Form that falls apart without it. If your squat depth, back position, or bar path is clearly worse the moment you take the aid off, you may have a mobility or skill gap that needs its own work.
- Loads that rose faster than your tissues adapted. Gear can let you lift more before your tendons and joints are ready for it.
- Pain that is sharp, worsening, or lingering after training. That calls for rest from the aggravating movement and probably a clinician, not more support.
Fix the underlying issue in this order:
- Check technique, ideally with video. The phone video check for squat depth, knees, and bar path shows what to look for.
- Look at recent changes in volume, load, or exercise selection.
- Address a mobility or strength limit directly with accessory work.
- Add gear to support a pattern that is already sound.
Gear belongs at the end of that list, because it works best on top of a lift that is already in decent shape.
A simple rule for adding one aid at a time and tracking whether it helps
If you add a belt, wraps, and new shoes in the same week, you cannot tell which one changed anything. Introduce one aid at a time and give it a few weeks of normal training before judging it.
For each aid, write down before you start:
- The specific problem you expect it to help (for example, “lower back loses position on my top squat sets”).
- A baseline: the weight and reps you currently lift, how hard they feel on a 1 to 10 scale, and any pain.
- A short video of the lift from the side.
After a few weeks of using it consistently, compare:
- Did the target problem improve in the video?
- Does the same weight feel easier, or did it only let you lift more?
- Is pain lower, the same, or higher?
If the problem improved and you could still do the lift reasonably well without the aid, it is a useful tool. If nothing changed, you probably did not need it. If it let you load heavier but the underlying issue is still visible on video, you have deferred the problem. Keep the aid only for the sets where it earns its place, and keep working on the limit underneath.
Build the strength underneath the gear
Gear works best on top of a base of strength, positioning, and consistent training. If you want a structured plan for building that base, the programs at kettlebell.monster give you a progression to follow. I earn a commission if you purchase through that link, at no extra cost to you.
If you train at home and prefer to follow along on a screen, there is also a Samsung Tizen TV workout app from the same source, linked under the same affiliate arrangement. Set up your space so you can see the screen without compromising your form, then add one piece of gear at a time as your training calls for it.