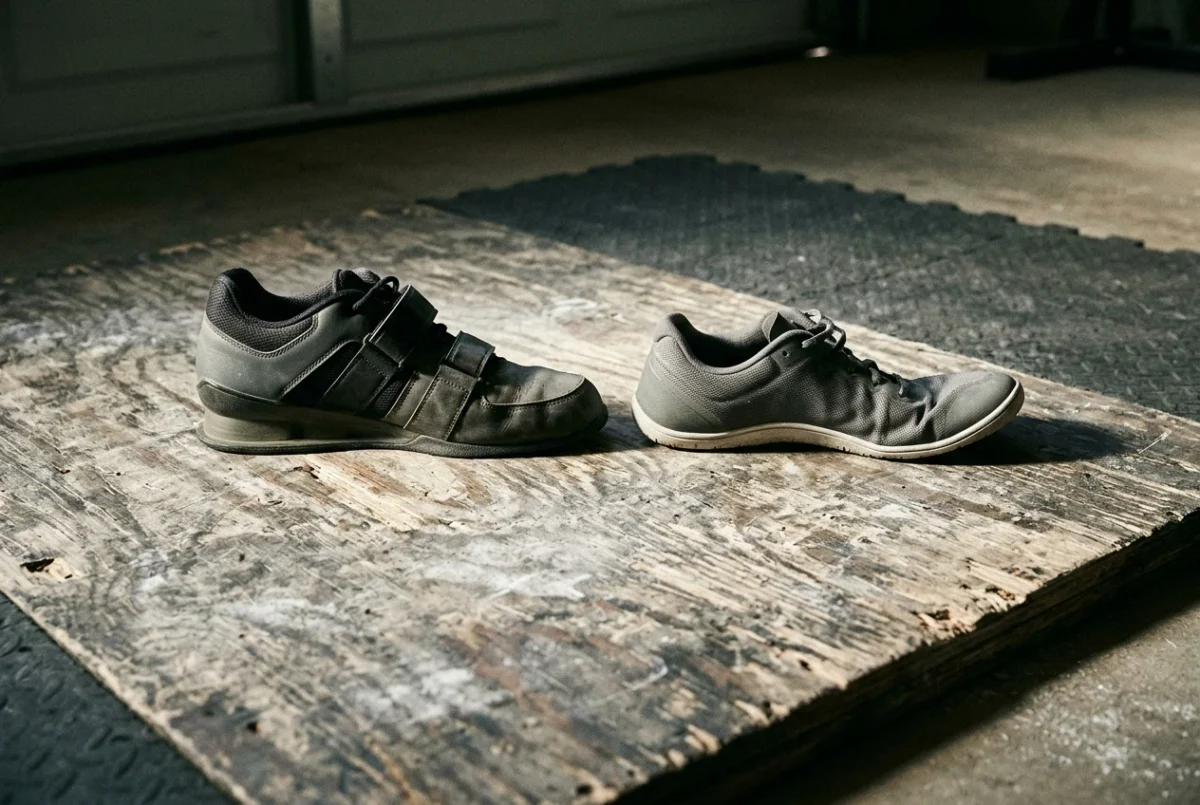
Hard sole vs soft sole lifting shoes is a question you can settle with a pencil and one week of your own training log. The answer depends on how your week divides between heavy sets where you stand still and minutes where your feet move, and that split points to one pair or two.
This guide shows how to count that split, what each sole type does under your foot, and what a bare concrete or matted garage floor changes. It ends with a checklist to run before you spend anything.
What a hard sole and a soft sole each do under your foot
A hard sole does not compress when you load it. Most shoes in this group have a firm midsole and a flat, stiff base, and many have a raised heel. When you push into the floor, nearly all of the force goes into the ground instead of into squashing foam. The shoe also stays flat when you shift weight to the midfoot or heel, so the position you set up in is the position you finish in.
A soft sole bends and compresses. The category covers a wide range, from thin flexible trainers to minimalist shoes to ordinary cushioned sneakers. What they share is that the foot can flex, spread and feel the floor to some degree, and the sole gives under load instead of resisting it.
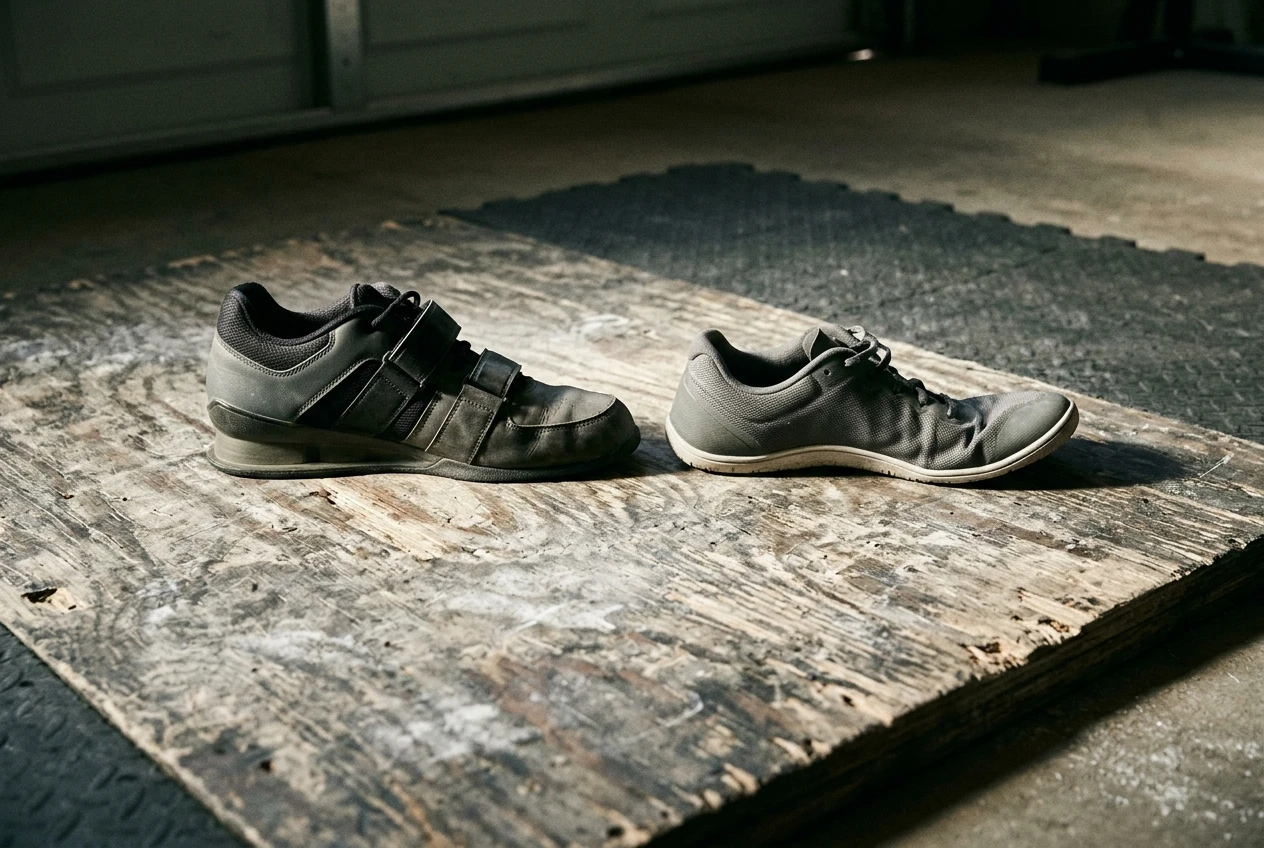
Neither type is better in general. A firm base helps when the job is to stand still and push hard. A flexible sole helps when the job is to move, pivot and grip the floor with your toes. The rest of this guide is about which of those two jobs takes up more of your week.
Tally your week: heavy static sets versus minutes of movement
Take your last full week of training, or the week you plan to run, and make two counts.
Heavy static sets. Count every set of squats, deadlifts and presses at working weight, meaning sets hard enough that you rest several minutes afterward. Include top sets and back-off sets. Leave out light warm-up sets.
Movement minutes. Count the minutes you spend on kettlebell swings, cleans, snatches, flows, carries, lunges, step-ups and any conditioning where your feet change position or the load swings.
The two numbers use different units, so convert the sets. Count each heavy set as two minutes of foot time to cover the walk-out, the setup and the set itself. This is an approximation, not a measured figure, but it is good enough to compare two bundles of training.
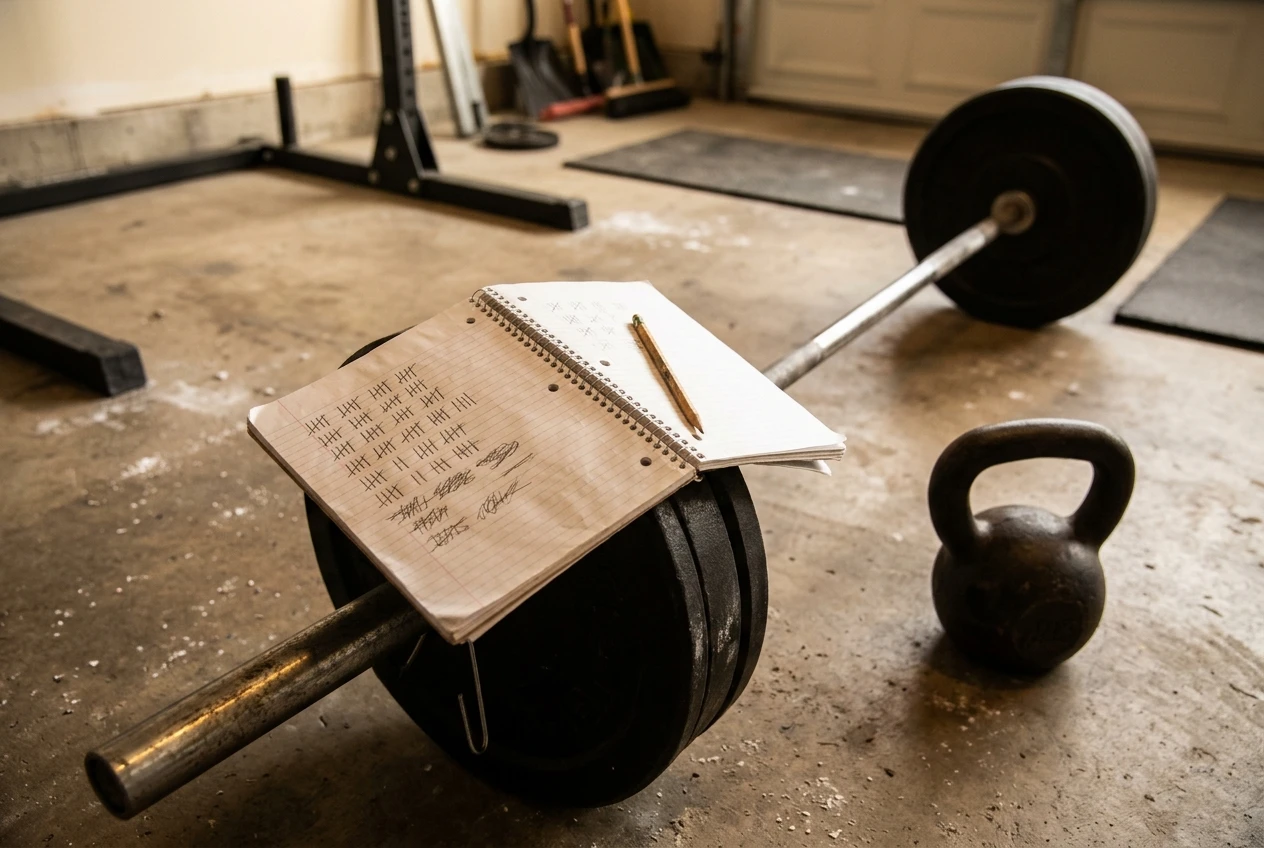
Here is an example with invented numbers. A lifter has 18 heavy sets in a week, which is 36 minutes. Their kettlebell work adds up to 60 minutes of swings, flows and carries. Movement is the larger share, so the tally leans toward a flexible shoe. Another lifter with 30 heavy sets (60 minutes) and 20 minutes of flow leans the other way.
Use your own numbers and apply this reading:
- Heavy minutes at least double your movement minutes: a hard sole covers your week.
- Movement minutes at least double your heavy minutes: a soft sole covers your week.
- Anywhere in between: go to the one-pair and two-pair rules below.
Why heavy squats, deadlifts and presses reward a firm, flat base
Heavy squats put the whole load through the foot while you stand in one place. A compressible sole can compress unevenly under that load, especially if your weight sits more on one side or toward the heel at the bottom of the lift. A firm base keeps the foot level, so the bar path you practised with lighter weights holds up when the weight is heavy.
A raised heel, which many hard-soled shoes have, changes the squat position too. It lets the knees travel forward with a more upright torso for some lifters. This matters if your ankles are stiff, and it is one reason a lifter whose squat depth is limited by the ankle might lean toward a hard sole. If you are not sure whether ankle range is your limit, test it before buying: stand with a loaded bar, squat to your usual depth with a small plate under each heel, and see whether the position gets easier.
Deadlifts ask for something different. Pulling from the floor does not need a raised heel, and many lifters pull in flat shoes or thin socks because a lower heel shortens the distance the bar travels. A hard flat sole works for pulling. A heavily raised heel can tilt your weight forward and make the setup feel unstable. If the same pair has to do squats and deadlifts, a flat or low-heeled hard sole is the safer compromise.
For presses, a firm base matters mainly for the stance. Standing overhead presses transfer force from the floor through the hips and trunk, and a squashy sole gives you one more thing to stabilize while the bar is overhead. The effect is smaller than in squats, and a soft shoe is workable if the sole is thin.
Why flows, swings and carries ask for a sole that lets the foot work
Kettlebell flows keep changing your stance. You hinge, swing, clean, squat, lunge and pivot, often within a single round. A flexible sole lets the foot spread and grip the floor, and it lets you feel when your weight shifts toward the toes or heels. A stiff, raised-heel shoe fights some of those changes, because it keeps the foot in one posture while the movement asks for another.
Swings and snatches are the clearest case. The weight should stay over the midfoot and the whole foot should stay planted through the hinge. A thick, springy sole can add bounce you did not ask for. A stiff raised heel can push you forward onto your toes in the hinge. A thin flexible sole or a flat low-profile shoe avoids both problems.
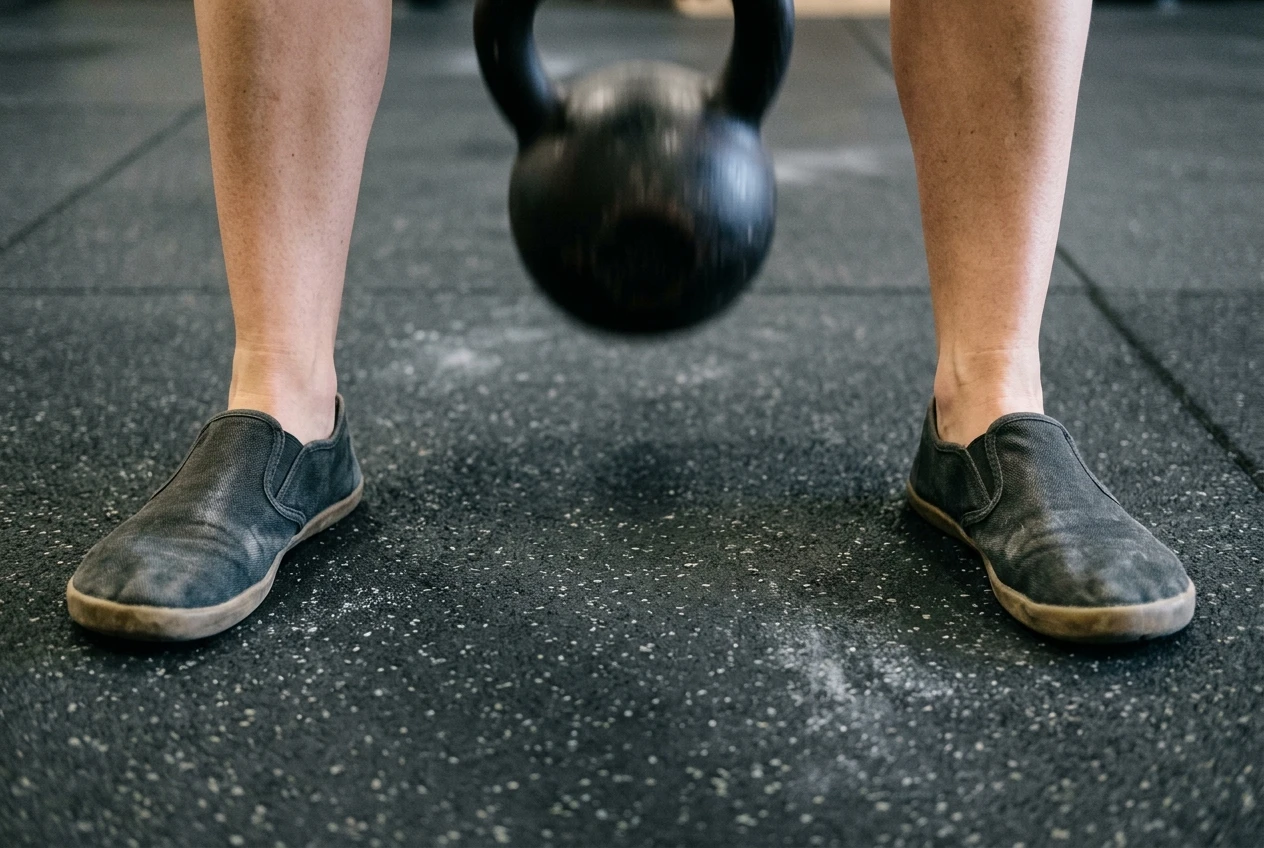
Carries and lunges reward flexibility in the same way. Walking with a heavy kettlebell involves a normal gait, and a flat shoe that bends at the ball of the foot lets that gait happen. A rigid base turns each step into a flat-footed stomp.
If you run kettlebell flows often, the warm-up routine built around the day’s lift and your footing choice both affect how the first rounds feel, so it helps to settle the shoes before judging the programming.
What your garage floor changes: bare concrete, mats and rubber tiles
The floor under the shoe changes how the sole behaves, so check your own setup before trusting any general rule.
Bare concrete. Concrete does not give at all. A hard sole on concrete is as stable as it gets, and a thin soft sole on concrete lets you feel the floor clearly. The risk is a thick compressible midsole, which adds the only give in the system and can feel unstable under a heavy barbell. Concrete can also be slick when it is sealed, painted, dusty or damp, so check the grip of the outsole on your actual floor before you load the bar.
Rubber mats. Mats add a small amount of give under the shoe, and the amount depends on thickness and material. With a hard sole, the stiff base spreads force across the mat and keeps the foot level. With a raised-heel hard sole, check that the heel is not sinking into the mat or rocking at the edge. With a soft sole, the shoe and the mat both compress, so a very thick cushioned sneaker on a soft mat can feel unstable at heavy weights. Rubber also tends to grip well, so a flat flexible sole usually feels secure on it for flows.
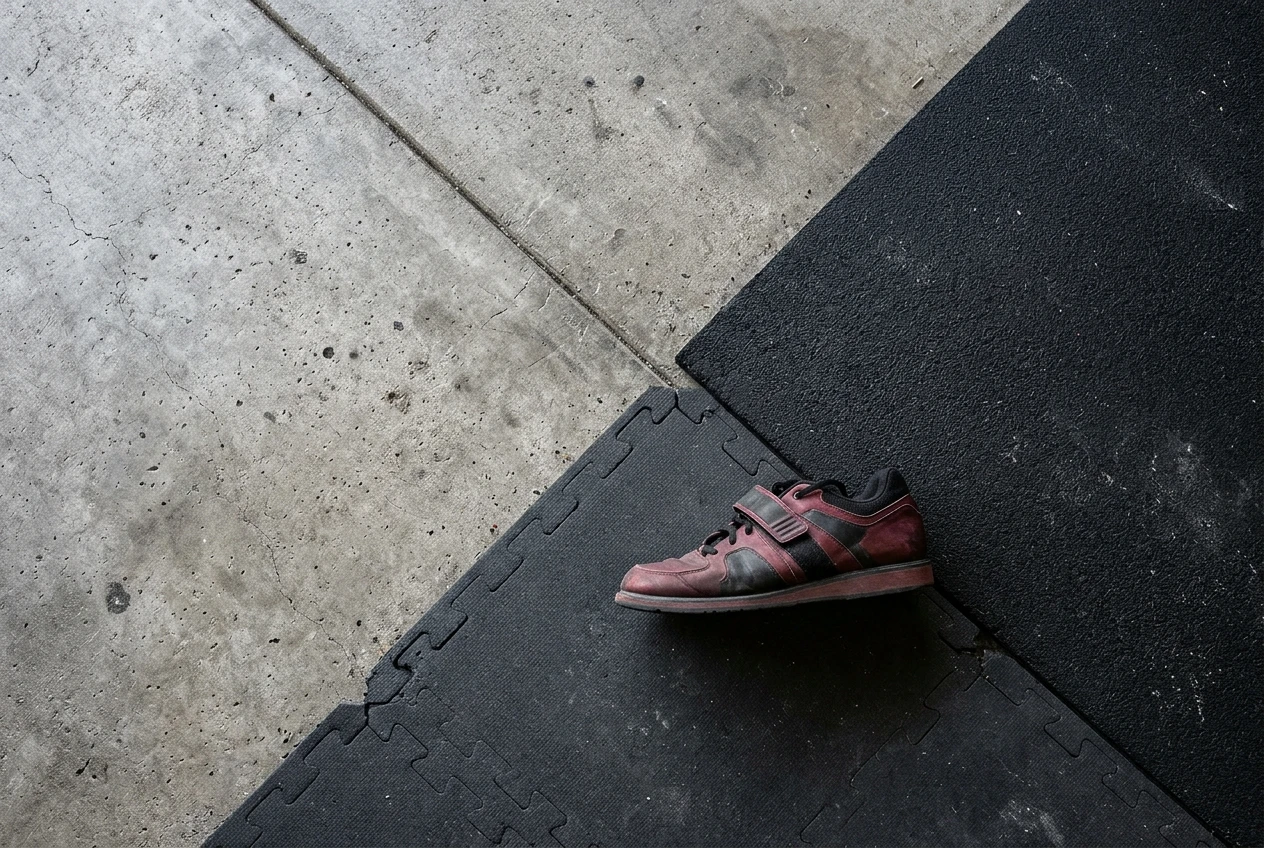
Interlocking rubber tiles. The seams between tiles can lift at the edges or leave a small step. Place your squat and pull positions on the middle of a tile, or on a single piece of plywood or a lifting platform, so a heel or toe does not land on a seam. For kettlebell flows, avoid planting your feet across a seam, since a flexible sole will feel that ridge.
Floors also affect the equipment around you, which is covered in the guide on what your home gym floor will cost you if you skip the mats. That guide works through mats as a purchase and shows how to calculate your own number.
A quick test works on any surface: load a bar to a working weight, set up in the shoe, and unrack. If your heels or forefoot rock, shift, or sink, the combination of shoe and floor is wrong for that lift.
The one-pair rule and the two-pair rule: when a single shoe is enough and when it is not
One-pair rule. If your tally falls clearly on one side, buy one pair for that side and use it for everything. A lifter whose week is mostly heavy sets should buy a hard sole and wear it for flows, accepting some stiffness during swings. A lifter whose week is mostly movement should buy a soft or flat sole and accept a less stable base on heavy squats, using a thin, firm shoe if heavy work is still part of the week.
The one-pair rule also fits any lifter whose gym time is limited and whose sessions are not mixed. If heavy days and kettlebell days are separate, one shoe per day may be enough, and you can pick the shoe that serves the bigger share of the week.
Two-pair rule. If the tally lands in the middle, or if you often do both kinds of work in the same session, two pairs become worth the cost. Wear the hard sole for the heavy barbell sets and the soft sole for the flow. The guide to wearing lifting shoes for squats and taking them off before the kettlebell flow covers when in a session to make that change.
Buy the pair that covers the larger share of your tally first. Add the second only after you notice that the first pair is holding back the other half of your training.
Before you buy: a checklist
Run through this list before you spend anything:
- Count your heavy static sets and your movement minutes for one full week, converting each set to two minutes.
- Read the result: double or more on either side points to one pair, anything in between points to two.
- Identify your floor: bare concrete, mat or tile, and note whether the surface is slick.
- Test your ankle range with a small plate under your heels to see whether a raised heel helps your squat.
- Decide whether deadlifts will be done in the same shoe, and favor a flat or low heel if so.
- Stand loaded on your actual floor in the shoe you are considering, or in a similar pair, and check for rocking or sinking.
- Buy the pair for the larger share of your week first and revisit after a few weeks.
Next step for kettlebell flows at home
Once your footing is sorted, the next question is what to do with it. If you run kettlebell flows in your garage, kettlebell.monster is a good place to look for structured kettlebell training to follow. (Affiliate disclosure: this is an affiliate link, and I may earn a commission if you buy through it, at no extra cost to you.)