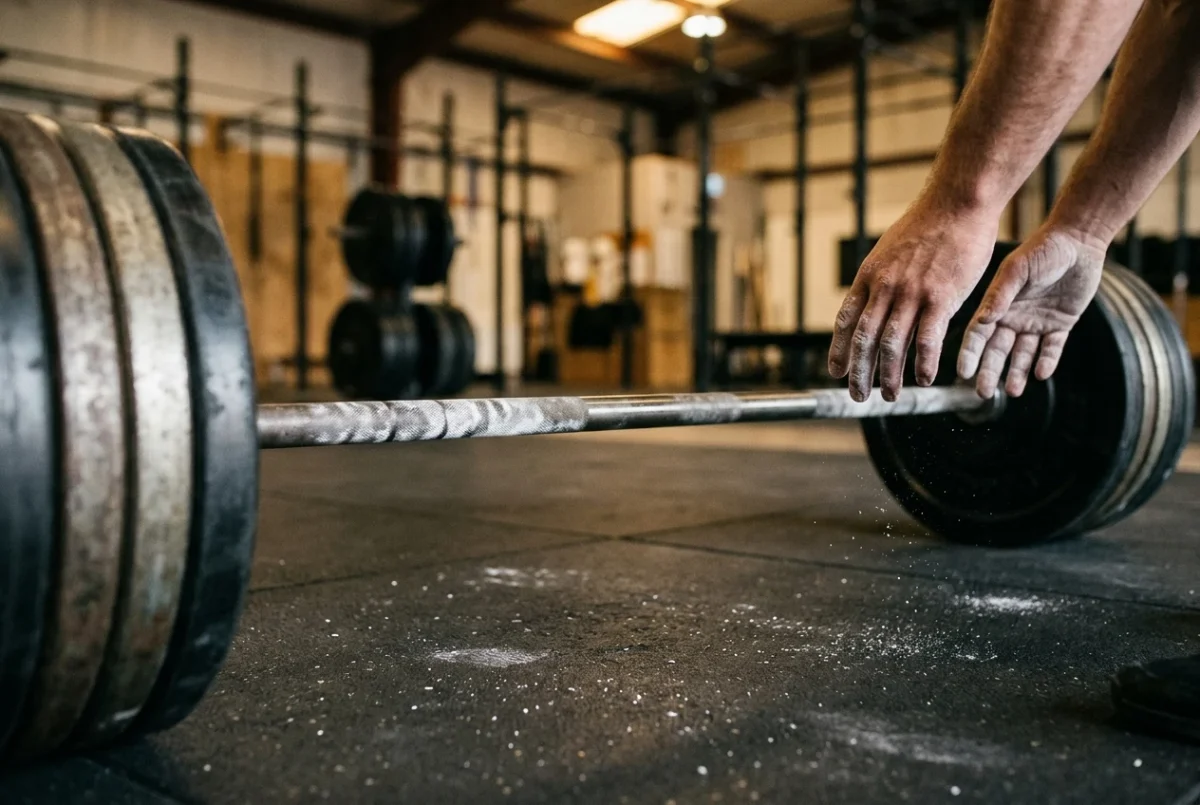
If your sessions run long and your hands give out before your legs or back do, the barbell is not the right tool for training that weakness. A heavy set of squats, rows or deadlifts is over quickly, and your hands only have to hold on for that short time. Grip endurance needs long, repeated exposure at a lower load, and that is easiest to get from a separate block at the end of the session.
This article covers grip endurance training for lifters who use barbells: how to tell when your hands are the limit, three drills to fill the block, how to measure progress in seconds, and a four-week plan to run after your last working set.
Why a heavy barbell set hardly trains grip endurance
A hard set of five on the deadlift or a row takes well under a minute from first rep to last. Your hands carry a heavy load, but only for that short stretch, and then you put the bar down and rest for several minutes. The grip gets practice at holding heavy things for a short time. It gets very little practice at holding moderate things for a long time.
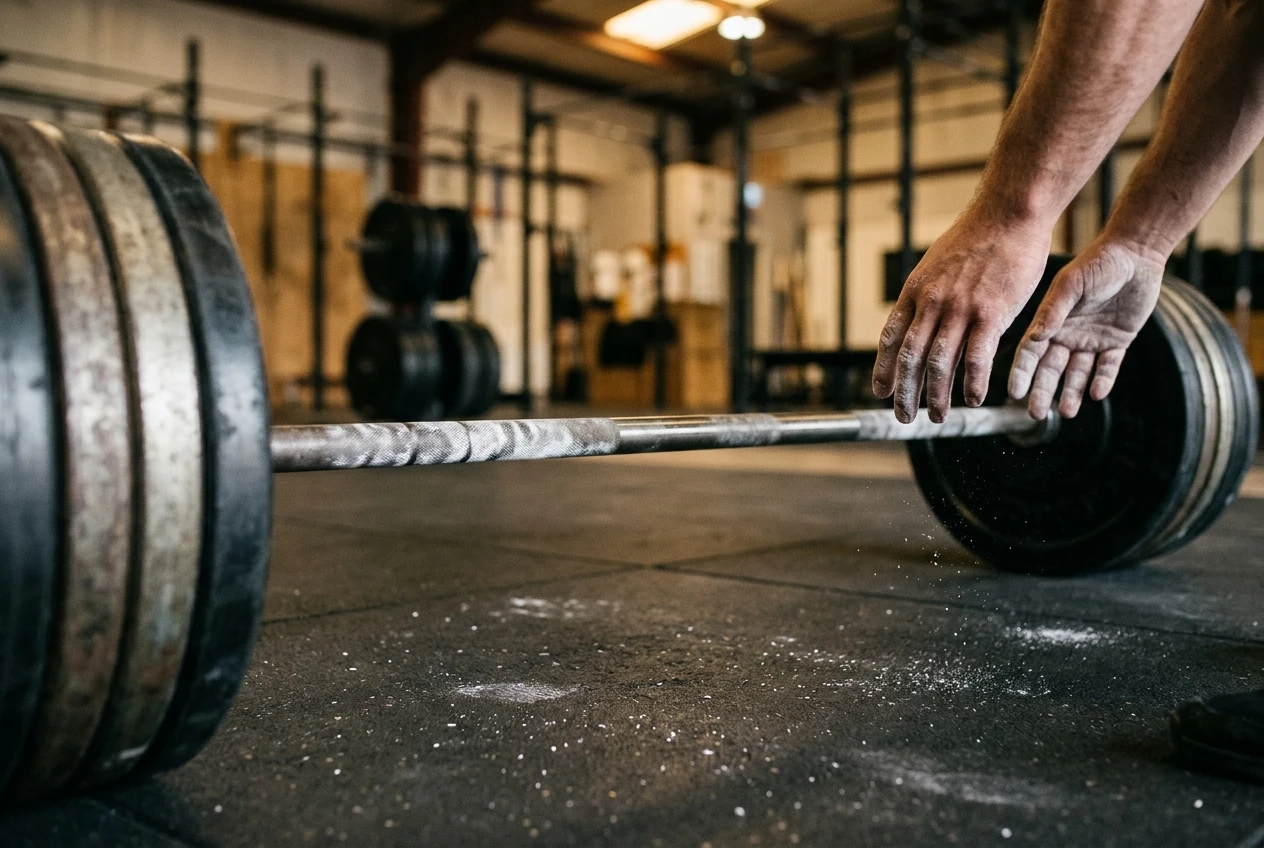
Endurance is a function of how long a muscle works under tension, not how heavy the load is at its peak. A forearm that can crush a bar for thirty seconds may still open up during the ninth set of a high-volume day, because the hands have been working through warm-ups, back-off sets, rows, pulldowns and carries between lifts without much recovery.
Adding more barbell volume to fix this has a cost. Every extra deadlift set also loads your lower back and hips, so you pay in recovery for a forearm problem. A separate grip block lets the hands do extra work without extra spinal loading.
Spot the session where your hands, not your legs or back, set the limit
Before adding anything, confirm the hands are actually the limit. Look back through your training log or your memory of the last few long sessions and check for these patterns:
- The bar starts to roll toward your fingertips on later sets, even though the weight is the same as earlier sets.
- You end a set because your grip opened, while your legs and back felt like they had reps left.
- You reach for straps on lighter back-off sets, not only on top sets.
- Your hands feel cooked after rows and pulldowns, before you even reach the main pulling work.
- Your last sets of the day are slower, not because of effort in the big muscles but because you are re-gripping or squeezing harder to hold on.
If your grip fails on one top set but holds fine for volume, that is a different problem, and a technique issue is more likely. The set-by-set method in Is Your Deadlift Grip Failing From Technique or Fatigue? separates the two. The block in this article suits you when the failure builds across a session, not when it arrives suddenly on one heavy rep.
Hang, carry, hold: three low-load grip drills and what each one trains
Three drills cover most of what a barbell lifter needs. Each one loads the hands differently, so each trains a slightly different job.
The dead hang
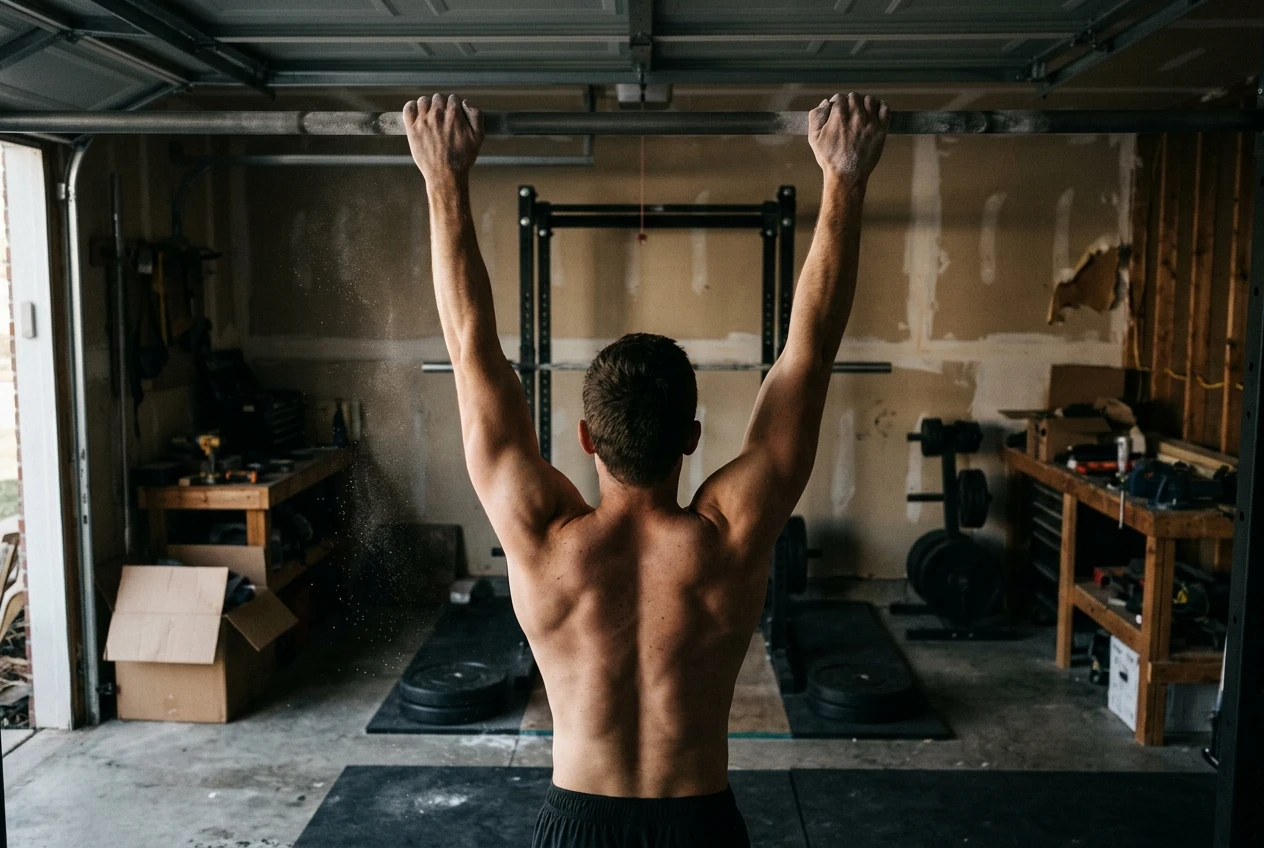
Hang from a pull-up bar with a full overhand grip, arms straight, shoulders pulled gently down and away from your ears. This trains your fingers and forearms to support body weight for a long time, with no weight to add and little risk. It also gives you the cleanest number to track, because the only thing that changes is how many seconds you last.
The loaded carry
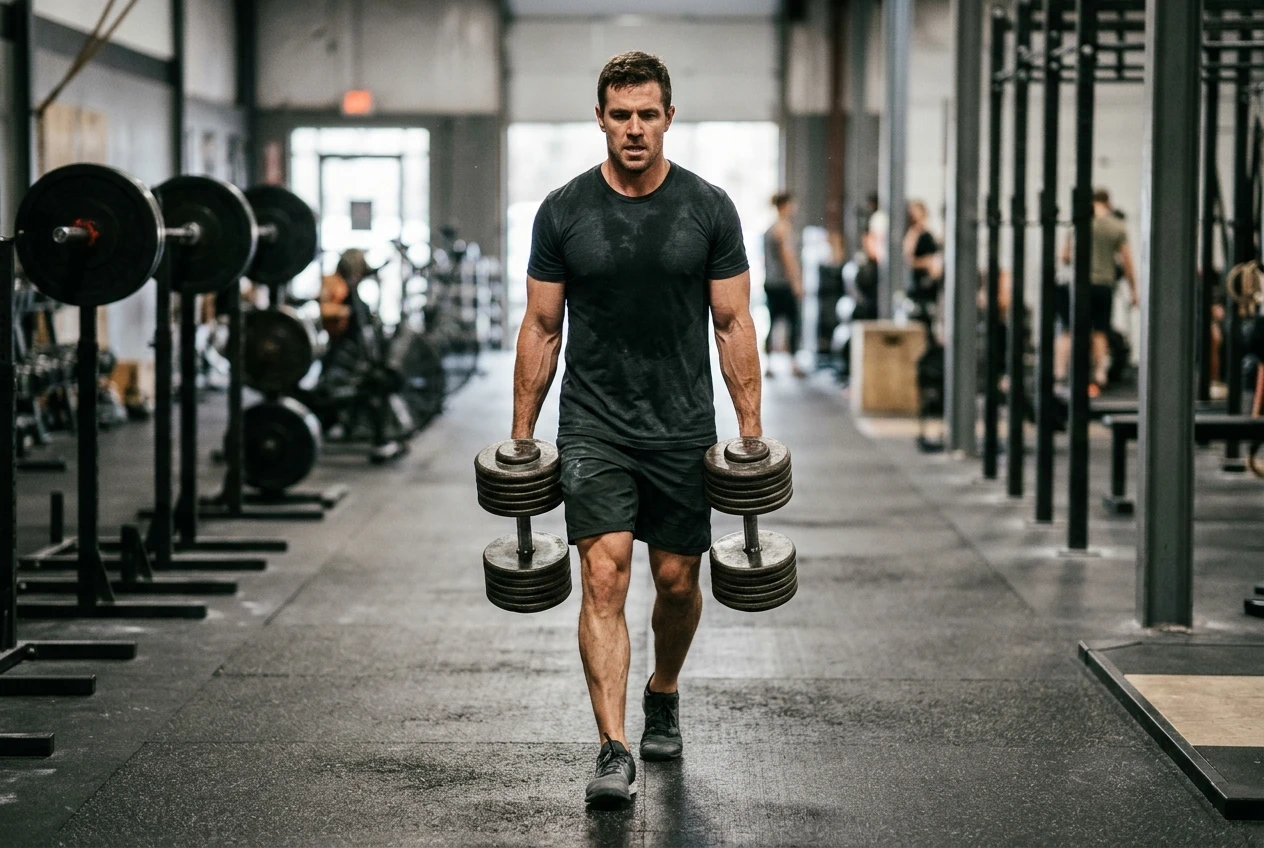
Pick up a pair of dumbbells, kettlebells or a trap bar and walk with them at your sides. The load pulls your fingers open the whole time, and the walking adds small shifts and shocks that a static hold does not. Carries train the same hold you need on rows and deadlifts, and they measure well in time or distance. Use a load you can carry for at least 30 to 40 seconds without your posture falling apart.
The static bar or plate hold
Hold a barbell at the top of a deadlift, or hold a loaded bar in a rack at hip height, for time. A lighter bar than you would pull for reps works fine. If you want a variation, pinch two smooth plates together with your fingers and thumb and hold them for time. The bar hold matches your competition or training grip exactly, and the pinch builds the thumb and finger side of the hand.
Using all three in a rotation matters because the hands do not fail in only one way. A hang tests finger endurance, a carry tests how well the grip survives movement, and a bar hold tests the exact position you use in training.
Track seconds of hold time instead of adding weight
Grip endurance work becomes unproductive when the load is too heavy. If you are chasing heavier carries, the set ends in 15 seconds and you are back to training short-duration strength, which your barbell lifts already provide. Keep the load fixed and let time be the number that rises.
For each drill, record three things: the load, the hold or carry time in seconds, and how many seconds of rest you took between rounds. When time goes up at the same load and rest, you made progress. When time stays flat for two weeks, add a little load or shorten the rest, but change one of those at a time so you know which one worked.
Stop every round when your form starts to slip, not when your grip fully opens. A dropped dumbbell or a bar that slides out of your hands tells you nothing useful. Ending a round with a couple of seconds still in reserve gives a cleaner number and keeps the next session from starting with sore hands.
Where the grip block goes in a barbell session so it doesn’t cost you your main lifts
Put the block after your last working set. Doing hangs or carries before your main lifts leaves your hands pre-fatigued for the lifts you came to train, and a lift that ends early because of your grip is a lift that did not do its job.
Two or three sessions per week is enough for most lifters. Place the block on days when grip fatigue shows up, which for many people means pulling days and long mixed sessions. Avoid scheduling a hard block on the day before your heaviest pulling session if your hands are still tired from the last one. How much recovery your hands need varies by person, so use how they feel on your first warm-up pulls as your guide.
Keep the block short. Ten to fifteen minutes is plenty. If it grows past that, you are probably running it as a second workout, and the time is better spent on recovery.
If you also train with kettlebells and want to see how conditioning fits into a heavy week, where kettlebell sessions go in a powerlifting week covers the same scheduling logic for a different kind of session.
A four-week progression you can run after your last working set
Start with a baseline test on one day. Do one max-time dead hang, then rest and do one max-time carry with the load you plan to use. Write both numbers down. Everything after this is a percentage of those two times.
Each session includes the hang and the carry. Alternate a bar hold in place of the carry once a week if you want the third drill in the rotation. Rest 60 to 90 seconds between rounds.
Week | Rounds per drill | Time per round |
|---|---|---|
1 | 3 | 50% of baseline |
2 | 3 | 60% of baseline |
3 | 4 | 60% of baseline |
4 | 4 | 70% of baseline |
In week 5, take one lighter session, then retest both baselines. If your max times rose, run the same table again using the new numbers. If they did not, check three things: whether the load for the carry is too heavy, whether your rest was too short, and whether you were also straining your grip hard in the main session.
These percentages are a starting framework, not a rule. If a week feels too easy, hold the percentage and add a round. If your hands are slow to recover between sessions, drop a round or take a day more between blocks.
When to use straps for the heavy work while the endurance block builds
Using straps on your heaviest sets while the endurance block develops does not undermine the block. The two jobs are separate. Straps let your back and legs get the full training effect of a heavy set when the hands would quit first, and the grip block trains the hands directly.
A sensible split is to use straps for top sets and heavy back-off sets, and to go without them on warm-ups and lighter work, where the grip can do the job. As your hold times climb, move the lighter working sets away from the straps first and keep them for the heaviest work last. Drop the Straps in Phases lays out that order in more detail.
Check your progress by retesting your hang and carry times. Rising times at the same load are the signal that your hands can take over more of the work, and you can start removing straps from the lighter sets.
Using kettlebells for carries and holds when your barbell setup has limits
Not every gym or garage has a pull-up bar at the right height, a trap bar, or a pair of heavy dumbbells. A kettlebell fills most of the gaps. You can carry one in a suitcase position at your side, carry two for a balanced load, or hold one by the handle at the top of a deadlift-style stance for time. The thick handle also makes your fingers work in a slightly different way than a barbell does, which is useful variety for the block.
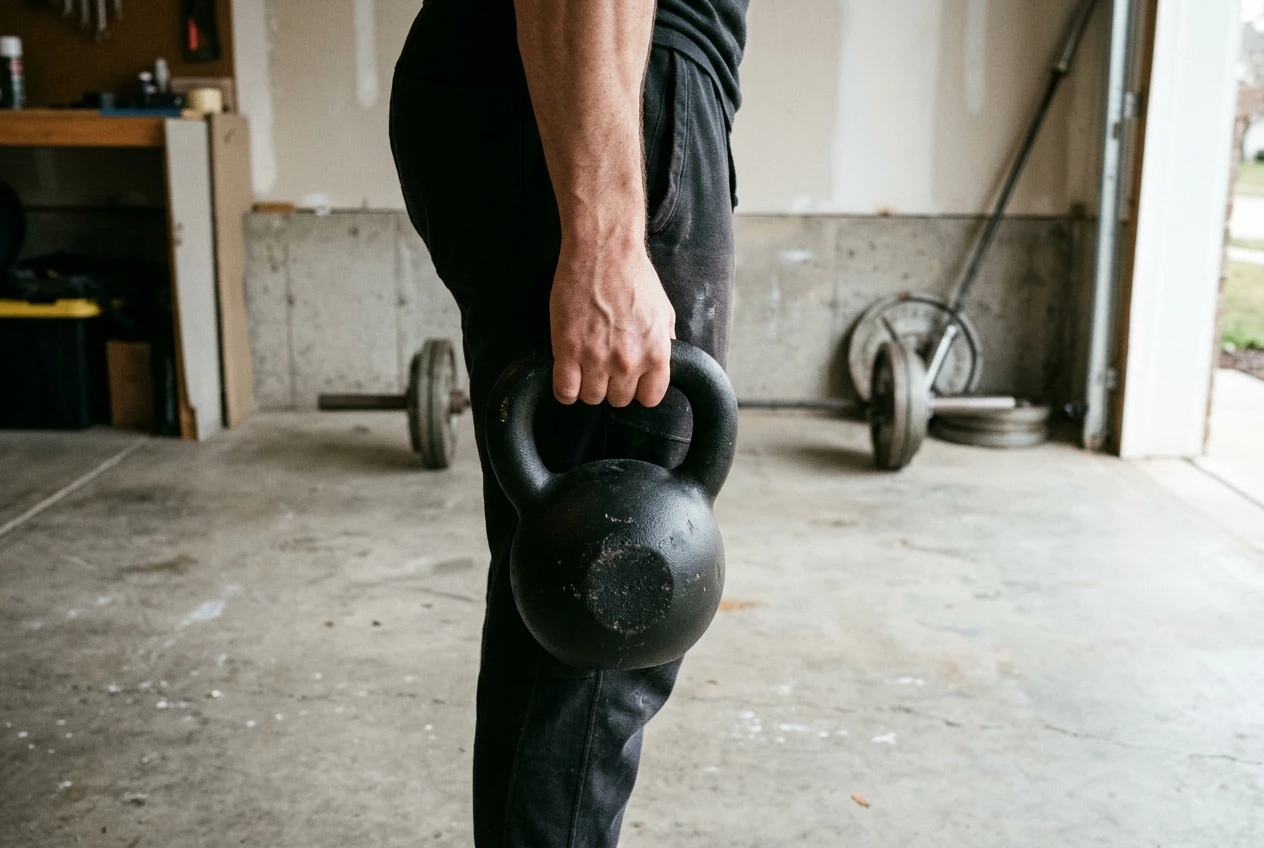
One kettlebell is enough to run the progression above. A suitcase carry on each side works the hand and the trunk at the same time, since the offset load pulls you sideways. Keep the load fixed, record the seconds, and follow the same table. For a deeper look at building a block around kettlebells specifically, Your Kettlebell Grip Gives Out Before Your Legs Do goes through it.
If you would like a guided way to add carries and holds to a session, take a look at kettlebell.monster. Affiliate disclosure: this is an affiliate link, so the site may earn a commission if you buy through it.