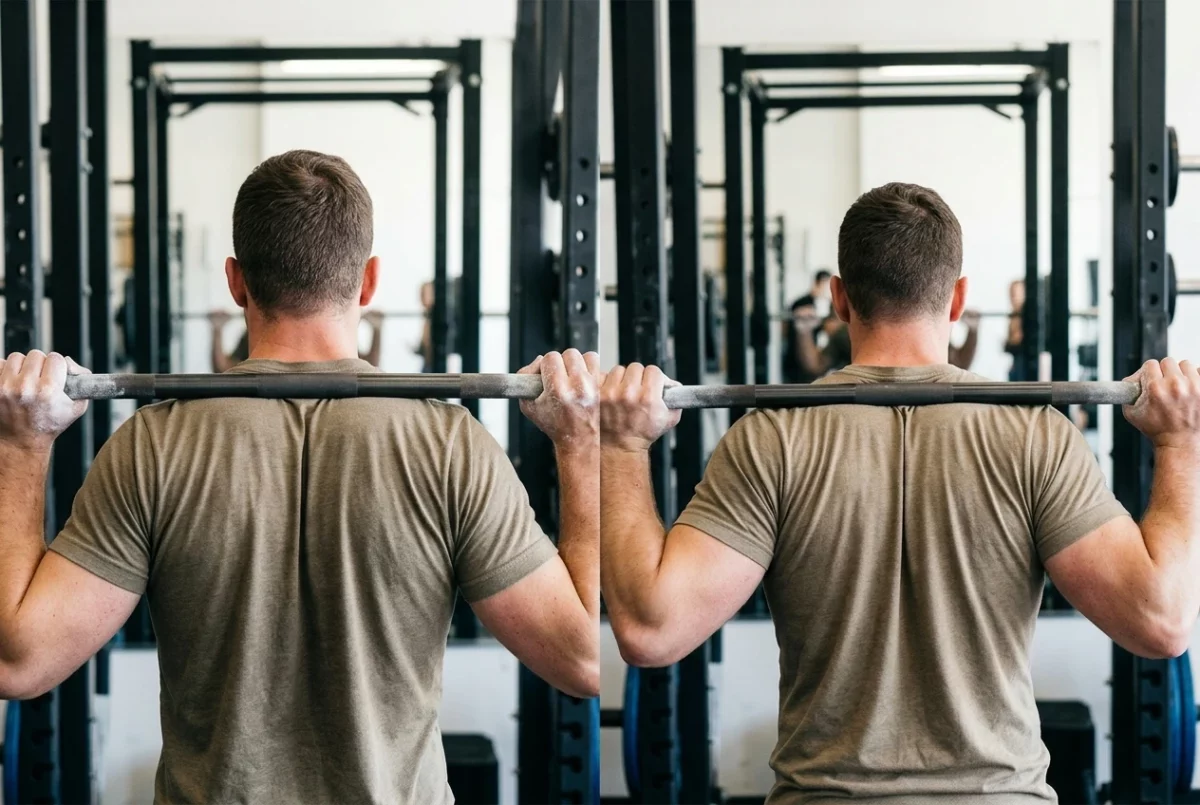
Two lifters can squat the same weight with the same bar and look nothing alike, and both can be squatting well. The differences come from femur length against torso length, hip socket shape, ankle range, shoulder mobility, and how thick the upper back is. A position that feels natural to one lifter pinches the hip of another.
Good back squat technique, therefore, starts with a handful of choices about bar position, stance, toe angle, and depth, each fitted to your body. This guide walks through them in the order you meet them under the bar, then covers how to adjust the squat for muscle growth and how to check your own reps on video.
For short coaching phrases you can repeat in your head mid-set, the 10 squat technique cues post covers them, so this article stays on mechanics and decisions.
Why does the same squat setup not fit every lifter
A squat is a hip, knee, and ankle movement under a load that sits on your back, and the length of each segment changes how the movement looks. A lifter with long thighs relative to the torso has to lean forward more to keep the bar over the middle of the foot. A lifter with shorter thighs can stay more upright with the same balance. Neither is a fault.
Hip anatomy matters as much. The femur sits in the socket at a slightly different angle in each person, so one lifter’s hips feel free with toes turned out and knees wide, while another’s feel blocked at the same angle and do better with a narrower stance. This is why copying a photo of an elite squatter often produces aches instead of good reps.
So the goal is a position you can reproduce on every rep, where these hold:
- The bar stays over the middle of your foot from the top to the bottom and back.
- Your knees travel in line with your toes.
- Your spine holds a consistent shape through the rep.
- Your whole foot stays in contact with the floor.
Everything below is a way of finding the version of those four that suits you. You also do not need to match what other lifters do. Your hips, ankles, and proportions set the limits, and your job is to work inside them.
Set the bar and your upper back before you unrack
Most of the squat is decided before the bar leaves the hooks. A loose upper back, an uneven grip, or a bar sitting in a different spot each set will show up as different reps.
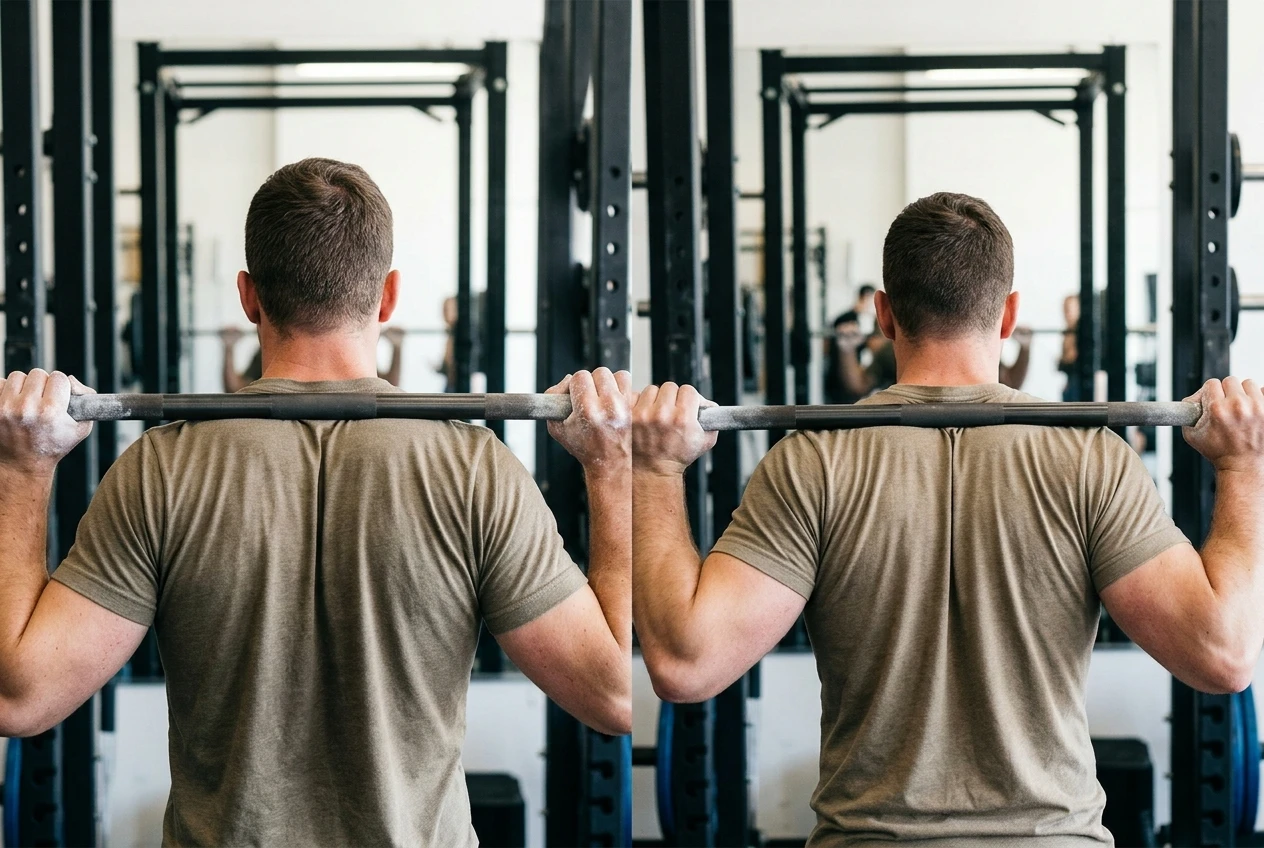
Choose a bar position
There are two common positions, and each shifts the work to different muscles.
The high bar sits on top of the trapezius, just below the bony bump at the base of your neck. It lets the torso stay more upright, and the knees travel further forward, which loads the quads heavily. It suits lifters with decent ankle mobility who want to emphasize the front of the thigh.
The low bar sits lower, across the rear of the shoulders, on the shelf made by the rear delts and the spine of the shoulder blades. The torso leans more, and the hips travel further back, which shifts more work to the glutes, adductors, and lower back. It needs good shoulder and wrist mobility to hold comfortably.
Try both with a light load. If a low bar makes your shoulders, elbows, or wrists ache even with a wider grip, a high bar is the better choice for now. If a high bar leaves you running out of ankle range and tipping forward, a slightly lower bar position may let you sit back more. If you are weighing the squat variations themselves, the front squat versus back squat comparison covers that choice separately.
Grip and elbows
Place your hands as narrow as your shoulders let you hold without strain, since a closer grip helps you pull the upper back tight around the bar. Wrists should stay close to straight, and the bar should rest on your back instead of in your palms. If your wrists bend back sharply, widen your hands a little or let the bar sit slightly lower.
Pull the shoulder blades toward each other and slightly down, which creates the muscular shelf the bar sits on. Elbows can point down or back, depending on what your shoulders allow. Forcing them high in an attempt to look like a low bar squatter usually just stresses the shoulder joint.
Unrack and walk out
Step under the bar so it sits in the same place each time, with your feet roughly under it. Stand up with the load, then take a small number of steps back, usually two or three. Each step should be deliberate, because a long shuffle wastes energy and drifts your feet out of position.
Set your feet to the stance you have chosen, settle your weight over the whole foot, and begin once you are still. For how to take the breath and brace your trunk at this point, the bracing guide goes into it in detail.
Find your stance and toe angle with a simple test
You can pick your stance with a bodyweight test that takes a few minutes and no coach. The aim is to find the width and toe angle at which you can reach comfortable depth with your heels down and your hips free.
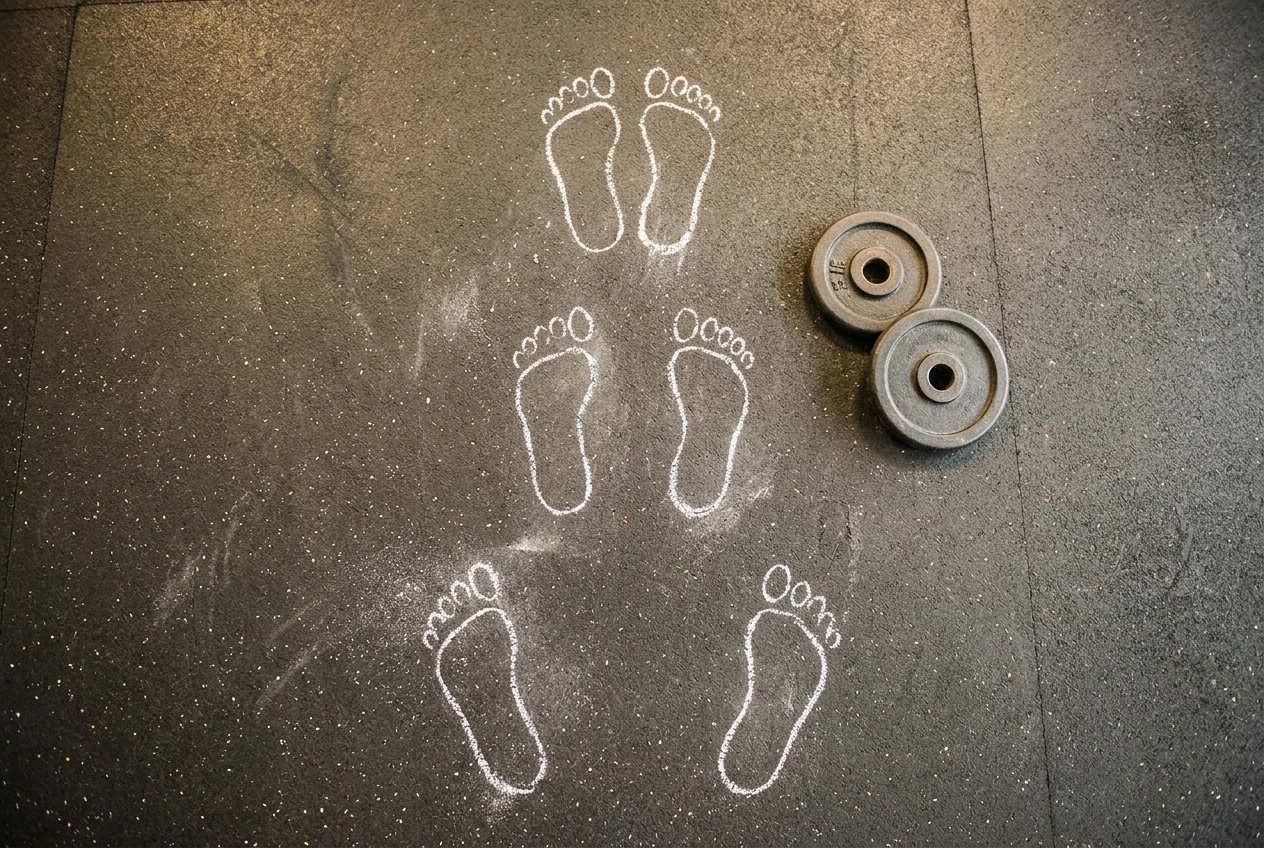
- Stand with your feet about shoulder-width apart, and your toes turned out slightly.
- Lower into the deepest squat you can hold with your heels flat and your chest reasonably tall. Holding a lightweight in front of you, such as a plate or a goblet-style load, helps you counterbalance.
- Notice where you stop. Note any pinching at the front of the hip, rounding in the lower back, heels lifting, or knees collapsing inward.
- Widen your feet a little and turn your toes out a few degrees more, then repeat.
- Narrow your feet a little and turn your toes out less, then repeat.
Compare the three versions. The best stance is usually the one where you sink the deepest with the least effort and no pinching. If a wider stance gives more depth and your hips feel open, your hip sockets probably favor it. If a narrower stance feels smoother and your knees travel forward comfortably, your ankles and hips favor that.
Toe angle follows the same logic. A common range is somewhere between mildly out and about 30 degrees out, but yours may land outside it. The check is simple: your knees should travel in the same direction your toes point. If the knees drift inward of the toes at the bottom, you need either more turnout or more deliberate pressure from the hips outward.
Once you have a stance, mark it. Notice where your heels were relative to the plates, or take a photo of your feet, so you can find the same setup on the next session.
The descent: where the knees, hips, and torso should travel
Begin the descent by bending the hips and knees together. Starting with the knees alone pushes the load onto the front of the foot, and starting with the hips alone can tip you forward, so aim for both to start moving at the same moment.
Keep the bar over the middle of the foot
This is the simplest balance reference. If the bar drifts forward of the mid-foot, your weight shifts to the toes, and your lower back works harder to hold you up. If it drifts back, you fall onto your heels. A straight vertical bar path, which you can see on a side-on video, tells you that you are balanced. Because the bar sits on your back, your torso angle adjusts to keep it there. This is why lifters with different proportions look different while moving the bar along the same line.
Knees
Knees should track in line with the toes and may travel forward past them. Forward knee travel is a normal part of the squat and keeps the quads working. Restricting it artificially pushes the hips back and the load toward the lower back, which can be useful on purpose in a low-bar squat, but should not be forced on everyone.
The thing to avoid is the knees collapsing inward on the way down or up. Push the knees out in the direction of your toes the whole way, as if spreading the floor apart with your feet.
Hips and torso
Your torso will tilt forward as you descend, and the amount depends on your proportions and bar position. What matters is that the angle stays consistent and that your spine holds its shape. If your upper back rounds as you descend, the load is probably too heavy, or your upper back set was loose. If your lower back changes shape sharply at the bottom, the next section covers it.
A useful tempo for practicing is a controlled lowering of about two to three seconds. Dropping fast and bouncing out of the bottom hides position errors, while a steady descent shows you exactly where they begin.
Depth and the bottom position: what you gain and what to watch
Depth is the range from the standing position to the bottom. Deeper squats lengthen the glutes and adductors under load, which tends to be productive for building those muscles. A shallower squat shifts more of the work to the quads and shortens the time the hips spend under tension.
Choose a depth you can control
A reasonable working standard is the point where the crease of the hip drops to at least the top of the knee, and deeper if your body allows it with control. Control means you can reverse direction without the pelvis tucking under sharply, the heels lifting, or the knees caving.
Depth is limited by several things at once, including the hip socket, ankle range, and the way the thigh meets the pelvis. If you hit a hard block that feels like a pinch at the front of the hip, that is bone meeting bone, and a wider stance or more turnout often moves the stopping point. If you hit a stretch in the calves or ankles, shoes with a raised heel or a small plate under the heels can help, and ankle mobility work over time can add range.
The pelvic tuck at the bottom
Many lifters see the lower back round slightly at the very bottom, often called a butt wink. A little of this at the end of a deep squat is common and not automatically harmful. It becomes a concern when it grows under heavy load, appears earlier in the descent, or comes with pain.
If you see it, try these in order:
- Adjust your stance width and toe angle, since it often comes from running out of hip room.
- Stop slightly higher, at the depth just before it appears, and train there for a few weeks while you build mobility.
- Reduce the load and check whether it disappears, which would point to fatigue or a loose brace instead of a structural limit.
Do not chase depth with a load you cannot control. A clean squat to a slightly higher depth beats a deeper one where the position falls apart.
The drive up: three common sticking-point faults and their fixes
Most lifters stall at the same few places on the way up. Each has a recognizable look and a fix.
Fault 1: The hips shoot up faster than the chest
The back angle flattens, and the squat turns into a good morning. This usually means the quads or upper back cannot handle the load coming out of the hole.
Fixes:
- Pause squats. Hold the bottom for one to two seconds with a lighter weight so you learn to stay tight there.
- Upper back effort. Press your upper back into the bar as you rise, as though you are trying to push the bar up with your shoulders.
- Reduce the load. Drop to a weight at which the hips and chest rise together, and build back up.
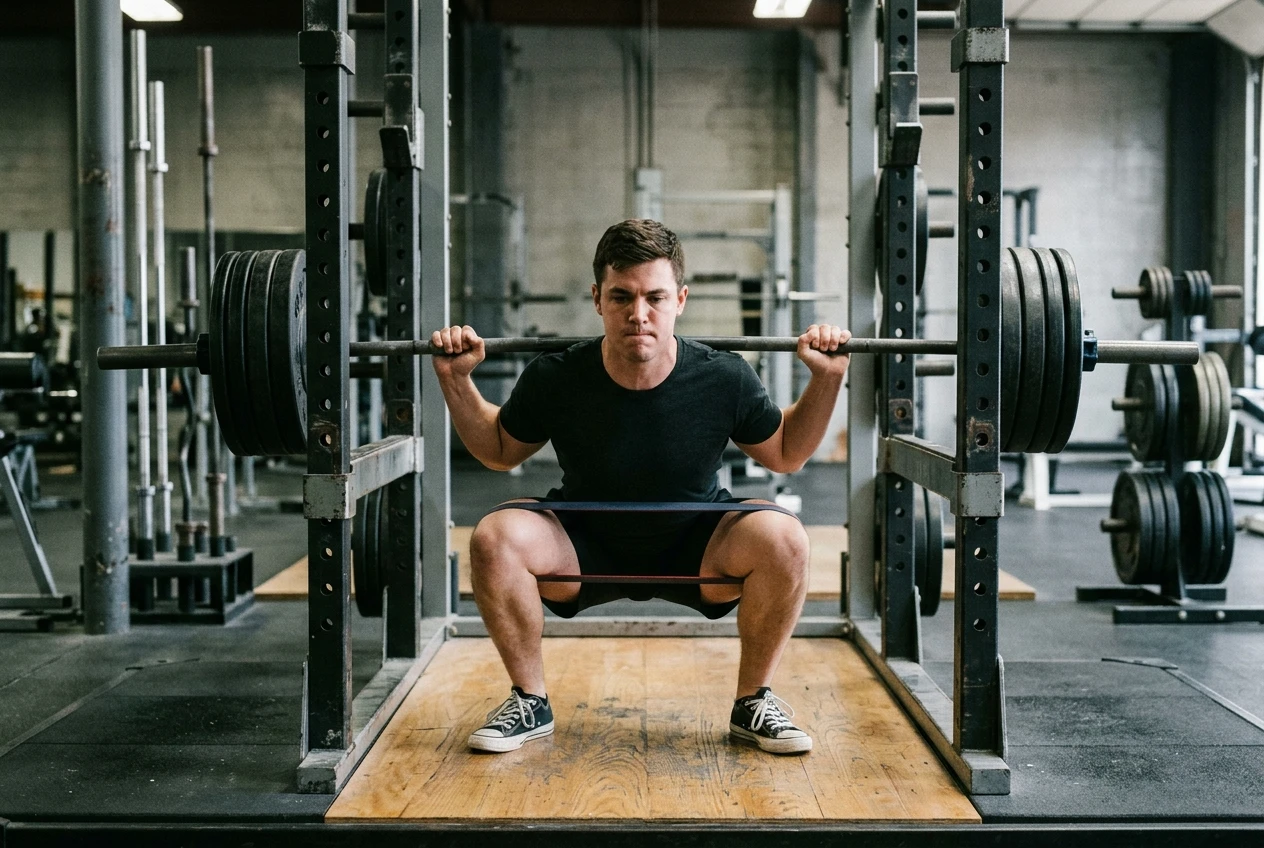
Fault 2: The knees cave inward
The knees move toward each other on the way up, usually in the first third of the rise. This can come from weak hip abductors and external rotators, a stance that does not suit your hips, or fatigue.
Fixes:
- Stance and toe angle. Go back to the test above and try a slightly more turnout or a wider foot position.
- Push the knees out. Keep outward pressure against the floor from the start of the descent through the whole ascent.
- Light band work. A resistance band looped around the knees during warm-up sets gives you something to push against and teaches the pattern. Remove it for heavy work if it throws off your balance.
Fault 3: The heels lift or the weight slides onto the toes
You lose pressure through the whole foot, and the bar drifts forward. This is typically a balance or ankle range problem.
Fixes:
- Check the bar path. Film from the side and confirm the bar is staying over the mid-foot.
- Footwear. Flat soft-soled shoes can compress and shift your balance. A firm, flat sole or a raised-heel lifting shoe often steadies it.
- Ankle mobility. Add calf and ankle stretching and loaded ankle work on non-squat days.
When you troubleshoot, change one thing at a time. If you adjust stance, bar position, and shoes together, you will not know which change helped.
Squatting for growth: tempo, range of motion, and weekly volume choices
Strength and muscle size overlap, but they ask for slightly different choices. The squat grows the quads, glutes, and adductors when those muscles do hard work through a good range, so the three levers to adjust are tempo, range, and volume.
Tempo
Control the descent. A lowering phase of two to three seconds keeps tension on the muscles and prevents the stretch reflex from doing the work for you. A brief pause at the bottom, one second or so, removes the bounce and makes the muscles produce the force to stand. Drive up with intent, though the rising phase will naturally slow as you approach failure.
Range of motion
Squatting deeper generally gives your glutes and adductors more work, because they are loaded while stretched. A lifter chasing size can reasonably choose the deepest position they can control. A lifter with a hard anatomical stop does not need to force it, since most of the benefit comes from a full range that suits their own hips. If your quads are the target, a high bar with more forward knee travel puts the emphasis there. If you want more glute and adductor involvement, a low bar or a slightly wider stance with depth shifts the load.
Weekly volume
Muscle growth responds to the number of hard sets you do per week as well as to the weight on the bar. A hard set means one taken close to failure, leaving roughly one to three reps unperformed. A practical starting point is several hard sets of squats per week, spread across two sessions, and then adjusting based on how you recover and whether your reps and size are progressing.
Some principles for adjusting:
- If your performance and recovery are good, add a set or two per week over time.
- If your joints ache or your reps decline across the week, hold or reduce volume before adding more.
- Rep ranges from moderate to higher can all build muscle when the sets are hard, so you can use heavier sets for practice and lighter, higher-rep sets to add volume with less joint stress.
For ideas on how to add load or reps over time, the progressive overload programming guide covers the methods in more depth.
Reading your own reps: a quick video check you can run next session
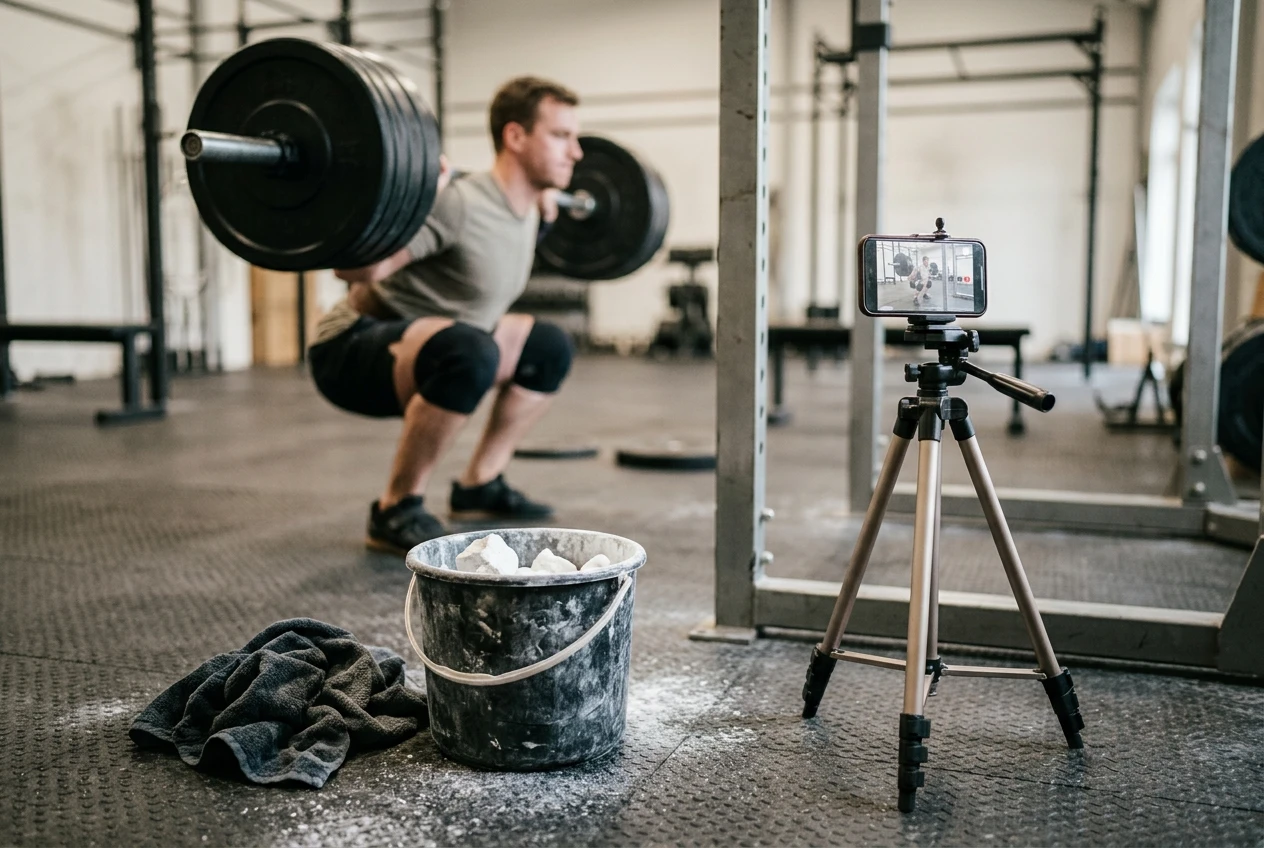
You can diagnose most squat problems with your phone and a few minutes. The check works best on working sets, since warm-up sets rarely show the breakdown.
How to film
- Place the camera at about hip height, far enough back to capture your whole body and the bar.
- Film one set from the side and, if you can, another from the front or back.
- Record the first rep and the last rep of a hard set, since fatigue exposes the weak points.
What to look for
Watch the side view first:
- Bar path. Does the bar travel in a near-vertical line over the mid-foot? Drifting forward or back points to a balance problem.
- Torso angle. Does the angle stay consistent on the way down and the way up? If the hips rise much faster than the chest, revisit fault 1.
- Depth. Do you reach the same depth on every rep, including the last?
- Bottom position. Does your lower back change shape sharply at the bottom?
- Heels. Do they stay flat?
Then the front or back view:
- Knees. Do they track in line with your toes, or move inward?
- Symmetry. Does one hip shift to a side as you rise? Does one shoulder sit lower?
Make one change
Pick the single biggest issue and change one variable for your next session: stance width, toe angle, bar position, or load. Film again and compare. After a few sessions of this, you will see which adjustments work for your body, and you will not need someone else to tell you.
Where to go from here
Between barbell sessions, the squat pattern and hip and ankle mobility both benefit from practice at lighter loads. The kettlebell. Monster programs include squat pattern and mobility work you can do on days away from the bar. Affiliate disclosure: this is an affiliate link, so I may earn a commission if you purchase through it, at no extra cost to you.
For your next read, go through the guide on bracing heavy squats, which covers the breath and trunk tension that keep your position stable once the weight gets heavy.