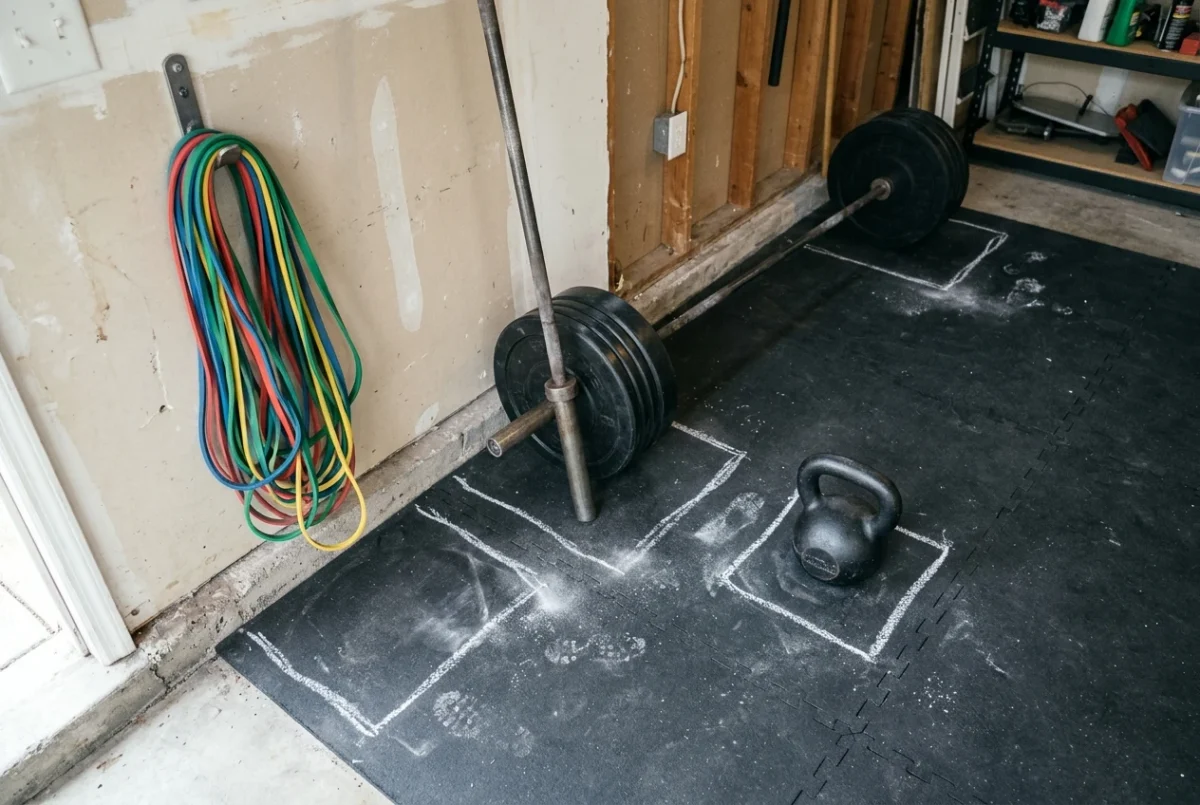
If you lift in a garage corner, a spare bedroom, or half a living room, the usual advice about racks, platforms, and a full barbell setup does not fit your space. This site is built for that situation. Weightliftingforpower.com covers how to get stronger with limited floor space, a limited budget, and limited time, and how to decide what to buy or follow without guessing.
This page is a map of the guides worth reading first. It is organized by the question you are probably asking, so you can go straight to the one that applies to you.
Who this site is for
The guides are written for people who already want to lift weights and need practical help choosing exercises, programs, and gear. You might be new to lifting and unsure what to buy first. You might have trained for a while and want to know whether a belt, straps, or a different program would help. You might be picking between kettlebells, bands, and barbells because you can only keep one kind of equipment at home.
Each guide compares options and explains what each one is good at, so you can decide for yourself. Some of the links in these guides are affiliate links. That means I may earn a commission if you buy through them, and each one carries a short disclosure beside it.
Start with the space: bands, iron, or kettlebells
Floor space limits a home gym more than the budget does. Before you buy anything, work out how much room each type of equipment needs for storage and for the movement itself. A loaded barbell needs width and clearance. A set of bands fits in a drawer. A kettlebell sits in a corner but needs room to swing.
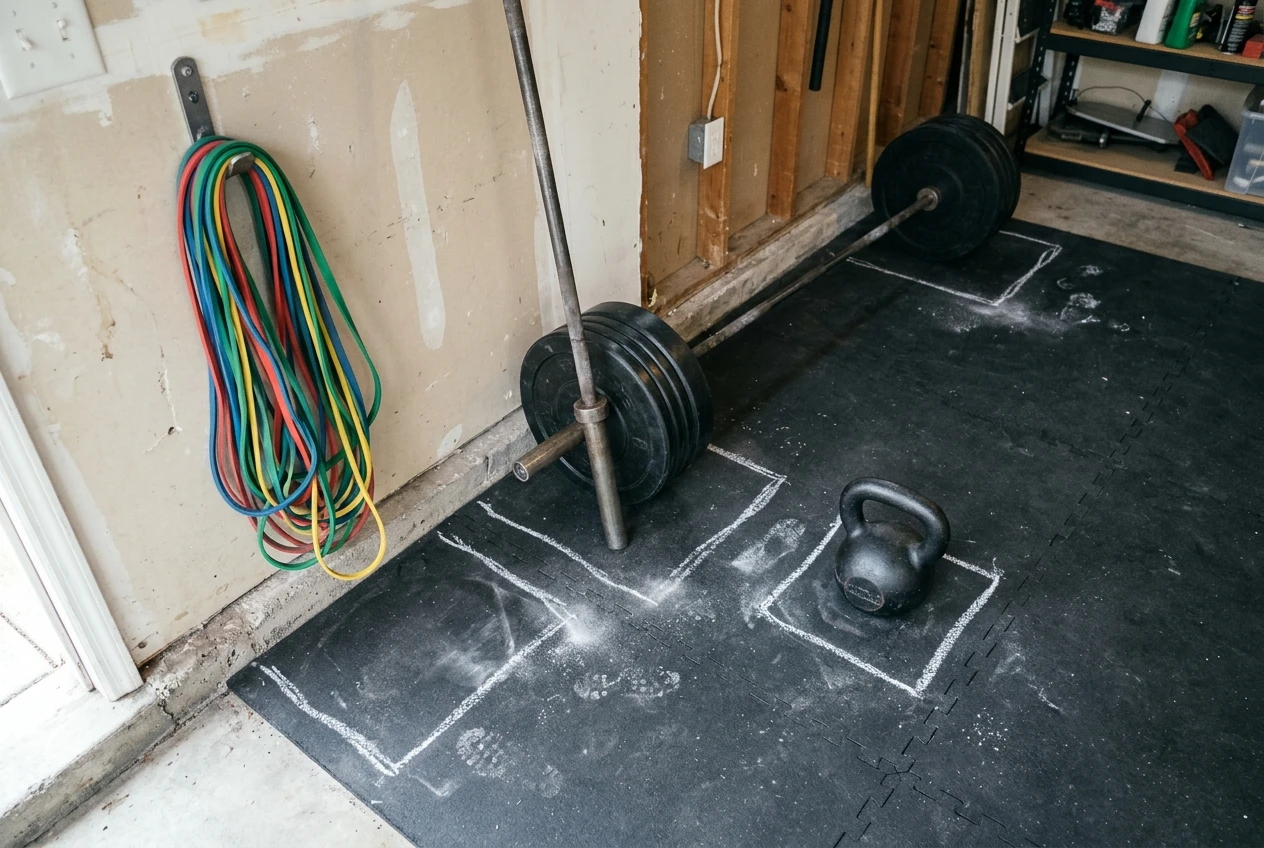
The comparison that covers this directly is resistance bands vs weights for a small home gym. It looks at what each type gives you per square foot, so you can match your equipment to the room you have.
A few questions help narrow the choice before you read it:
- Can you leave the equipment set up, or does everything have to go away after each session?
- Do you need to train quietly, for example, because of neighbors or sleeping family members?
- Which lifts do you want to improve: squats and deadlifts, pressing, or general conditioning?
- Is your ceiling high enough for overhead work?
Your answers will point you toward one type of equipment more than the others, and the comparison guide shows what you would give up by choosing it.
Belts, straps, and gear: buy for the lift you do
Lifting gear is where most beginners overspend. A belt, straps, shoes, and bands each solve a specific problem, and none of them replaces consistent training. The guides below are sorted by the decision you are facing.
Choosing a belt
A belt gives your torso something to brace against on heavy squats and deadlifts. Whether you need one yet, and what kind, depends on how long you have been training and how heavy you lift. The guide to the best lifting belt for beginners explains how your needs change as you progress, so you do not buy the wrong one twice.
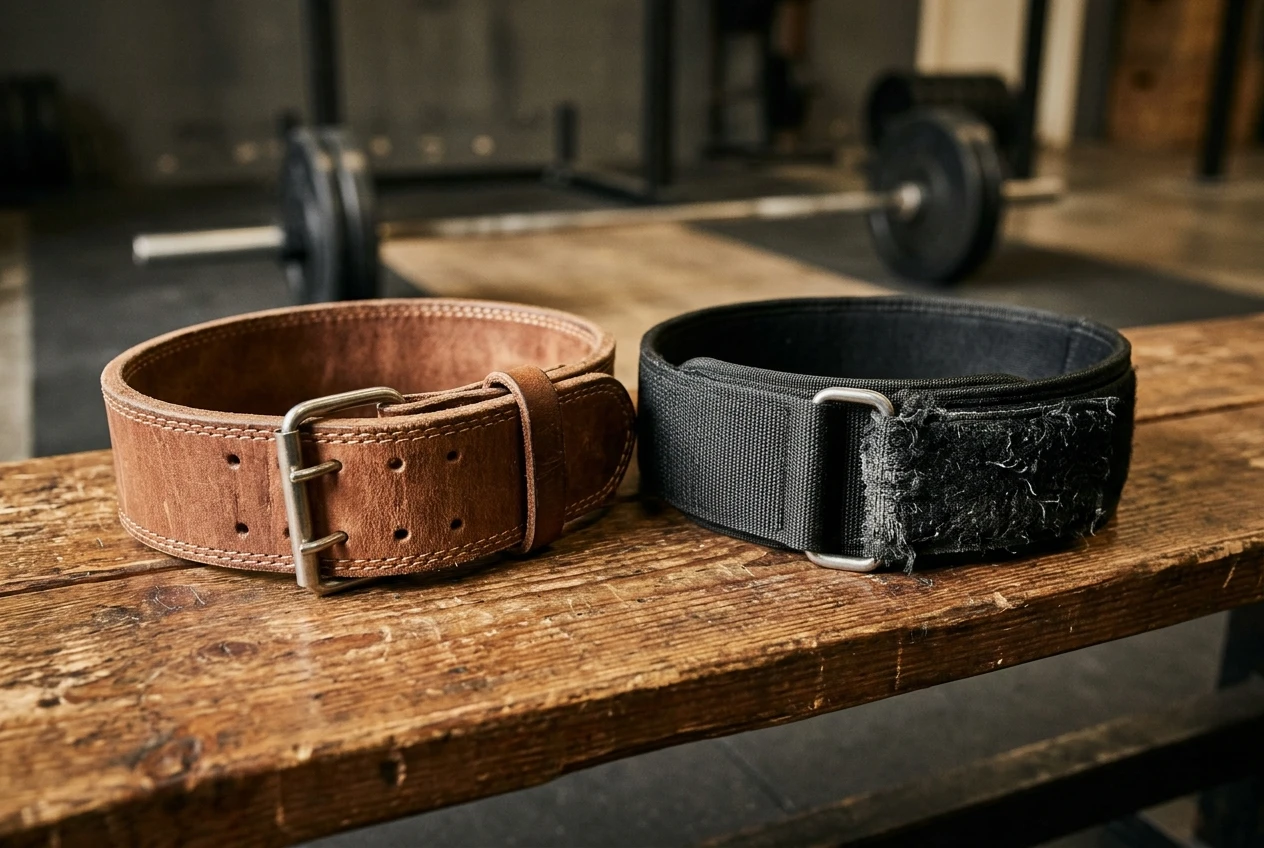
If you already know you want a belt and are deciding on material, the guide to leather vs nylon lifting belt durability compares leather, nylon, and suede for a home gym, including how each holds up over time.
Choosing straps
Straps let you hold a weight that your back and legs can lift, but your grip cannot. The right material depends on which lifts you use them for. The guide on leather vs nylon lifting straps matches each material to specific lifts, so you can pick based on what you actually do in your sessions.
Planning purchases for a meet
If you are preparing for a first competition, buying everything at once is wasteful, because some items matter in the first weeks and others only matter near the meet. The powerlifting gear for beginners checklist sorts purchases by month of preparation, so you buy each item when it becomes useful.
Pick a program before you pick more gear
Equipment does not produce progress by itself. A plan does, and the plan has to fit your schedule and your space. Two decisions come up repeatedly for home lifters, and I have written a guide for each.
The first is whether to follow a ready-made program or write your own workouts. Writing your own gives you flexibility, and it also asks you to manage exercise selection, volume, and progression. Following a program removes those decisions, at the cost of fitting your life to someone else’s structure. The guide on whether to follow a kettlebell program or write your own weighs both choices over a two-year view instead of a two-week one.
The second is how to track progress. Progressive overload means gradually asking your body to do more over time, through more weight, more repetitions, more sets, or better quality of movement. Something has to record what you did last time. The comparison of a progressive overload spreadsheet vs an app looks at how well each handles kettlebell training, where weight jumps are coarse, and you often progress by reps first.
Kettlebell Monster: a program and a TV app
Kettlebells suit small spaces because one or two of them can cover a lot of training without a rack or a platform. If you want a structured kettlebell program instead of building one from scratch, the current offer I recommend is Kettlebell Monster. Affiliate disclosure: I earn a commission if you buy through this link.
The offer also includes a workout app for Samsung Tizen TVs. If your TV is the largest screen in your training area, running a workout from it means you do not have to prop up a phone and squint. You can find it here: Kettlebell Monster for Samsung Tizen TV. Affiliate disclosure: This is also an affiliate link, and I earn a commission on purchases made through it.
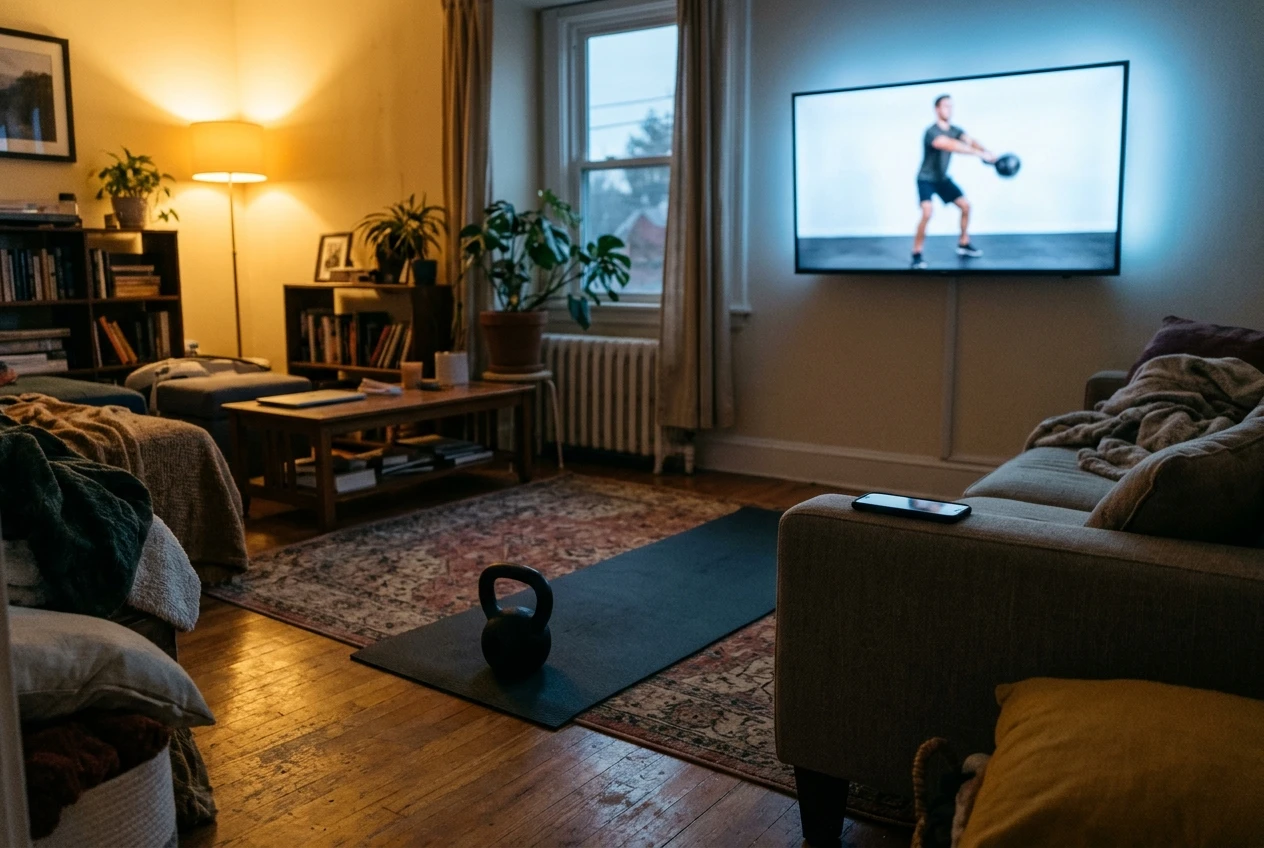
Before you buy, read the review that asks the practical question: Is the Kettlebell Monster Samsung TV app worth switching to from your phone? It covers whether the move to a bigger screen suits your setup.
Whichever program you choose, check that your equipment matches what it asks for, and that the space you have fits the movements in it.
Training principles that hold in any small space
Some habits apply to whichever equipment you end up with, and they keep a limited setup productive for a long time.
Choose a few lifts and repeat them. A small gym works best with a short list of compound movements, such as squats, hinges, presses, and rows, done consistently. Variety adds clutter to your space and to your tracking, and it is rarely the limiting factor in early progress.
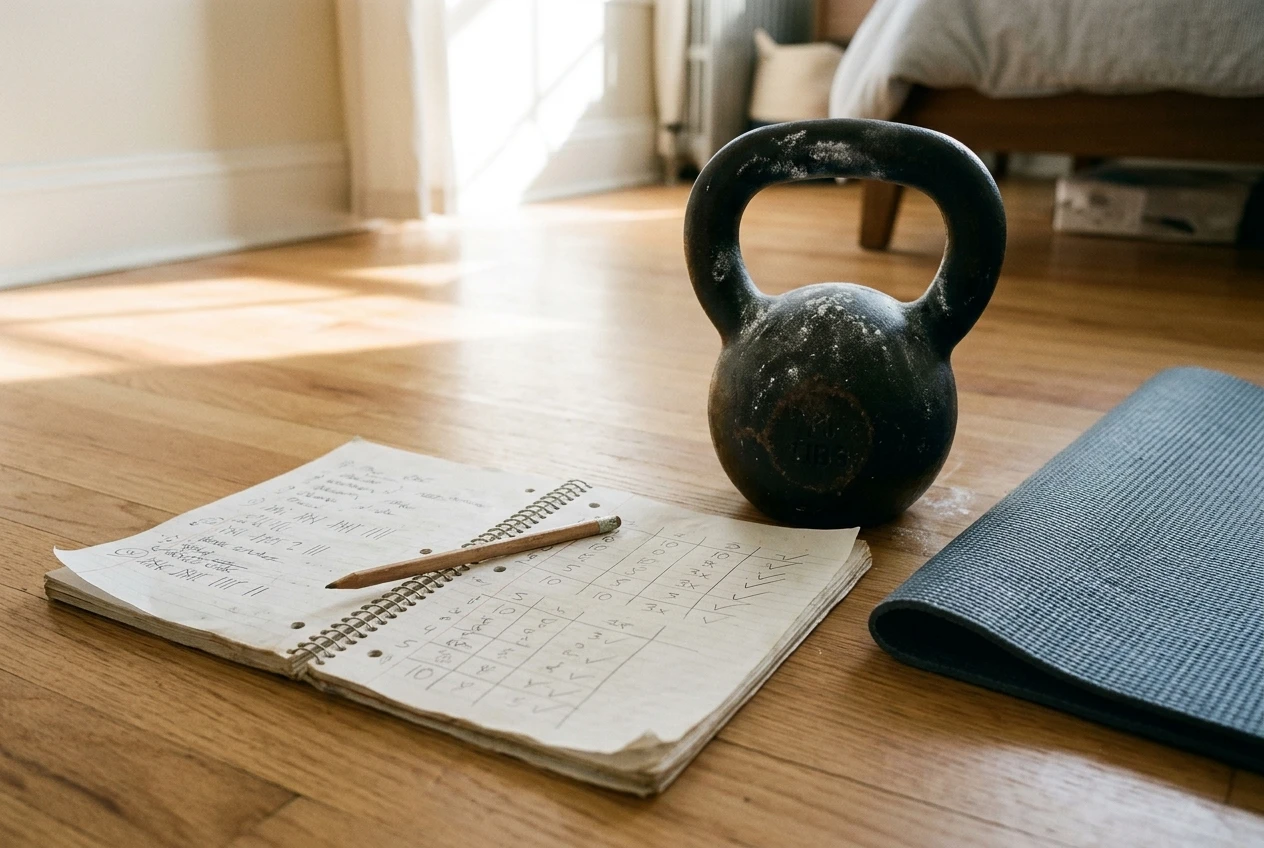
Record every session. Write down the exercise, the load, the sets, and the reps. Without a record, you cannot tell whether you are progressing or only staying busy. A notebook works as well as any app if you use it every time.
Progress one variable at a time. If you add weight, hold reps steady. If you add reps, hold the weight steady. Changing everything at once makes it hard to tell what worked and what caused trouble.
Keep the setup friction low. If you have to move furniture and unpack equipment before each session, you will skip sessions. Store gear where you can reach it in a minute or two.
Be careful with the load when you are alone. Without a spotter or safety bars, heavy barbell work carries more risk. Bands and kettlebells let you train hard with less danger of being pinned under a weight, which is one reason they suit solo home training. Use a weight you can control, and stop a set when form breaks down.
How to use this page
Come back here when your situation changes. If you have just cleared a corner and need equipment, begin with the space comparison. If you already train and are wondering about a belt or straps, go to the gear guides. If you lack a plan, start with the program decision and then choose how to track it.
Each guide on the site follows the same approach: describe the options, say who each suits, and leave the decision with you. Where I recommend something, such as Kettlebell Monster, I say so, and any link that earns me a commission carries a disclosure next to it.
If a kettlebell program fits the way you want to train, take a look at Kettlebell Monster. Affiliate disclosure: I earn a commission if you buy through this link.