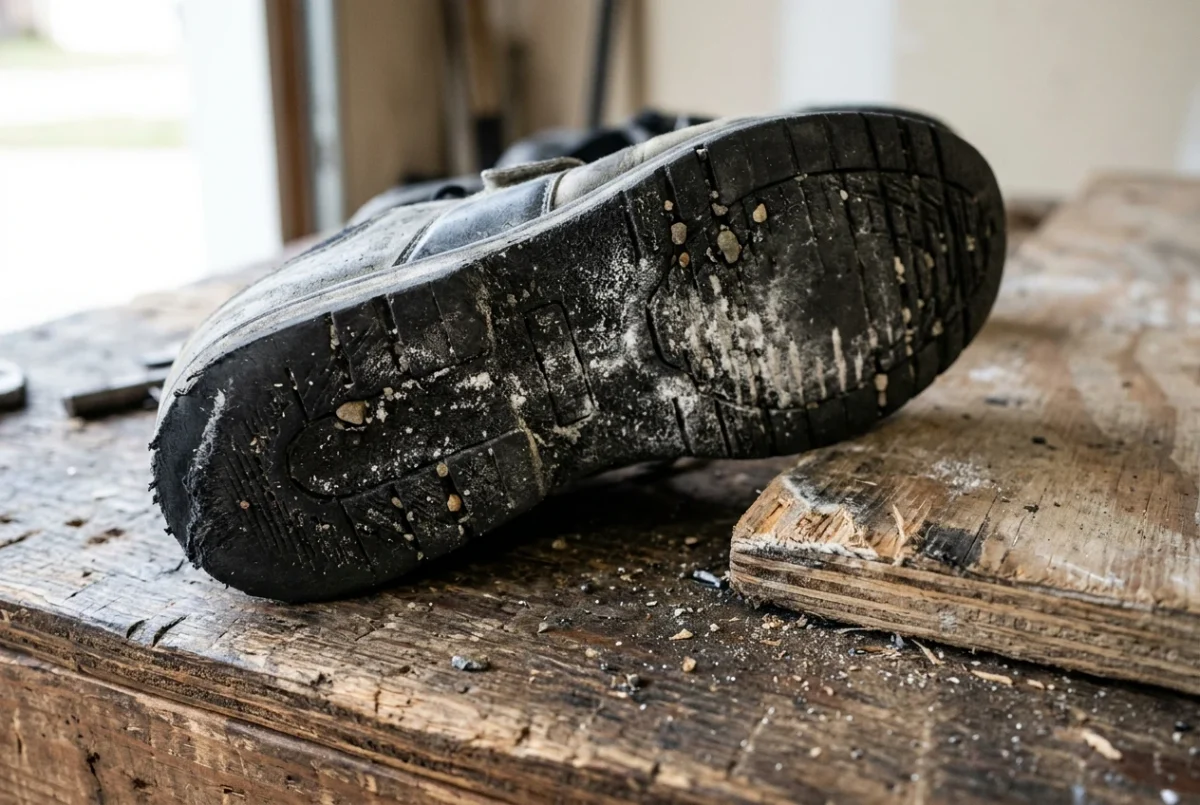
Before you wipe anything down, look at what your gym floor does to a shoe. A garage, a basement and a spare room each leave a different residue on the sole, and the residue decides what the shoe needs from you.
Start With Your Floor: What Mats, Concrete and Plywood Leave on a Sole
A lifting shoe has a firm, flat sole with a raised heel, so it traps debris in the tread and around the heel edge. Whatever sits on your floor ends up there.
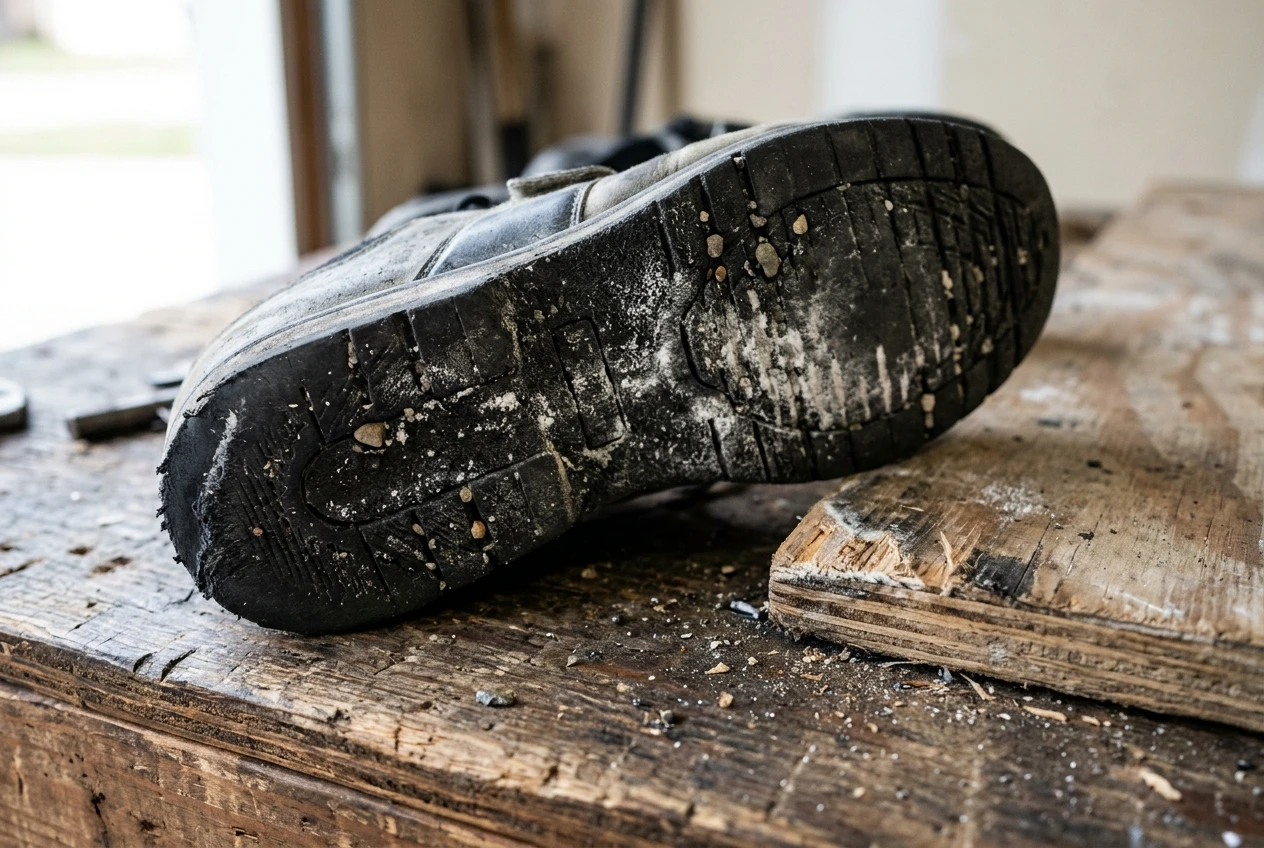
- Rubber mats or horse stall mats: these shed fine black rubber dust, which smudges the sole edge and the lower upper. It wipes off, but it spreads onto light-colored shoes and onto the inside of your gym bag if you let it dry on.
- Bare concrete: concrete sheds grit and fine dust, and a garage floor adds whatever gets tracked in from outside: dirt, small stones, oil drips, road salt in winter. Grit in the tread is a bigger problem than dirt on the upper, because it can wear into the sole and scuff the heel over time.
- A plywood platform: plywood gives off wood dust and the occasional splinter or rough patch. Chalk sits on top of that if you use it, and the mix packs into the tread and into the seam where the sole meets the upper.
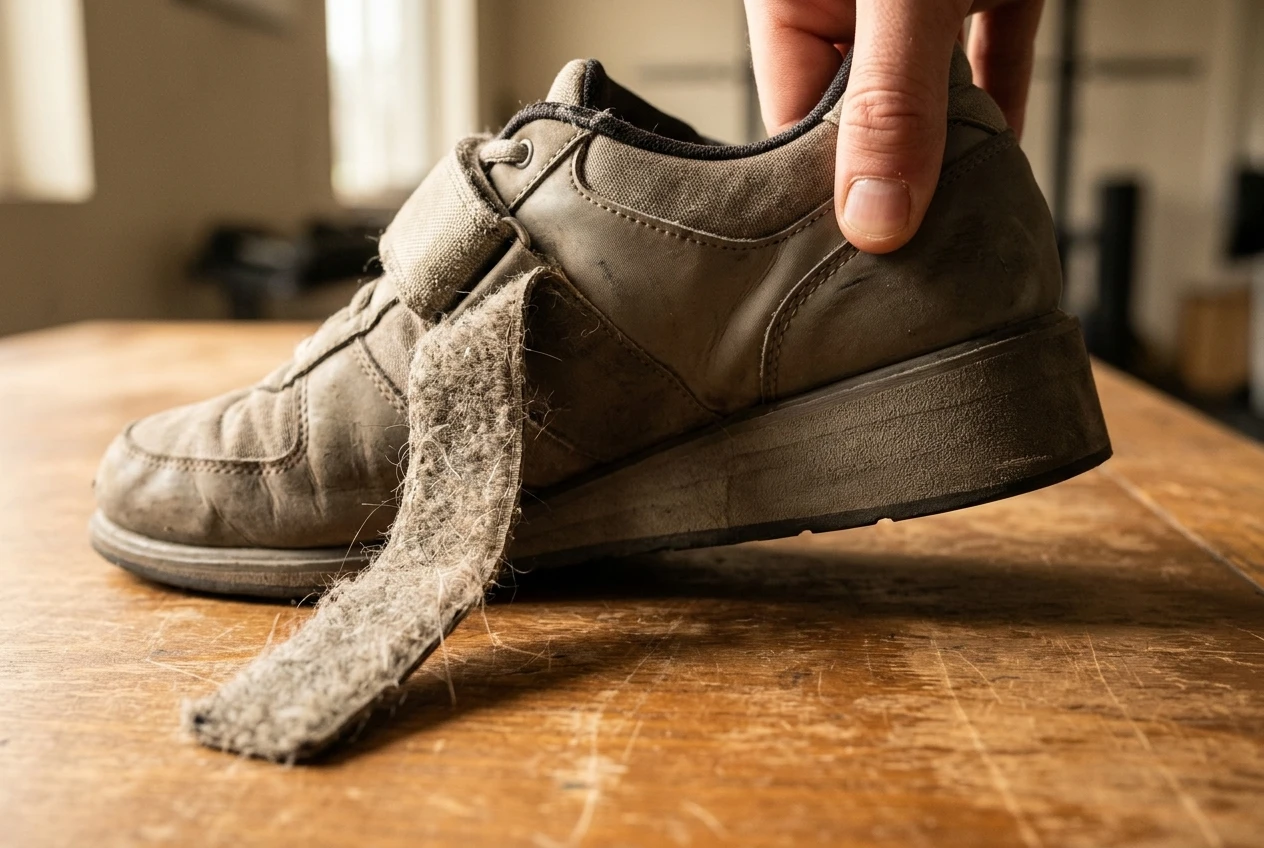
- Carpet or a spare-room floor: carpet collects lint, pet hair and fibers, which cling to the strap hook-and-loop and make it grip less.
Then consider sweat. A shoe worn in a hot garage in summer takes on far more moisture than the same shoe in a cool basement in winter. The more it soaks, the more often the inside needs airing and cleaning. Work out which of these describes your space, because the rest of this routine scales up or down from it.
The Two-Minute Wipe-Down to Do After Every Session
Do this before the shoes go back on the shelf. Grit and moisture do the most damage when they sit.
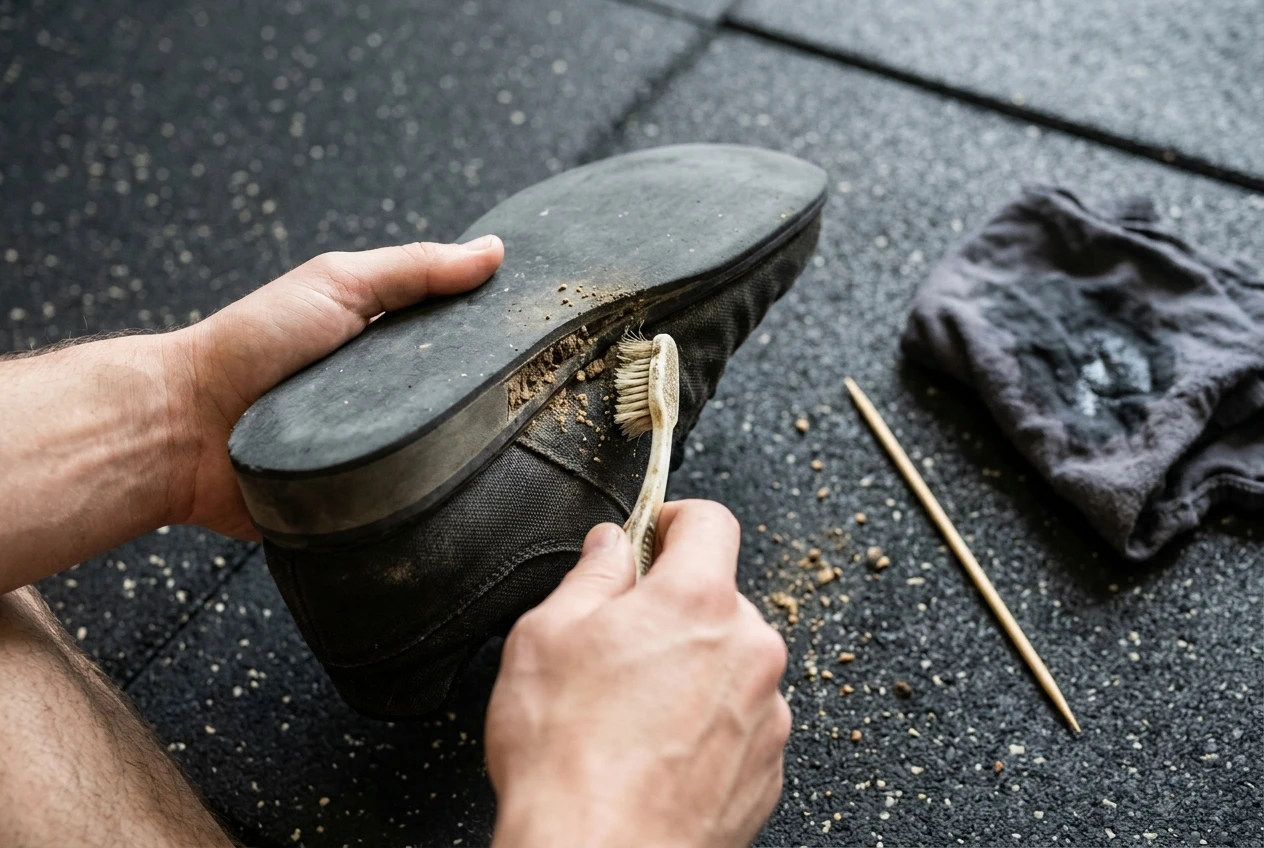
- Knock the soles together over a bin or outside the door to loosen packed debris.
- Pick the tread clean with an old toothbrush, a small stiff brush or a wooden skewer. Work along the heel edge and the seam where the sole meets the upper.
- Wipe the upper and sole with a slightly damp cloth. Rubber dust and chalk come off easily while they are fresh.
- Open the straps fully and brush any lint or hair off the hook side of the hook-and-loop. Close them loosely afterward so the hooks do not snag the upper.
- Pull the tongue forward and loosen the laces if there are any, so air can reach the inside.
For a rubber-matted floor, one extra step helps: wipe the heel sides, because that is where the rubber dust collects. For concrete, check the tread for small stones before your next set. A pebble under the heel changes how the shoe sits on the floor.
Getting Rid of Sweat Smell Without Soaking the Upper
Odor comes from moisture trapped inside the shoe, and soaking the whole shoe makes that worse. A lifting shoe is built from layered materials: a firm heel, a sole bonded to the upper, and often a leather or synthetic upper held by glue. Heavy soaking, machine washing and tumble drying can loosen the glue and warp the upper. Check the manufacturer’s care instructions first, since materials differ by model.
A gentler approach works for most pairs:
- Remove the insoles if they come out. Wipe them with a cloth dampened with water and a drop of mild dish soap, then let them dry flat in open air.
- Wipe the interior with a barely damp cloth. Do not pour water into the shoe.
- Sprinkle baking soda inside once the shoe is dry, leave it overnight, and tap it out the next day. Baking soda is a common household way to absorb odor and moisture.
- Dry at room temperature. Stuff the shoe loosely with paper towel or newspaper to draw out moisture, and change the paper after a few hours. Keep the shoes away from radiators, heaters and direct sun, which can make glue and synthetics brittle.
If you train in a hot garage and sweat heavily, rotate in a second pair of insoles so one set can dry fully between sessions. Wearing clean, dry socks every session also keeps the smell from building up in the first place.
For the outside, a cloth with mild soap and water does the job on most leather and synthetic uppers. Skip bleach and strong solvents, which can strip finishes and weaken stitching.
Check the Heel, the Sole and the Straps Before They Fail Under a Bar
Cleaning is also a chance to look at the shoe. A weekly inspection takes a minute and catches a failing part before it fails under load.
The heel
The heel is what holds you stable in the bottom of a squat. Press on it with your thumb and look at it from the side.
- Look for cracks, chips or a visible gap between the heel and the rest of the shoe.
- Set the shoe on a flat table or the floor. If it rocks, the heel or sole is uneven.
- Check that the heel feels solid. Any squish or flex that was not there before means the material is compressing.
The sole
- Look for tread worn smooth on one side. Uneven wear can show how you load your feet, and it can also mean the sole no longer sits flat.
- Check the edge where the sole meets the upper. Any peeling or lifting there is a bond failing.
- Look at the outsole for cuts or chunks missing, especially after training on rough concrete.
The straps and fastenings
- Test the hook-and-loop: close it, then pull. If it creeps open under light tension, the hooks are worn or clogged with lint.
- Look at the stitching where each strap anchors to the upper. Fraying thread or a loosening anchor point is a warning.
- Check eyelets and laces for cracks or fraying, if your shoe has them.
A strap that slips mid-set lets your foot shift in the shoe, and that is a bigger problem under a loaded bar than at bodyweight.
Where to Store Lifting Shoes in a Garage, Basement or Spare Room
Storage decides how long moisture stays in the shoe. Each space has its own problem.
Garage: temperature swings and dampness are the main concerns, along with dust, oil and pests. Keep the shoes off the floor on a shelf or in a closed bin or bag, away from spilled oil and any vehicle fluids. Take them out and air them if the garage has been closed up for days in humid weather.
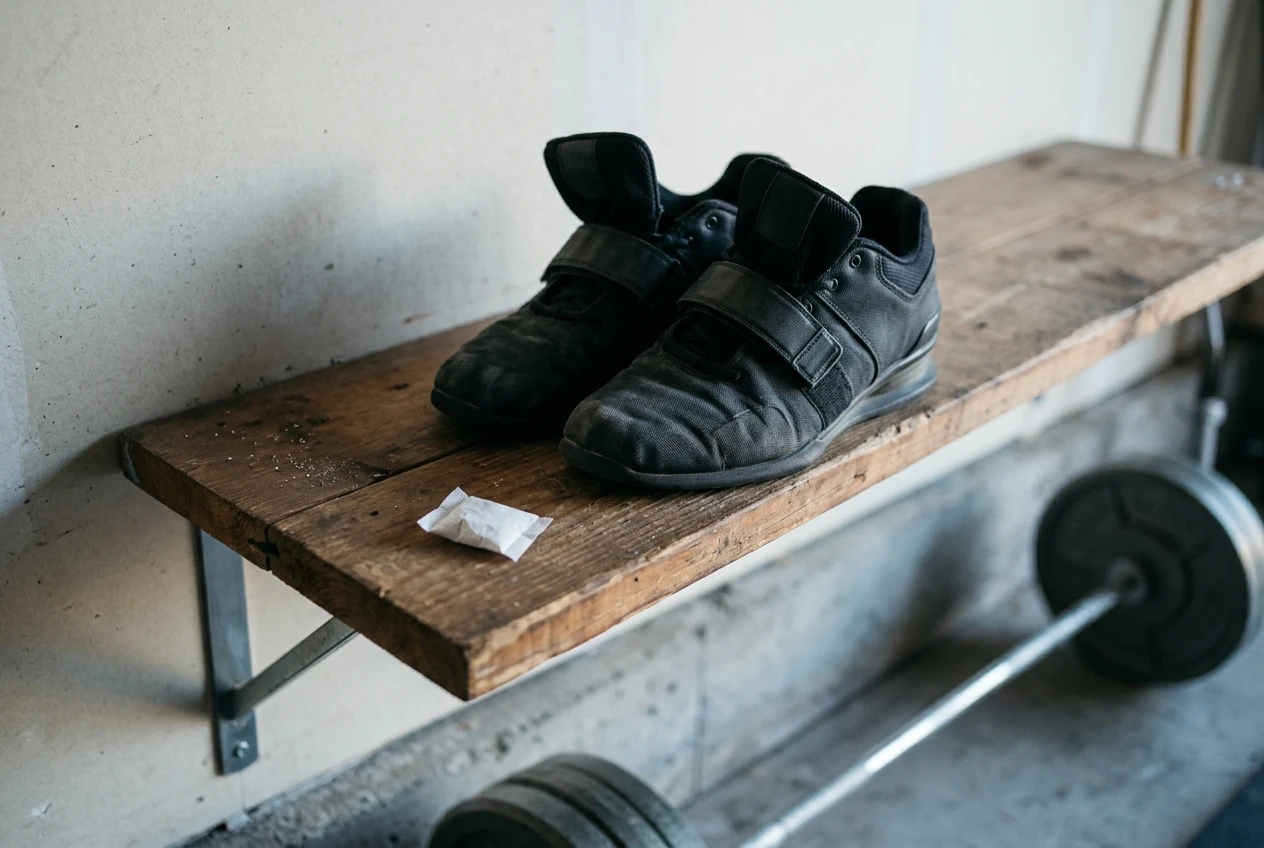
Basement: basements tend to be damp, so moisture is the risk. A shelf off the floor helps, and so does leaving the shoes open with the tongue pulled forward. A small silica gel packet or a bag of dry baking soda in the storage spot can help absorb dampness.
Spare room: this is usually the easiest space, but it can still get warm and stuffy. A shelf or rack in open air beats a sealed box, because a sealed box holds in whatever moisture the shoes still carry.
Whichever space you have, three habits apply: keep the shoes out of direct sun, keep them away from heaters, and never leave them sealed in a gym bag after a session. A bag that stays closed for days gives odor and mildew a place to start. If floor space is tight, the home gym strength guide for small spaces covers how to organize a compact training area, and a wall shelf or hanging organizer for shoes fits well into that kind of setup.
Should You Keep a Separate Pair for Kettlebell and Band Days?
A lifting shoe is designed for one job: a stable, raised-heel platform for squats and similar lifts. Other kinds of training put different demands on the shoe.
Kettlebell swings, deadlifts and many band exercises often suit a flatter sole, or bare feet or flat shoes, because the raised heel shifts your weight forward. Plenty of lifters keep the lifting shoes for squat work and train the rest in something flat. Ballistic and lateral movements can also scuff the sole edge and wear down the tread faster than squatting does.
A second pair makes sense if:
- you do a lot of swings, jumps, lunges or lateral band work on a gritty floor,
- you want the lifting shoes to stay in consistent shape for squat days,
- or the heel height makes your other lifts feel awkward.
You can skip it if you only do a few non-squat exercises a week, or if the budget is tight. In that case, wipe the soles more thoroughly after those sessions. A cheap pair of flat trainers is a common second choice, and it also keeps your best shoes off the dirtiest floor in the room.
If you decide to keep one pair for everything, check the tread and the sole edge more often. Those are the places mixed training wears first.
Repair, Replace or Retire: Signs It Is Time for a New Pair
Some wear can be fixed, and some means the shoe is finished.
Often worth repairing:
- A strap whose stitching is starting to fray, if a cobbler or repair shop will re-stitch it.
- Small areas of sole peeling at the edge, which a shoe repair shop may be able to re-glue.
- Worn laces or insoles, which are cheap to swap.
Replace the shoe when:
- The heel is cracked, chipped or compressing, or the shoe rocks on a flat surface.
- The sole is separating from the upper in more than one place.
- The hook-and-loop no longer holds under normal tension and the strap cannot be replaced.
- The upper has torn near a strap anchor, where the load is highest.
Retire it from lifting but keep it for light work when the shoe is only cosmetically rough but the heel and straps are still sound. A scuffed upper does not affect a squat, while a failing heel does.
Treat a failing heel or strap as the end of that shoe’s time under a bar. Replacing a pair costs money, but a shoe that shifts or collapses under a heavy squat can lead to an injury and time away from training. The real cost of a home gym looks at what lost training weeks add to the total.
Put the Clean Floor to Work
Once your shoes are cleaned, inspected and stored properly, the floor under them is the next thing worth using well. If you train with kettlebells in your home gym, kettlebell.monster offers structured kettlebell sessions you can follow on the floor you have now looked after. (Affiliate disclosure: this is an affiliate link, and I may earn a commission if you sign up, at no extra cost to you.)