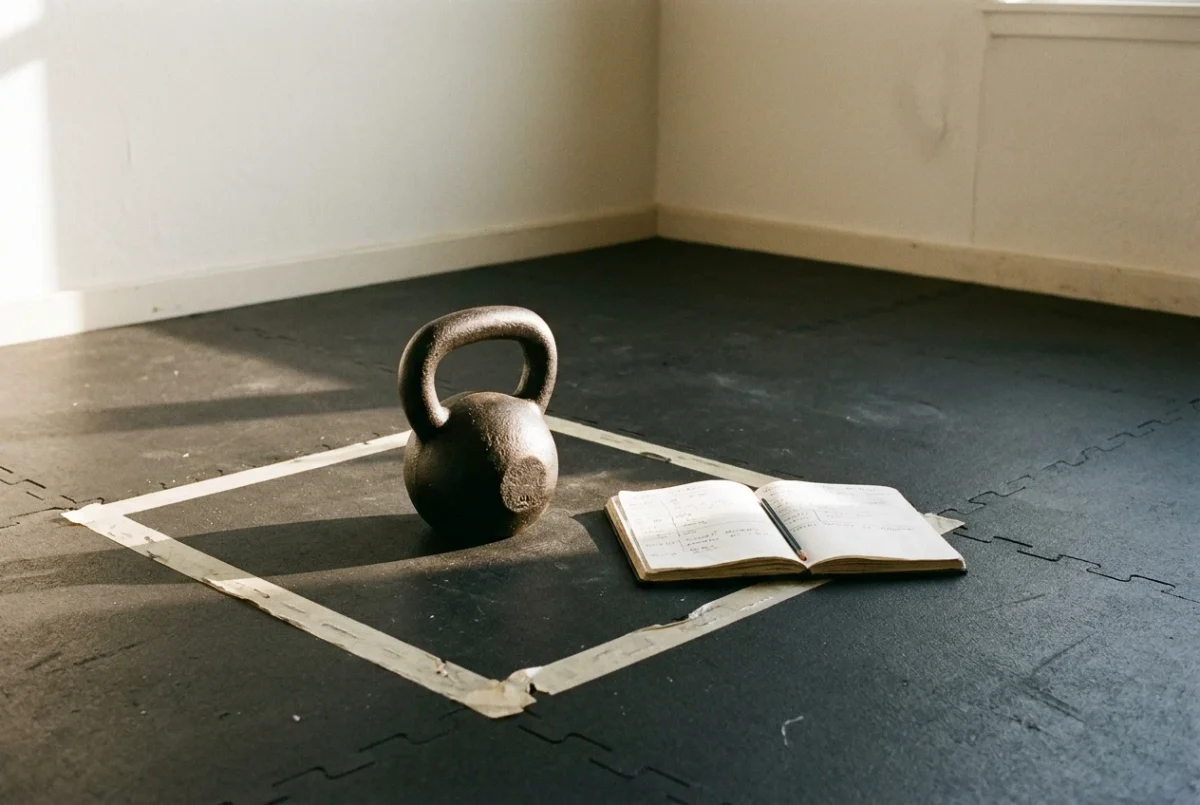
Most home gyms get built in bursts: a sale, a good week, a new goal. The result is a rack that doesn’t fit the room, a pair of shoes bought before the squat could use them, and a bench the lifter never needed. Knowing how to build a home gym over time means buying in an order, and the order matters less than the rule for moving from one purchase to the next.
This plan runs five years, from a single kettlebell to a barbell-based setup. Every stage ends with a gate: a condition you have to meet before you spend money on the next one. The years are a guide. If you pass a gate early, move on early. If you haven’t passed it, the next stage waits.
Decide what “professional” means for your training before you buy anything
A professional-feeling home gym is not the one with the most equipment. It lets you run your planned session from warm-up to last set without improvising: no moving a bench to make room, no stacking plates on a chair, no skipping a lift because nothing in the room supports it.
That definition depends on what you train for, so write down three things before Year 1:
- The lifts you want to do in five years. For example: squat, press, deadlift and row with a barbell, plus kettlebell work for conditioning.
- How many days a week you want to train at home. Two days and five days put very different demands on a room.
- The space you can give the gym permanently. Measure the floor and the ceiling height, and note whether the room is shared with a car, a washing machine or a child’s bedroom.
Keep the note where you will see it. Each later purchase gets checked against it. If a piece of gear doesn’t serve one of those lifts, or doesn’t fit that space, it fails the check before the other questions are asked.
Year 1: One kettlebell, one patch of floor, and a habit you can prove
The first year is for building the thing that makes every later purchase worth it: a habit of showing up that you can prove with a log. One kettlebell supports a surprising amount of work. Swings, goblet squats, presses, rows and carries are all available with a single bell, and varying reps, sets and tempo gives you progression before you need more weight.
Pick a bell you can swing and press for clean reps without your form breaking down. Then give the training a fixed place: a patch of floor where you can swing, set the bell down and move without hitting furniture. If your program runs on a screen, how you position that screen decides how well you can follow it. The post on where to put the screen in a home gym covers that without neck strain.
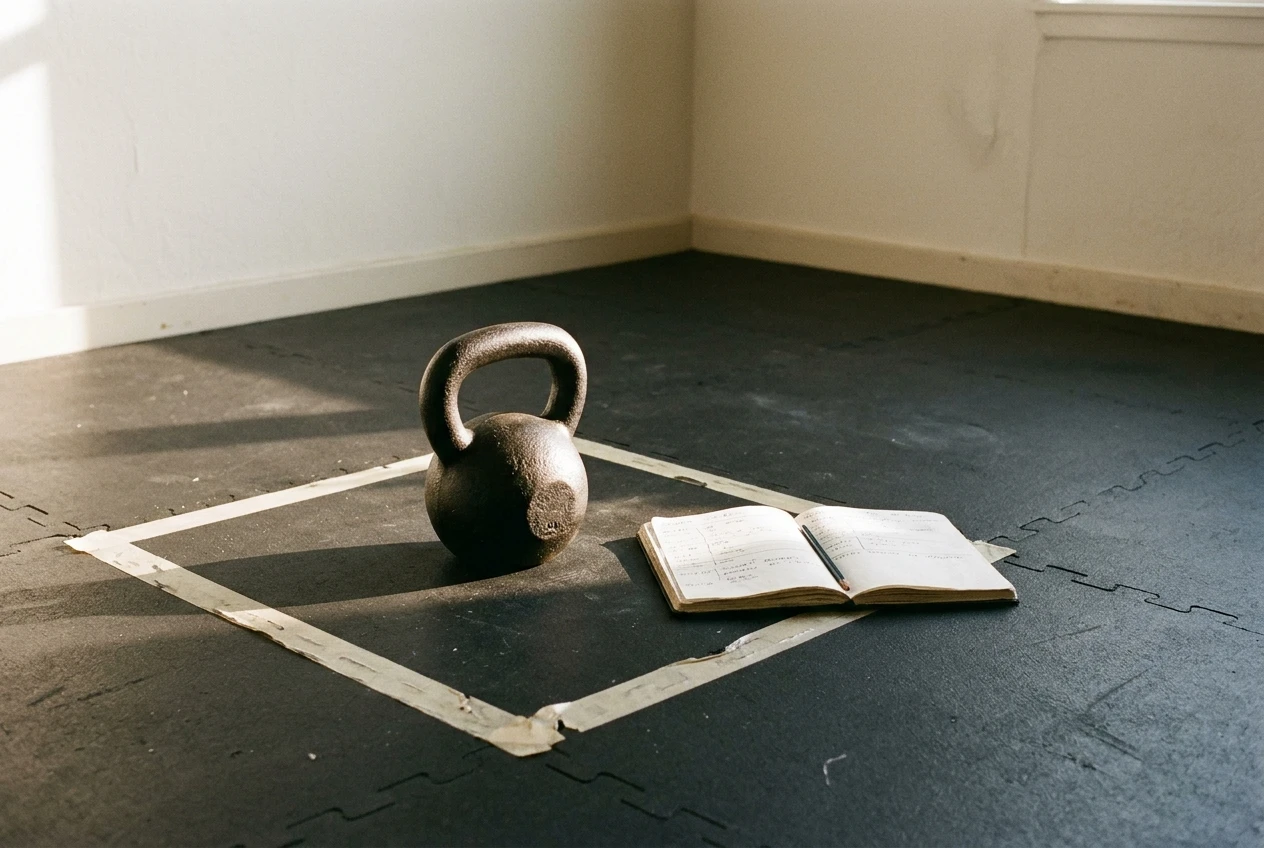
Follow a program rather than inventing sessions. The sessions are planned, so the log shows what you did and the gate below has something to measure.
The Year 1 gate
You move to Year 2 when both of these are true:
- You have a written log of consistent sessions. A reasonable standard is twelve straight weeks in which you trained on the days you planned, with a short miss allowed for illness or travel. If you cannot produce the log, you haven’t tested whether this habit survives ordinary life, and more equipment will not fix that.
- The single bell has stopped being enough. The reps in your main movements have hit the top of your program’s range, and you have been there for at least two sessions.
If you meet the first and not the second, stay in Year 1 and keep progressing with reps, tempo and pauses. If you meet the second and not the first, buying gear is a way of avoiding the habit question, and the gate stays closed.
Year 2: Add load, bands and grip support only when reps stop progressing
Year 2 is about adding resistance and fixing the weak links in your single-bell routine. Three purchases belong here, each with its own trigger.
A heavier kettlebell. Buy it when reps, not weight, have run out of room. The reps-first test for buying a heavier kettlebell lays out how to check this. The short version: if you can still add a rep or a set at the current weight, the next bell is a purchase you don’t need yet.
Resistance bands. Bands take almost no space and add variation: assisted movements, accessory pulling, warm-ups, and resistance in places a kettlebell doesn’t reach. They are a good Year 2 buy because they fix specific gaps, such as upper back work or shoulder prep, without using floor area. If you are tight on space, bands compared with iron per square foot is worth reading before you choose how many to buy.
Grip support. Your hands often tire before your legs and back do. Before buying straps, check whether the grip is the actual limit and whether training it directly would fix it. Giving grip its own block is the cheaper first move. If you later decide support is warranted, chalk or straps are small purchases that don’t take space.
The Year 2 gate
Move on when your training has produced a clear problem a single bell and bands can’t solve. For most lifters that means you are doing your main kettlebell movements with a heavy bell, have worked through your progression options (reps, sets, tempo, single-arm variations), and still want to load a squat or a hinge beyond what a bell allows. That is the signal that a barbell is the next real step.
If your sessions are still progressing, you are not at the gate. Progress is the evidence that the current equipment is working.
Year 3: The barbell, rack and bench, and the floor space they take
Year 3 is the biggest jump in cost, in space and in what the room is for. A barbell setup changes your training because you can add weight in small increments and load the legs and back far beyond what a kettlebell allows. It also changes the room: the floor is now partly given over to a rack, a bench and a bar that needs space to be loaded, lifted and put down.
Run the space check first
Before ordering anything, measure and write down:
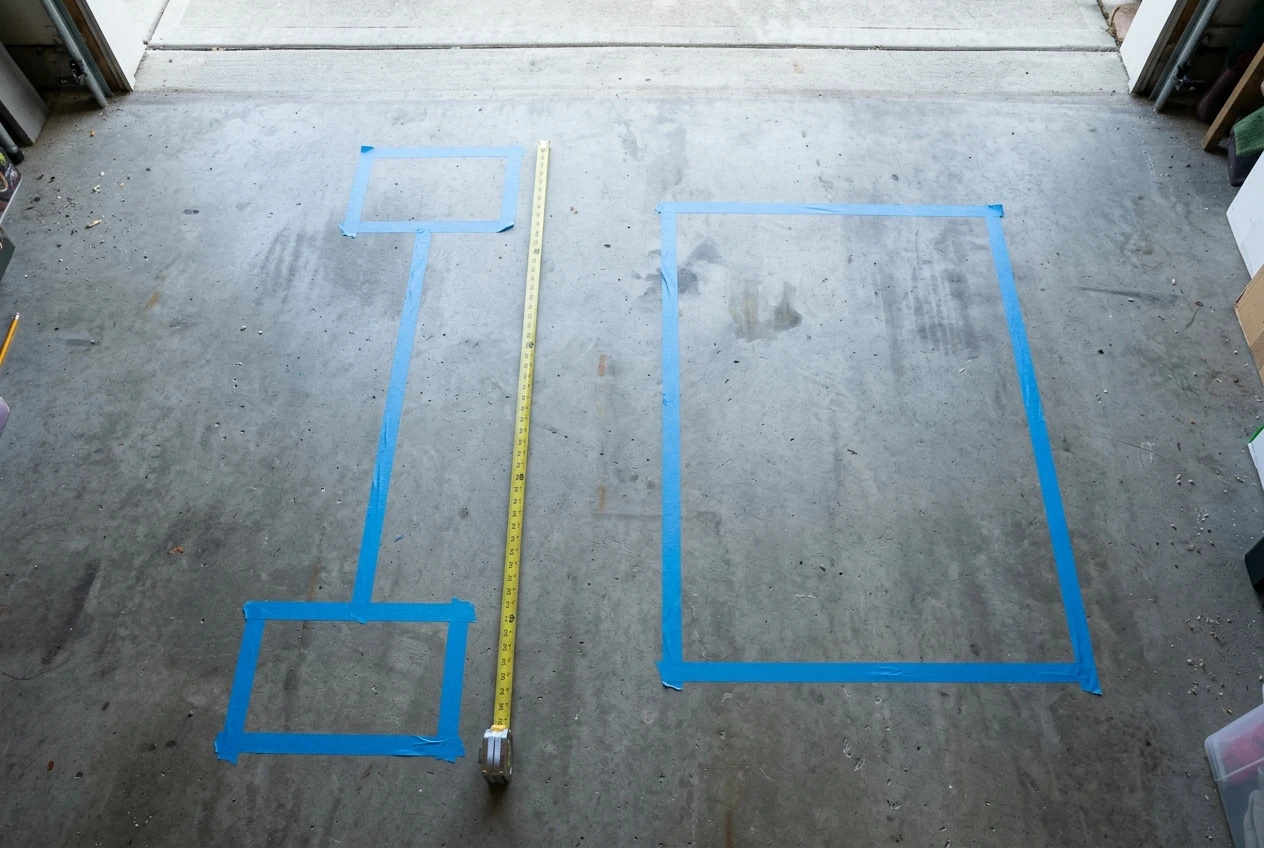
- Bar length plus loading room. A standard Olympic bar is about 7 feet long, and you need room on both ends to slide plates on and off. Mark the footprint on the floor with tape.
- Ceiling height. Check it against your overhead press and, if you rack from the floor, against the height of the rack. This is the check that most often rules out a particular rack.
- Floor and noise. A dropped bar or plate is loud and can damage some surfaces. If you share walls or have a wooden or upper floor, plan the flooring before the plates.
- Walking room. You need to get in and out of the rack and move around the bar without squeezing past it.
If the tape outline makes the room unusable for anything else you need it for, you have learned that before spending the money. Consider a smaller rack or a different room, or stay at Year 2 for longer.
What to buy, in order
- Rack with safeties. Safeties are what let you squat and bench alone with a margin for failing a rep. It is the item the others depend on.
- Bar and plates. Buy what your planned lifts need rather than a full set. You can add plates as your lifts rise.
- Bench. Add it when you are ready to bench or do supported pressing, not before. If your floor space is tight, a flat bench may do more than a multi-position one, because it takes the same room and has fewer moving parts.
A barbell setup comes with costs beyond the sticker prices, such as delivery, flooring and the training weeks lost when something doesn’t fit. The post on what a home gym really costs when you count the weeks you can’t train is a good companion at this stage.
The Year 3 gate
You move on when you have trained with the barbell for a sustained stretch, again shown by your log, and when the setup is stable: the rack is secure, the space works and you are not rearranging the room to start a session. Buying Year 4 gear for a setup you still use irregularly mostly adds cost.
Year 4: Footwear, a belt and recovery gear that keep you training week after week
By Year 4 you are lifting heavy enough that your equipment’s job changes from adding weight to keeping you training. Footwear, a belt and recovery tools don’t raise your numbers directly. They help you hold technique, tolerate heavier sets and avoid the interruptions that cost you training weeks.
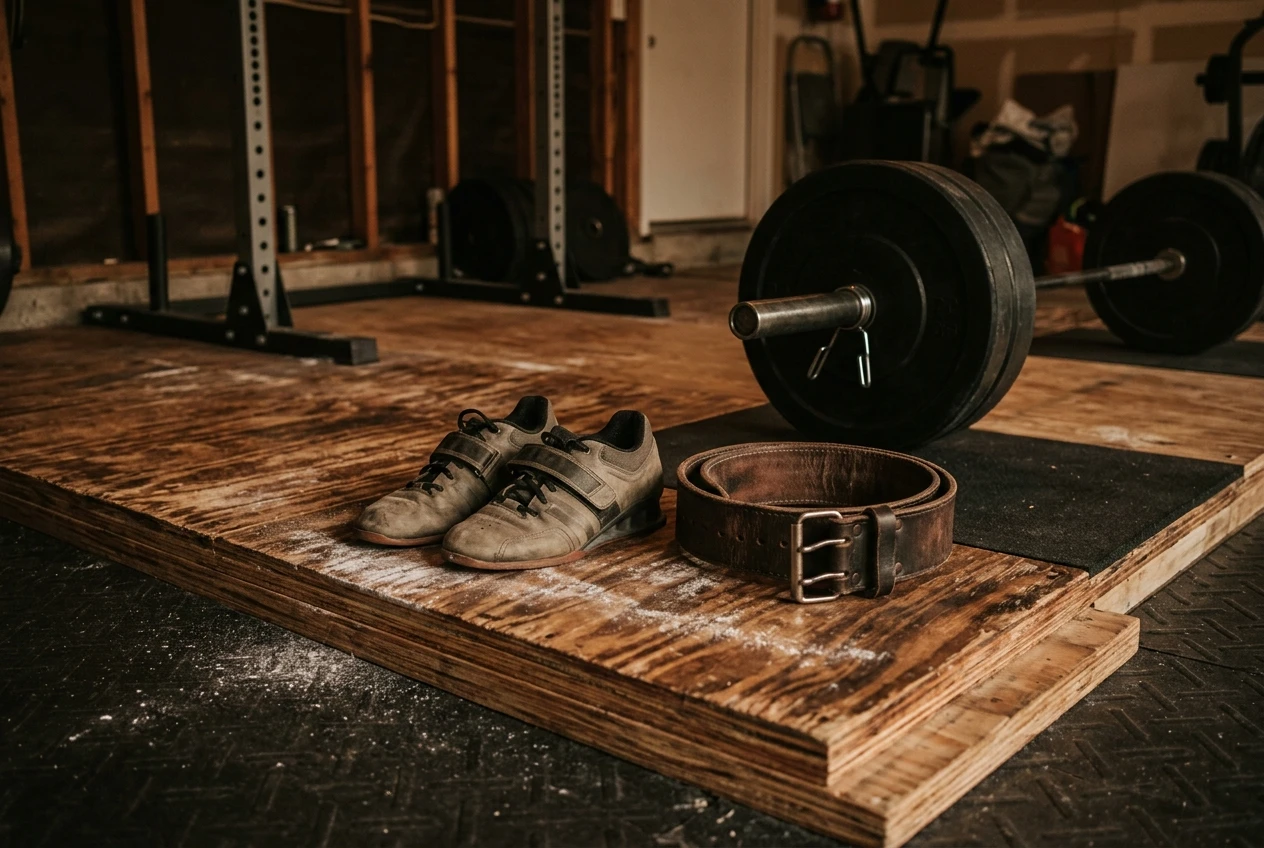
Lifting shoes. A raised, firm heel helps some lifters squat in a better position, particularly when ankle mobility limits depth. Buy them when you notice that limit in your own squat, not because they are standard gear. If you do buy a pair, cleaning and caring for lifting shoes in a garage or spare room will help them last.
A belt. A belt gives your trunk something to brace against on heavy squats and deadlifts. The one that suits a lifter early on can differ from the one that suits them later, which is covered in the lifting belt you need at 6 months versus 6 years. A belt is worth buying once your working sets are heavy enough that bracing is a limiting factor.
Recovery gear. This category is easy to over-buy. The useful question is what actually ends your training weeks: a sore elbow, a tight back, a lack of sleep. Choosing your next purchase by what ends your training weeks gives a method for matching a purchase to a real problem. If nothing is interrupting your training, you don’t need recovery equipment yet.
The Year 4 gate
For each item, the gate is a specific, repeated problem you can name. “My heels lift in the squat at working weights.” “My lower back loses tension on my top deadlift sets.” “My shoulder is sore after pressing days and keeps me out of the next session.” If you cannot finish that sentence, skip the purchase.
Year 5: Specialise with a platform, a second training zone or competition-style gear
By Year 5 the setup is stable and your training has a direction. This stage is for specialising the room around that direction. Three options fit, and you may need only one.
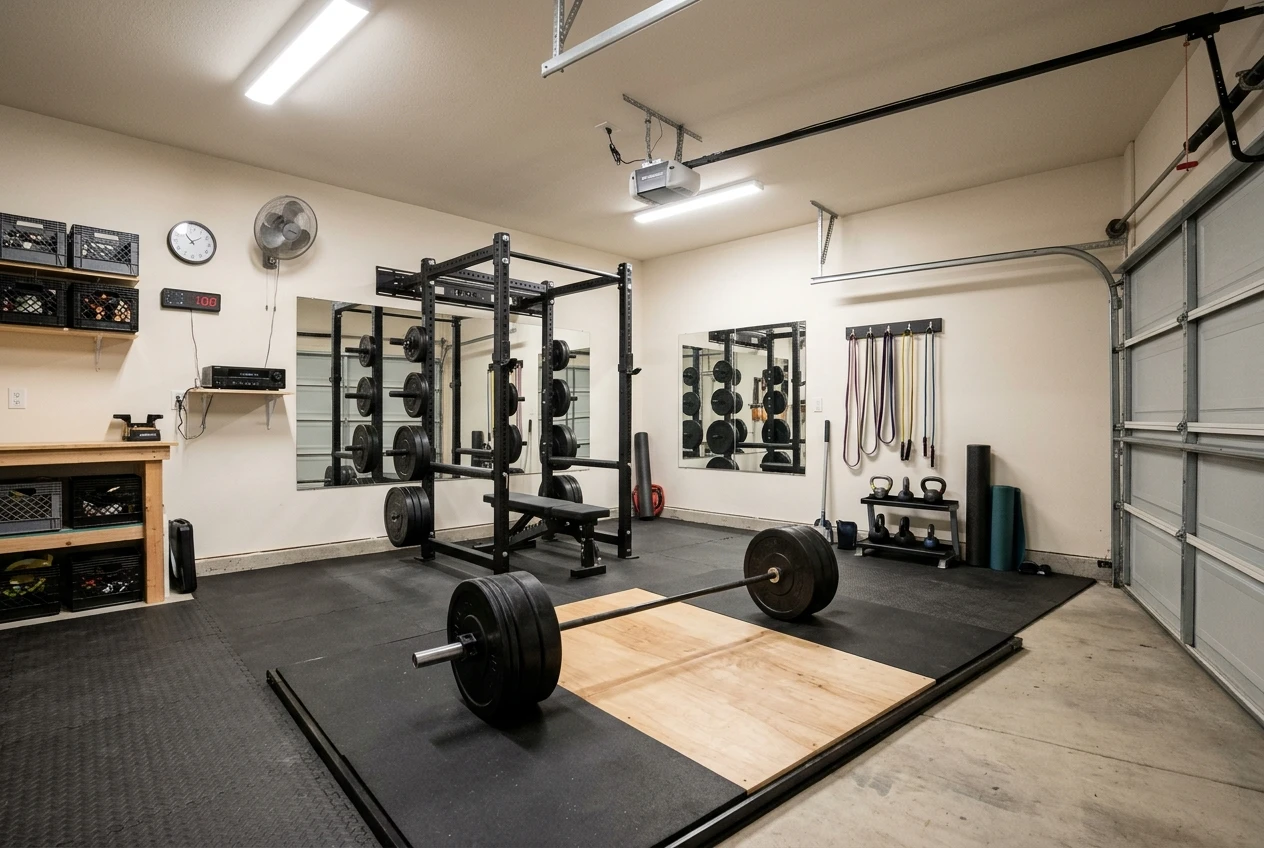
A lifting platform. If you do deadlifts, cleans or snatches, a dedicated platform protects the floor and gives you a consistent, level surface. It makes sense when your current floor is the limiting factor in how you lift or how heavy you can go.
A second training zone. A separate area for kettlebell conditioning, mobility or accessory work keeps the barbell zone set up for the next session. It costs floor space, so it pays off only if switching between kinds of training is currently slowing you down.
Competition-style gear. If you plan to enter a meet, your federation’s rules decide what is allowed, so read the rulebook before buying. For the order in which to buy, what to buy before your first powerlifting meet prep, sorted by month is built around that timeline.
The Year 5 gate
You specialise when you have a concrete reason: a meet date, a repeated limit on your current setup, or a training focus that has settled for long enough that you trust it. A professional-feeling room at this stage is one where every item is there because you use it, and the space shows it.
The upgrade gate: questions to answer before every purchase
The same set of questions applies at every stage. Answer them in writing, and if any answer is “no” or “I don’t know”, wait.
- What specific problem does this fix? Name it in one sentence. “It would be nice to have” is not a problem.
- Is the equipment the limit, or is the program? A stalled lift is often a programming, sleep or food issue. Check those first.
- Does my log show I’ve earned this stage? The gate for the stage you are in should be met on paper, not in memory.
- Does it fit? Check it against your space note: floor area, ceiling height, noise, and walking room around the rest of your gear.
- Will I use it in the next four sessions? If you can’t say where it fits in a planned week, it is not ready to be bought.
- Is there a cheaper way to learn whether I need it? Borrowing, using a gym session once, or buying used can answer the question before you commit.
- What will I stop doing, or not buy, if I spend this? If the money would come from a program, coaching or a repair you need, the order is wrong.
Spending a few minutes on these seven questions is cheap compared with storing, selling or working around gear you didn’t need.
When to stay put, skip a year or sell something
The plan runs on evidence, so it permits three moves that a shopping list doesn’t.
Stay put. If your reps, loads or consistency are still improving with what you own, the current stage is working. Staying in a stage for two years instead of one is a result, and your room, your budget and your joints all benefit.
Skip a year. Some lifters never need Year 2 gear, or move from Year 1 to a barbell once they have a rack-sized space. If you pass a gate early and the questions above all come back clean, go ahead. Skip a stage because the evidence says so, not because you are impatient.
Sell something. If a piece of equipment has gone unused for a full training block, it has failed question 5 after the fact. Selling it frees money and floor space for something you will use. Review your gear when you pass each gate and note what you have not touched since the last one.
The sequence matters more than the speed. A single kettlebell used consistently teaches you more about what to buy next than a full rack bought early and used sporadically.
Start Year 1 with a program you can follow
Year 1 is the stage where a plan saves the most money, because the habit you build there decides whether any of the later purchases get used. Start Year 1 with a kettlebell program you can follow on your TV or phone: see kettlebell.monster. Affiliate disclosure: if you buy through this link, I may earn a commission.