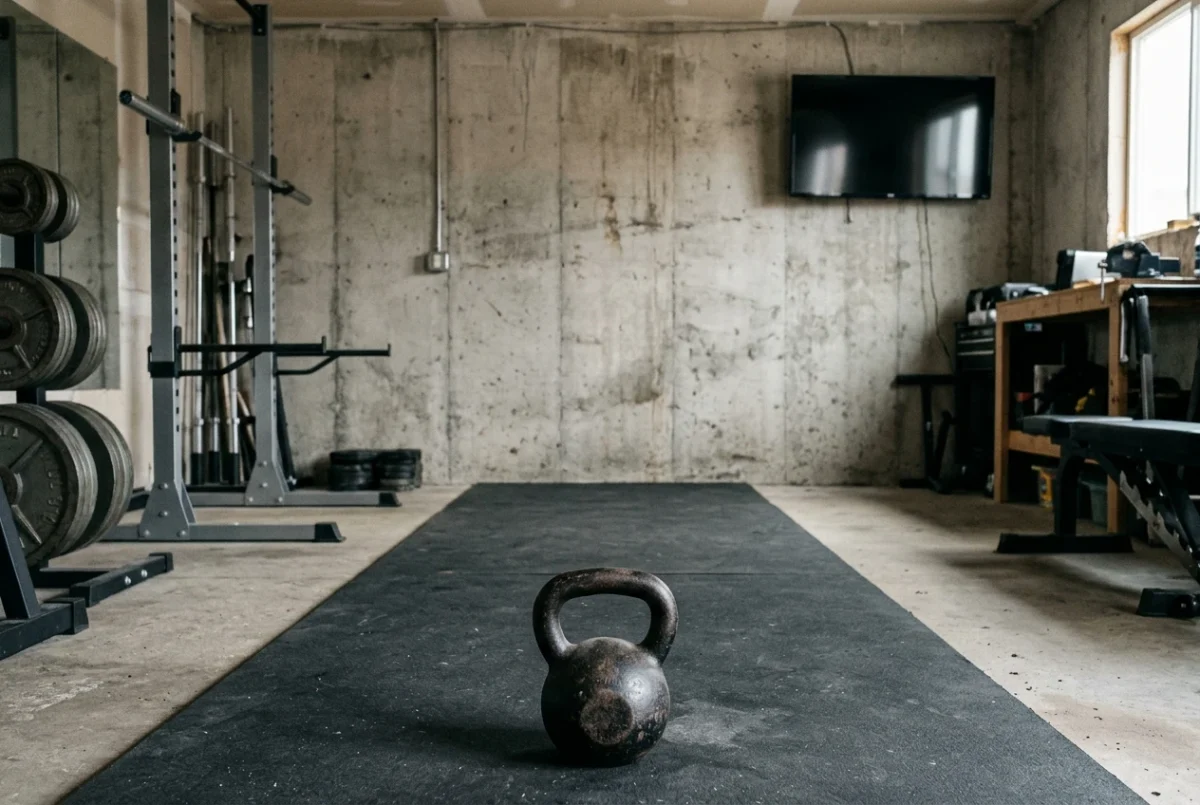
Training alone means nobody notices when a collar is loose, a handle has a burr, or the bell’s landing spot is two feet from the TV. A home gym safety checklist only works if you will run it before every session, so this one stays short and covers the three places things go wrong: the space, the gear, and your joints. The floor is one item on the list.
Clear the space first
Stand where you lift and extend both arms out to the sides, then overhead, then turn a full circle. Anything your hands touch is inside your working space: a shelf, a light fixture, a door handle, a cable. Remove it or move your lifting spot.
Kettlebells need more room than they seem to. A bell can leave your hand during a swing, a snatch or a clean, and it travels in a straight line from wherever your hand was when you let go. The lane in front of you should be empty all the way to the wall, and nothing breakable should sit at the height the bell travels.
If the TV is part of your setup, its position matters. A screen mounted on the wall you swing toward is a target. Put it to the side of the bell’s path, or far enough back that a released bell lands well short of it.
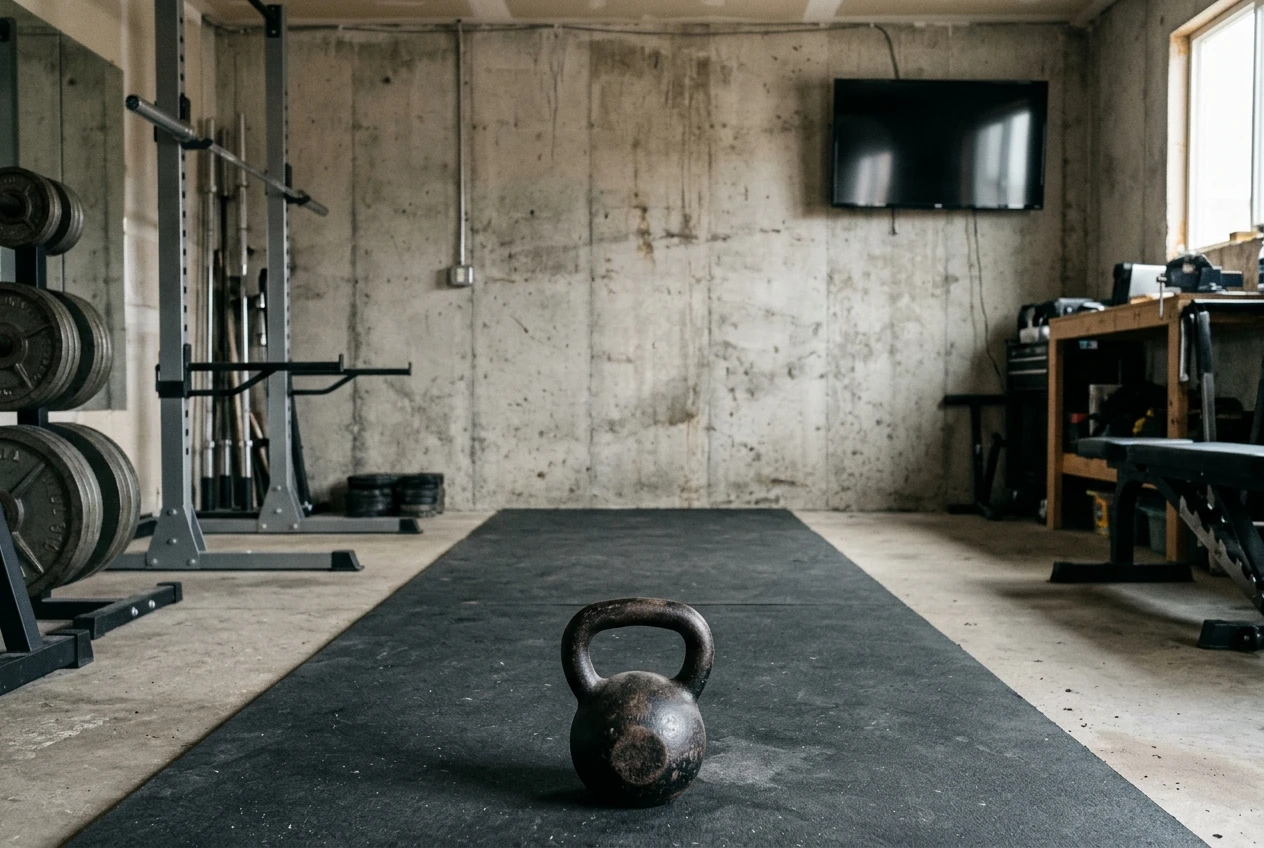
For barbell work, check the room behind and in front of you:
- Squats and presses: you need space to step back or forward if you have to dump the bar.
- Deadlifts: plates can roll after a drop, so check where they would go and what they would hit.
- Bar ends: sleeves should clear walls, door frames and the rack uprights when you walk the bar out.
Then look at the floor around you for trip hazards. Band loops, a water bottle, a phone charger cable and a towel are the usual ones. Sweat on a smooth surface is a slip risk, so wipe it up before the next set rather than after the session.
Check what’s under you
Floors fail in two directions: the lifter damages the floor, or the floor misbehaves under the lifter. Look at four things.
The surface. Walk the lifting area and check for shifted mats, curled edges, gaps between tiles and any grit or debris on the floor underneath. A small stone trapped under a mat becomes a pressure point when a bar or bell lands on it.
The subfloor. A concrete slab and a wooden framed floor behave differently. Concrete does not flex, but a heavy drop can chip or crack it, and it is hard on the equipment. A wooden floor flexes and carries vibration through the structure, which you hear and feel in other rooms. If your floor bounces when you jump or walk heavily, treat heavy drops as off the table.
The room below. In an apartment, or any house with living space under your gym, the ceiling below is part of your equipment. Noise from dropped weights travels, and so does the thud of a set-down that is a little too firm. Train at hours that suit the people downstairs, and ask yourself whether your lease or your neighbors would tolerate the sounds your program produces.
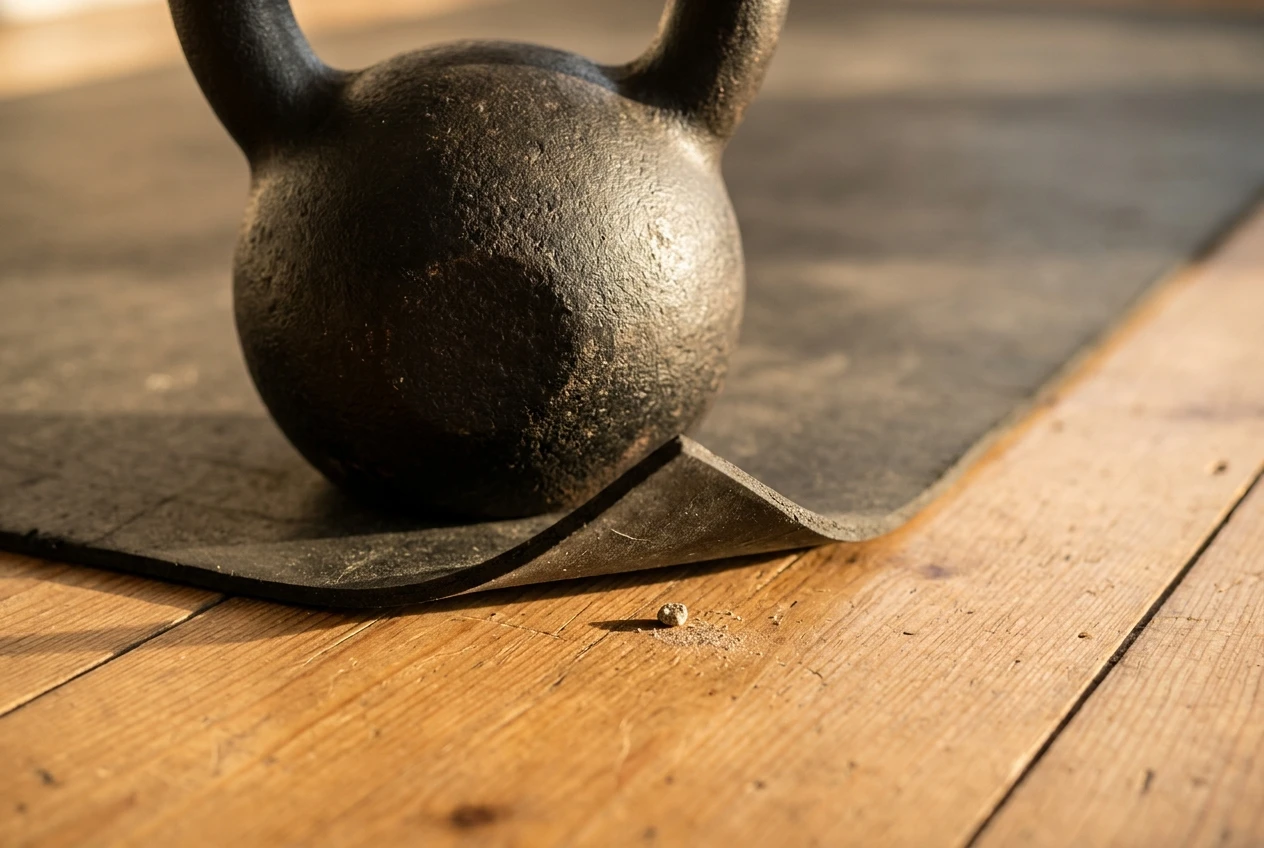
The drop plan. Decide before you start what happens when weight hits the floor. Bumper plates over a proper platform are built for drops. A cast iron kettlebell on bare tile or hardwood can crack the tile or dent the wood, and it can chip the bell as well. If your floor is not built for drops, lower everything under control, and choose exercises and rep ranges that let you do that.
Material choices are a separate decision with their own tradeoffs. The guide on home gym flooring matched to how you actually lift covers what to put down, so this check only asks whether what you already have is intact and suited to what you are about to do.
Give your gear a thirty-second inspection
Gear wears slowly, so you rarely notice the day it becomes a problem. A quick look before you start catches most of it.
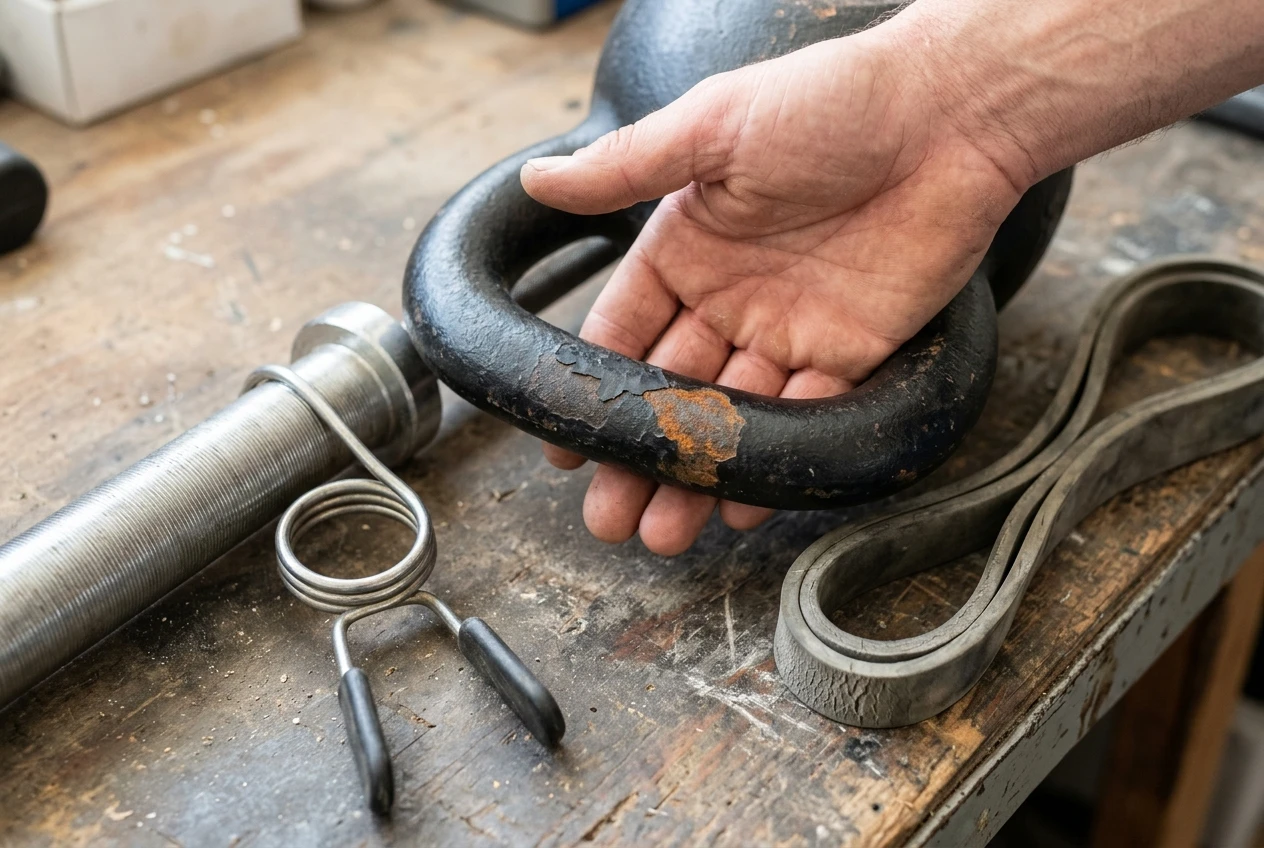
Kettlebell handles. Run your palm over the handle. Burrs, flaking coating, rust patches and a slick, polished spot all change how the bell sits in your hand. Look at the point where the handle joins the body for any crack or gap. If you use an adjustable bell or dumbbell, confirm the locking mechanism is fully engaged before every set.
Barbell collars. Spring collars can slip, and clamp collars can loosen as the session goes on. Push each one against the plate and check that it holds. An uneven load on one side can tip a bar mid-lift, and that is hard to recover from when you are alone.
Rack and safeties. Check that the J-hooks and safety arms are fully seated and that any pins are all the way through. Look at the bolts if your rack is assembled from parts.
Band surfaces. Stretch the band a short way and look along its length for nicks, small cracks, whitening, or a sticky texture. Check where it attaches to a door anchor, handle or rack. A band with surface damage can snap under load, and the snap comes back at you. How each material wears and how to care for it is covered in the piece on caring for lifting shoes, belts and bands.
Belt and shoes. On a belt, look at the buckle or lever, the prong holes, and the edge where leather or nylon starts to crack or fray. On shoes, check for sole separation at the toe or heel, a cracked heel block, and straps or laces that are fraying. Shoes that slide or roll underfoot are a bigger problem than shoes that look old.
If anything fails the look, take it out of the session. A missing piece of kit is a lighter day. A failed piece of kit during a heavy set is an injury.
Know the difference between muscle work and joint warning signs
Hard training feels bad in familiar ways. The skill is separating that from signals that something is being irritated or damaged. These usually separate cleanly:
Muscle work tends to feel like:
- Burning or a heavy ache in the muscle you are training
- General fatigue and shaking near the end of a hard set
- Soreness the next day that is dull, spread across the muscle, and eases with movement
Joint warning signs tend to feel like:
- Sharp or pinching pain at one specific point in the range
- Pain that shows up at the same spot every rep
- Clicking or catching that comes with pain
- Swelling, warmth, numbness or tingling
- Pain that gets worse as the session goes on, or is still there the next morning
Before you load a movement, do it once with nothing in your hands. If it hurts empty, adding weight will not fix it. Pick a variation that does not hurt, or skip it that day.
This is general guidance rather than medical advice. Sharp, persistent or recurring joint pain is worth a conversation with a physician or physical therapist, and no checklist replaces that.
Joints also get hurt by jumping up in load faster than they have adapted. If a heavier kettlebell is the next purchase, the article on progressing reps before the bell explains how to close that gap gradually.
Warm up the joints you’re about to use
A generic five minutes of cardio raises your temperature but does little for the specific joints a session will load. Match the warm-up to the lifts planned.
- Swings, cleans and deadlifts: hips and hamstrings. Practice unloaded hip hinges, then a few light swings or a light deadlift set. Add shoulder circles, since the shoulders hold the bell or bar at the top.
- Squats and goblet squats: ankles, hips and knees. Do ankle rocks against a wall, then a few bodyweight squats with a pause at the bottom, then a light goblet squat.
- Overhead presses and snatches: upper back, shoulders, wrists and elbows. Use a band for pull-aparts, rotate the wrists, and press the empty bar or a light bell overhead.
- Rows and pull-ups: shoulder blades and grip. Hang from the bar for a few seconds, or pull a band toward you with squeezed shoulder blades.
After the joint work, ramp up with sets that climb toward your working weight: a light set, a heavier one, then one close to your first working set. If your joints feel stiff on the first set, give them another pass before you go heavier.
Set a bail plan for solo lifting
With nobody spotting, every heavy set needs an exit that you picked in advance.
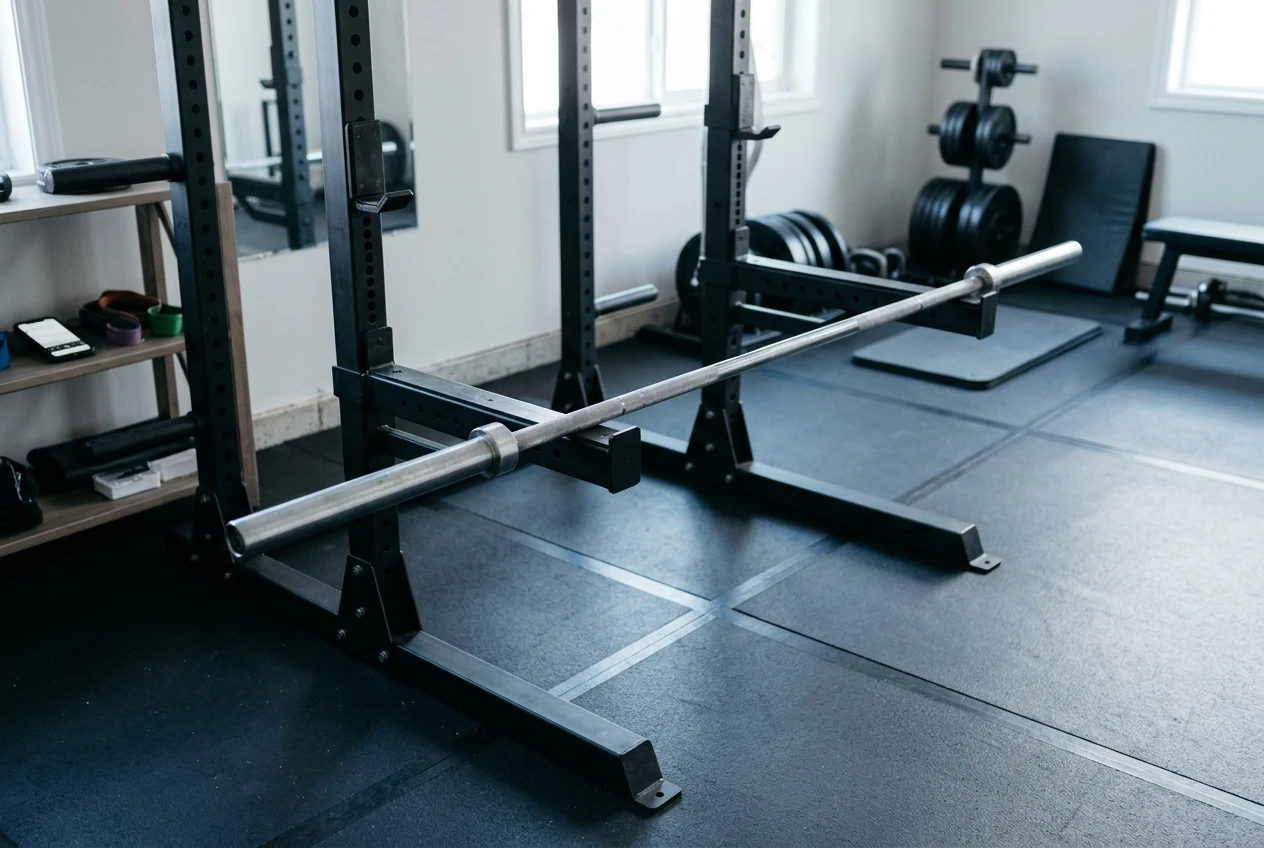
Safeties. Set the safety arms or pins so the bar clears your chest at the bottom of a squat or bench, then test it. Lower an empty bar to the bottom position and confirm it lands on the safeties with room to spare. Do this again if you change the height of the bench or the rack setting.
Drop rules. Decide which way the weight goes if you lose a lift. For a failing overhead lift, that means a direction away from your head and feet that is clear of the rack and the walls. Practice it with a light load so your body knows the move. Never try to save a failed lift in a way that twists your spine or loads a joint in a position it was not set up for.
When to end the set. Stop the set when the bar or bell slows sharply, your form changes, or a rep takes noticeably longer than the one before. On lifts without safeties, stop with a rep or two left in the tank. Skipping a grind rep costs you little, and making it can cost you a lot.
Everything else. Keep your phone within reach. Do not train when you are dizzy, ill or short of sleep enough to be unsteady. If you have people in the house, they should know you are training and where you are.
Make the check a habit
The checklist is only useful if it is quick and always in the same place. Write it out, print it, and keep it next to the rack. A full run takes two or three minutes.
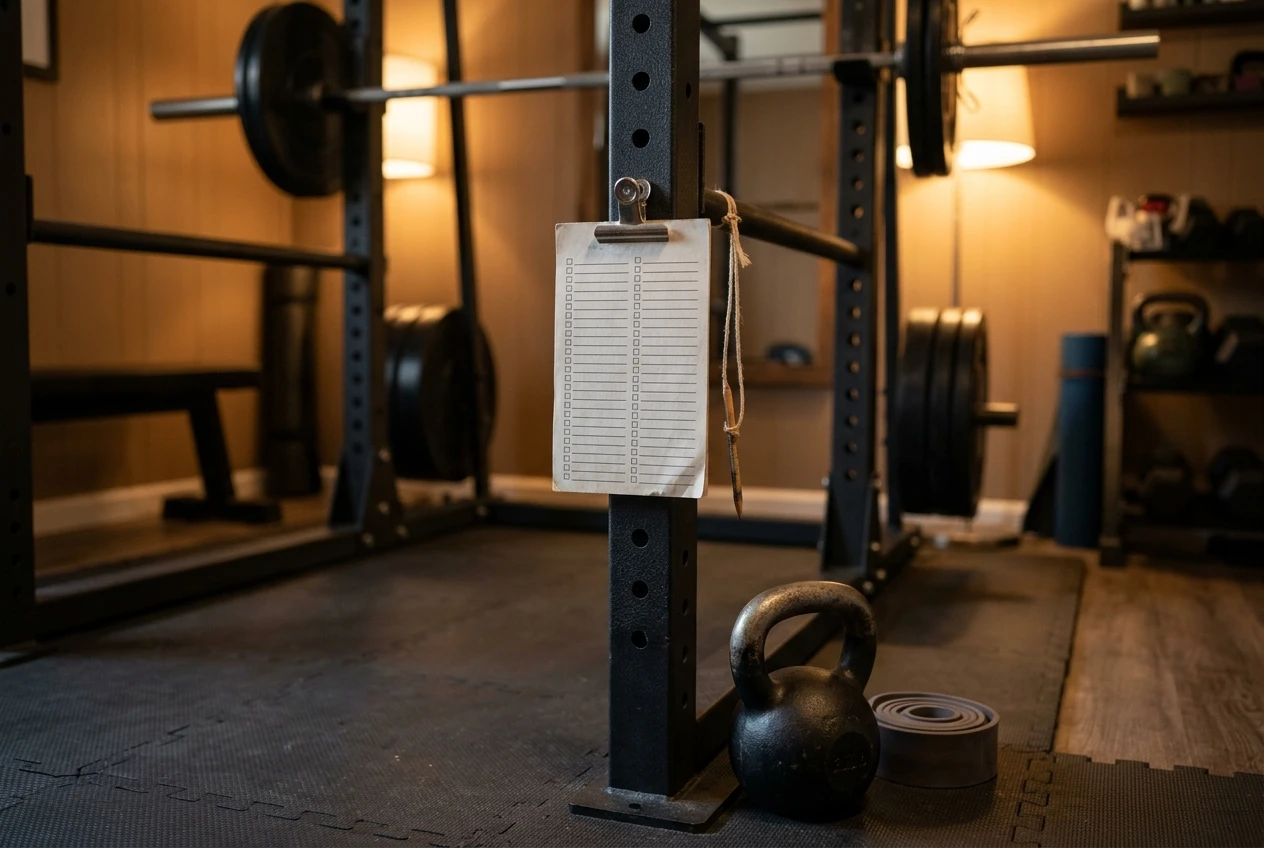
- Arms-out and turn-around test: nothing within reach, lane clear, TV out of the bell path
- Floor intact: mats flat, no debris, drop plan decided
- Room below and neighbors: hour and noise acceptable
- Handles, collars, bands, belt and shoes looked over
- Rack pins and safeties seated and tested
- Joints checked unloaded: no sharp pain in the range
- Warm-up matches today’s lifts
- Bail direction chosen, stop rule set
Run it in the same order each time. A fixed order makes you notice what is different, which is how a worn collar or a shifted mat gets caught on the day it changes.
If you train kettlebells at home, see the programs at kettlebell.monster. Affiliate disclosure: this is an affiliate link, so I may earn a commission if you buy through it.
If the TV is your coach, the Kettlebell Monster Samsung Tizen app puts the workouts on your screen. Affiliate disclosure: this is also an affiliate link, and I may earn a commission on purchases made through it.