A stalled press often gets blamed on shoulder mobility, and the gear industry is happy to agree. If you are searching for an overhead press plateau shoulder mobility fix, you will find stretching tools, bands, sticks, and drill collections, all promising to open you up. Buying any of them before you know which problem you have is guesswork.
Two different problems produce the same result in your training log. In one, your shoulders cannot get the arm overhead into a stacked position at all. In the other, they can get there, but the position falls apart once the bar is heavy. The first is a range problem, and the second is a control problem, and they call for different work. This article gives you a short test to sort them, a two-week plan for each result, and a way to judge the outcome from your working sets.
Why a stalled press is not always a tight shoulder
A strict overhead press asks for several things at once. The arm has to travel overhead, the ribcage has to stay down over the pelvis, the shoulder blade has to rotate upward to make room for the arm, and the bar has to finish over the middle of your foot. A shortfall in any of these can stop the bar.
Range is only one of them. Some lifters have plenty of range and no way to keep it when the load rises. They finish the press by leaning back and arching the lower back, which looks like a lockout but borrows the position from the spine instead of the shoulder. Stretching does nothing for that lifter, because the range was never missing.
Other things stall a press too: too little weekly volume, poor recovery, and a program that never varies the rep range. This article covers only the shoulder-position side. If your lockout is clean and your bar path is straight, look at programming and recovery instead.
The two-minute sort: can you get there, or can you hold it?
Run both checks with no load first, then with a light one. Film yourself from the side if you can. Your own sense of where your ribs and lower back are is usually unreliable at the top of a press.
Check 1: Can you get there? (the passive reach)
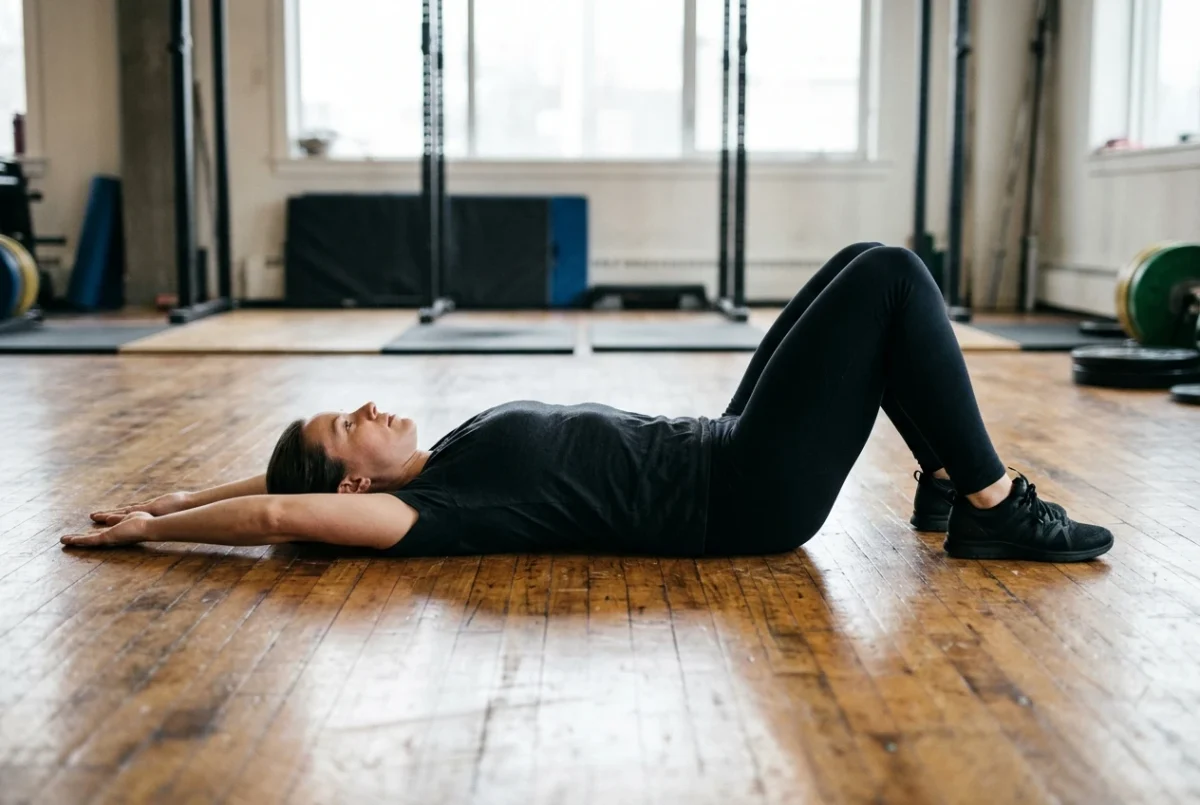
Lie on your back with your knees bent and feet flat. Press your lower back lightly into the floor and keep it there. Now bring both arms overhead with straight elbows and try to touch the backs of your hands, or at least your upper arms, to the floor beside your ears.
You pass if your arms get there while your lower back stays on the floor and your ribs stay down. You fail if your lower back peels off the floor, your ribs flare upward, or your elbows bend before your arms reach the floor. A standing version works as well: put your heels, hips, and upper back against a wall with your ribs pulled down, and raise your arms overhead without letting your lower back leave the wall.
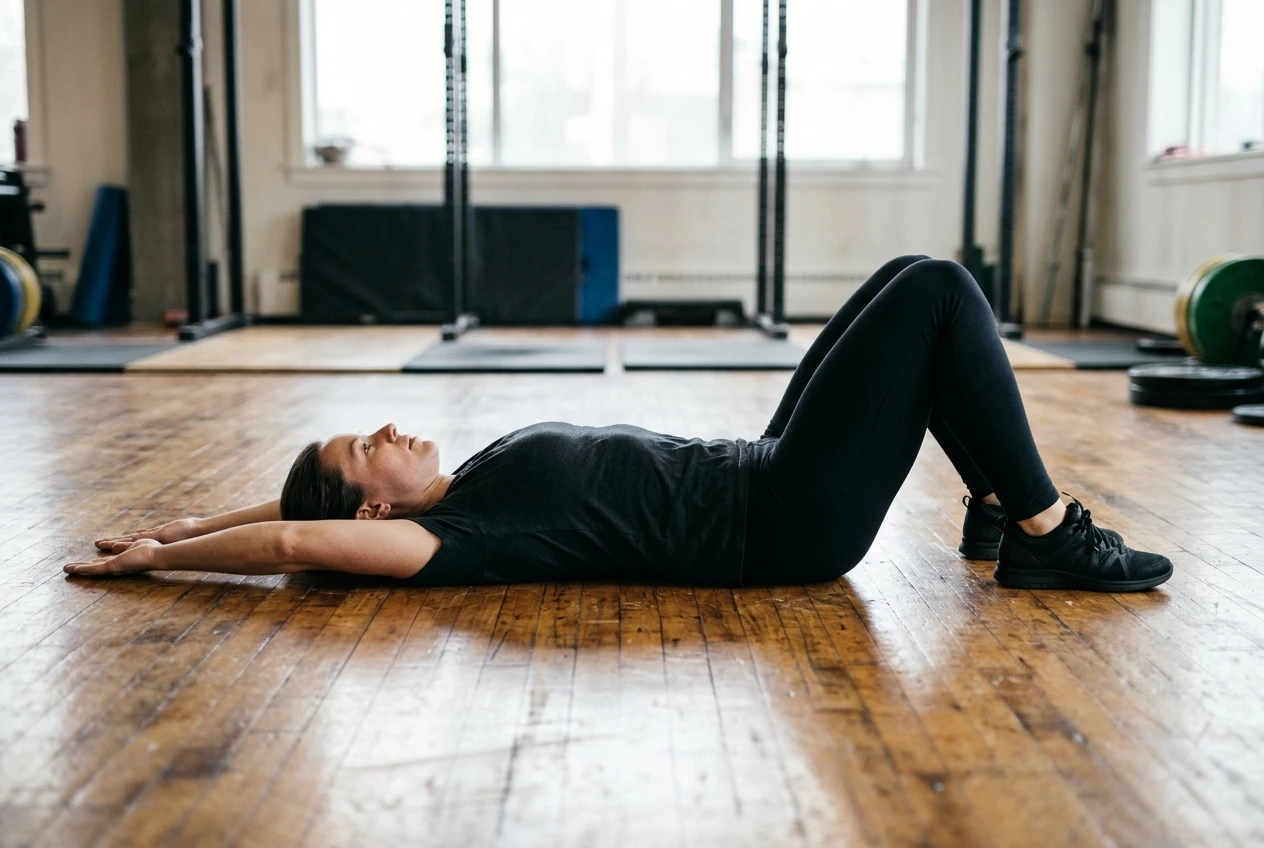
Passive means nobody is asking your muscles to work hard here. If the position is unavailable while you are relaxed, it will not be available with a bar in your hands.
Check 2: Can you hold it? (the loaded reach)
Stand tall with your glutes tight and ribs down. Raise your arms overhead, then hold the lockout with an empty barbell, a light dumbbell in each hand, or a light kettlebell for ten seconds. Then film your last working set of presses from the side.
You pass if the weight stays over your midfoot, your ribs stay down, and your head moves through the window without jutting forward. You fail if your lower back arches, your ribs flare, the bar drifts forward, and you chase it, or the position you showed in Check 1 disappears the moment weight is in your hands.
Reading the result
- Fail Check 1: You have a range problem. Start with the mobility plan below.
- Pass Check 1, fail Check 2: you have a control problem. Start with the drill block.
- Pass both: your shoulder position is probably not what is stalling you. Look at volume, recovery, and rep ranges.
- Fail both: treat range first for two weeks, then add the control block in the second week. Work on the range alone for the first few days, so you do not train control in a position you cannot reach cleanly.
If you can’t reach the position where bands, sticks, and other mobility tools actually earn their place
If you failed the passive reach, tools have a real job. The aim is to give the shoulders, upper back, and lats time in the overhead position under gentle, repeatable conditions.
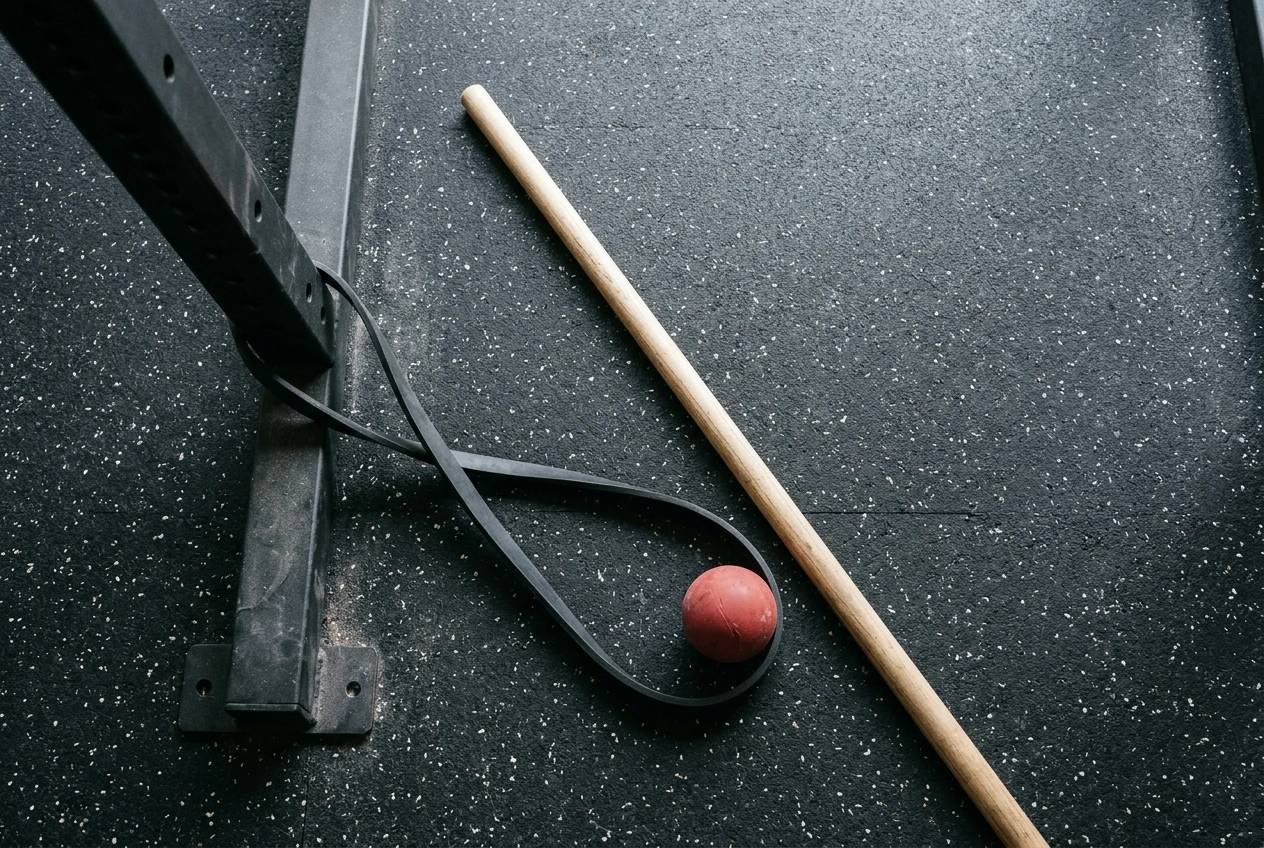
Three inexpensive tools cover most of it:
- A dowel or broomstick. Hold it wider than shoulder width and move it from your thighs to overhead and back while your ribs stay down. A wooden dowel from a hardware store does the same job as a branded mobility stick, so you do not need to buy a specialised one.
- A resistance band loop. Anchor it to a rack upright, step into it, and hang from your hands or press the arm overhead against it for a gentle stretch of the lats and the side of the shoulder. The band also doubles for warm-ups and accessory work, so it is the one purchase on this list that keeps earning its place.
- A wall. Wall slides and the standing wall reach from Check 1 cost nothing and show you whether the range is actually improving.
Run a short block daily for two weeks. Spend five to eight minutes on it, ideally before pressing and again at another point in the day. A sample block:
- Supine reach from Check 1, ten slow reps, with a two-second pause at the end of each.
- Band-anchored lat stretch, two rounds of 30 to 45 seconds per side.
- Dowel pass-throughs, ten reps with ribs down.
- Wall slides, ten reps, finishing with the arms locked out against the wall.
A foam roller or lacrosse ball on the upper back and lats can feel good, but it is optional. Add it only if it helps you finish the supine reach in a better position. If a tool does not change your Check 1 result, drop it.
Keep pressing during this phase at your usual working weight. Do not add weight or chase a personal best while you are still changing the position underneath the bar.
If you can reach it but lose it under load: the drill block that trains control
If you passed the passive reach and failed the loaded one, you already own the range. The job is teaching your body to hold it when the weight gets heavy, and stretching more will not do that. Gear will not either. Practice will.
The drills below train the three things that tend to go missing: rib position, shoulder blade rotation, and the ability to finish a press without leaning back.
- Dead bug. Two sets of eight slow reps per side, with the lower back held to the floor. This trains your trunk to keep the ribs down while the arms and legs move.
- Wall slide with lift-off. Two sets of eight. Slide the arms up the wall, then lift the backs of the hands a few centimetres off the wall at the top. This trains the shoulder blades to rotate upward.
- Tempo press. Three sets of five with a three-second lowering phase and a one-second pause at the top, using about 70 percent of your working weight. The pause shows you at once whether you can stack the lockout.
- Overhead carry. Two or three walks of 20 to 30 metres with a kettlebell or dumbbell locked out overhead in one hand, switching sides. A tall, steady position on the way across means the position is holding.
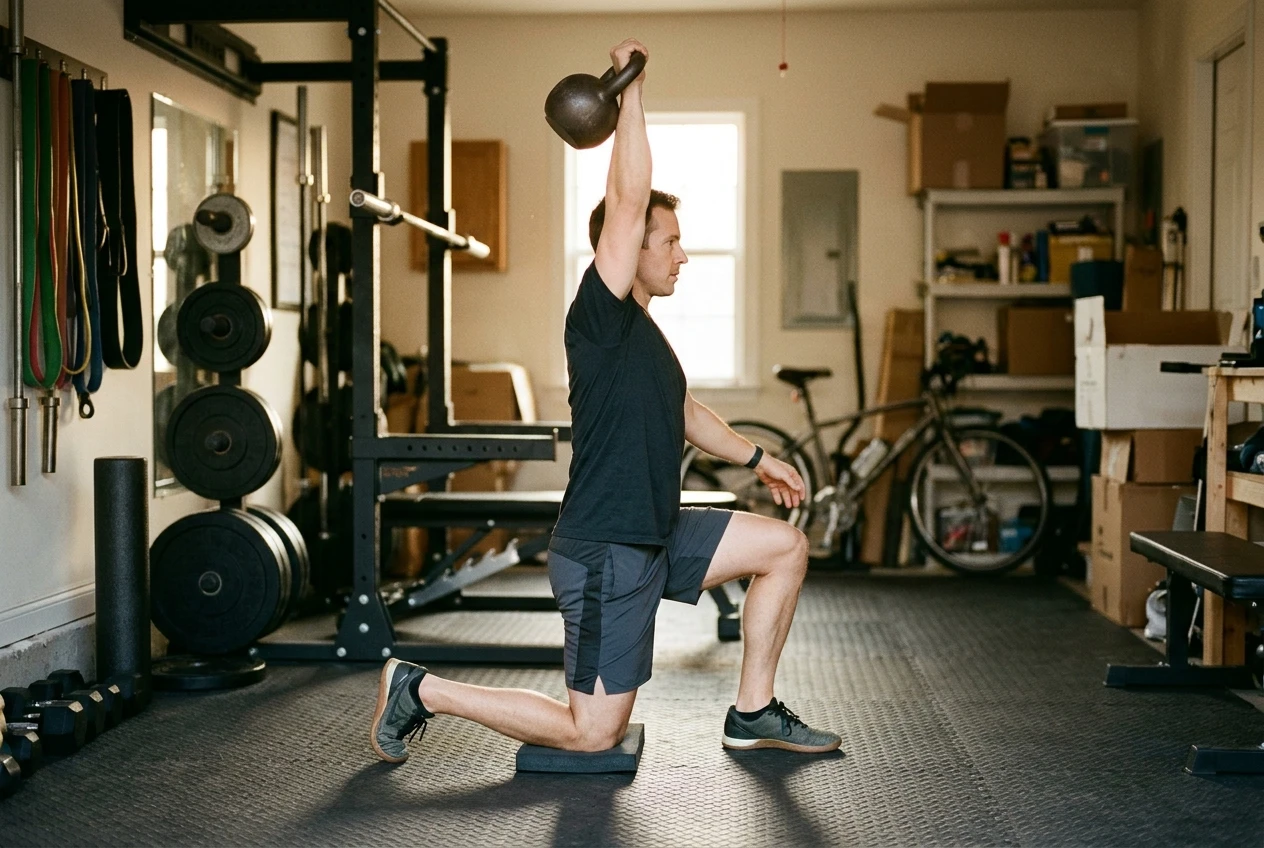
- Half-kneeling single-arm press. Three sets of six per side, light to moderate load. Kneeling removes your ability to cheat with the legs and hips, so a lean in the lower back shows up straight away.
Do this block three days a week, ahead of your normal pressing, and keep it to around ten to twelve minutes. Stop each drill with a rep or two in reserve. The point is clean repetitions, and a set that falls apart is practice at doing it badly.
Run each fix for two weeks and decide by what changes in your working sets
Two weeks is long enough to see a change in position and short enough that you will not lose a month to the wrong fix. Make no other changes during the period: same program, same exercise order, same weights.
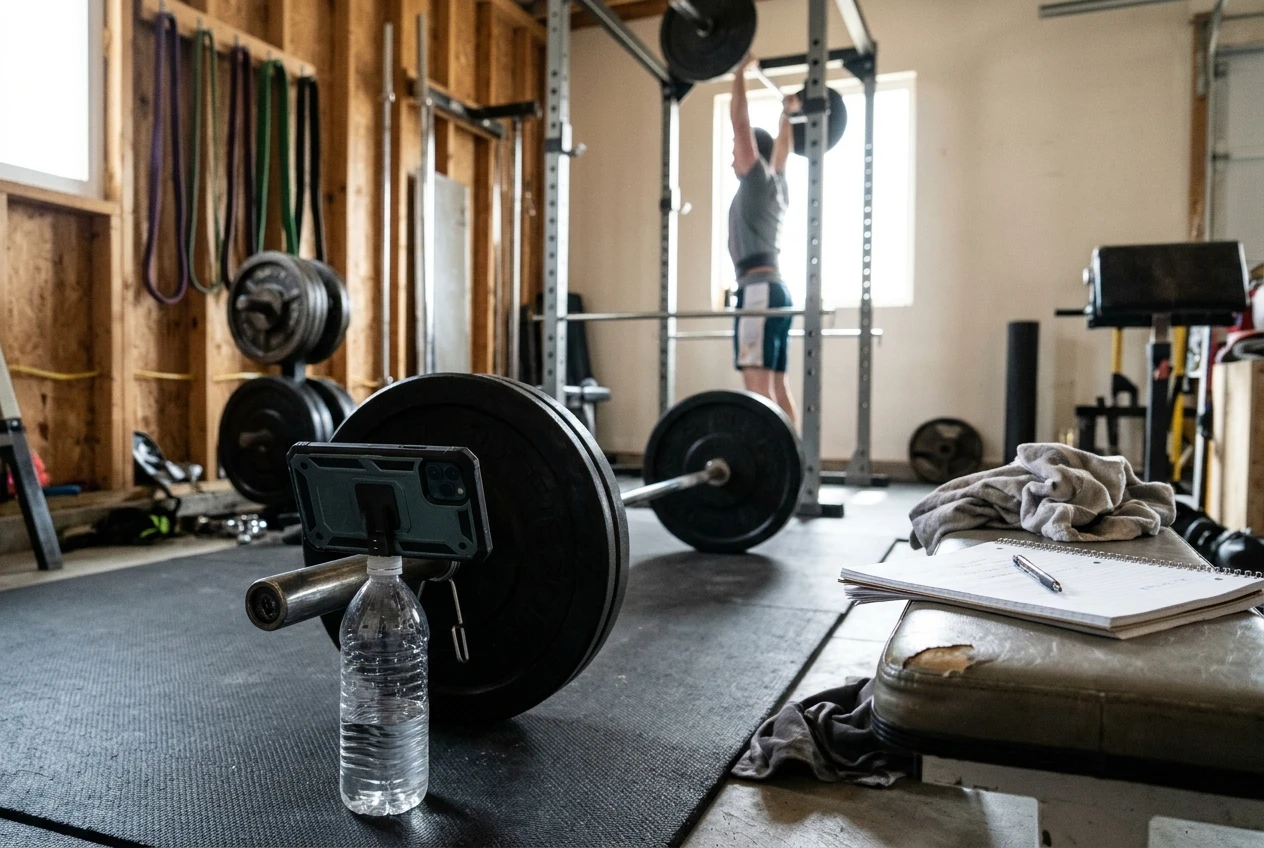
Before you start, record three things from your normal working sets:
- The weight and reps you hit on your top set.
- A side-on video of that set, from the last two reps.
- Your Check 1 and Check 2 results.
At the end of day 14, repeat the same checks and compare. Judge by these:
- Reps at the same weight. Did the same load go up for more reps, or did the last rep become cleaner?
- Lockout position. Does the bar finish over your midfoot with your ribs down?
- Check 1. Do your arms reach the floor with your lower back flat?
- Bar speed. Did the sticking point move higher, or disappear?
If Check 1 improved and your sets improved, continue the same plan for another two weeks. If Check 1 improved but your sets did not, move to the control block. If your sets improved after the control work, keep it in your warm-up permanently. If nothing changed in either check, stop buying and drilling. The cause is probably elsewhere: volume, sleep, or a plain strength limit in the triceps and upper chest.
When a plateau is pain, not a plateau, and what to do instead
Some stalls are not plateaus. If any of the following show up, stop treating the problem as a training puzzle:
- Sharp or pinching pain at the top of the press or in the shoulder joint
- Pain that wakes you at night or lingers well after a session
- Numbness, tingling, or weakness in the arm or hand
- A shoulder that feels unstable, or that catches or clicks painfully
Drills and mobility tools are not a treatment for these. A physician or physiotherapist can assess the shoulder and tell you what is happening, which a training article cannot do. In the meantime, pressing variations that stay pain-free, such as a landmine press or a neutral-grip dumbbell press at a lighter load, may let you keep training the muscle. Let a clinician decide whether and how fast to return to heavy overhead work.
What to buy, what to skip, and what to practise first
Buy, if Check 1 failed: a resistance band loop and a dowel. Together they cost far less than most dedicated stretching devices, and the band has other uses in your home gym.
Skip: specialised stretching machines, multi-piece mobility kits, and anything that promises to fix your press on its own. None of them can tell you whether your problem is range or control, and the test above costs nothing.
Practise first: the control block. Even lifters who needed range work will need to hold the new position under load afterward, so these drills usually end up in the program either way.
If your shoulder-dominant work includes kettlebells, you may want to check your kettlebell positions before you add load to them. The five checks in Don’t Add Load to a Kettlebell Position You Can’t Get Into Yet cover that ground.
For guided kettlebell shoulder drills that you can follow along with, Kettlebell Monster is worth a look. If you would rather follow drills on a big screen than a phone, there is also the Kettlebell Monster workout app for Samsung Tizen TVs. Both are affiliate links, so I may earn a commission if you buy through them.