A kettlebell does not care what range of motion you have. Add 8 kilograms to a swing, a squat, a clean or a press, and the body finds the nearest way to complete the rep, usually by borrowing range from the lower back, the knees or the wrist. A lift that looked fine with a light bell can turn into a compensation pattern once the load goes up.
This article treats mobility for kettlebell training as a gate in your progression. Each of the five lifts below needs one joint position. Each has a self-check you can run in a minute or two, plus a rule for what to do before the bell gets heavier or the lift gets more complex.
Why a Heavier Bell Exposes the Range You Don’t Have
With a light bell, you can fake a position and nothing complains. The weight is too small to push you out of line, so a rounded hinge, heels that lift in the squat or a flared rib cage overhead all go unnoticed.
A heavier bell adds force at the end of your available range, the point where your joints have nothing left to give. A bell swinging away from you pulls on your spine at the bottom of the hinge, and a bell overhead pulls your ribs and lower back into extension. The body gets the movement done anyway, and the extra range comes from a joint that was not meant to supply it.
A warm-up that touches everything loosely won’t catch this. A gate asks a yes-or-no question: can you get into this position, on both sides, without a trade? If yes, add load. If no, fix the position first. The checks below are short enough to use as that gate.
The Hip Check Before You Load the Swing
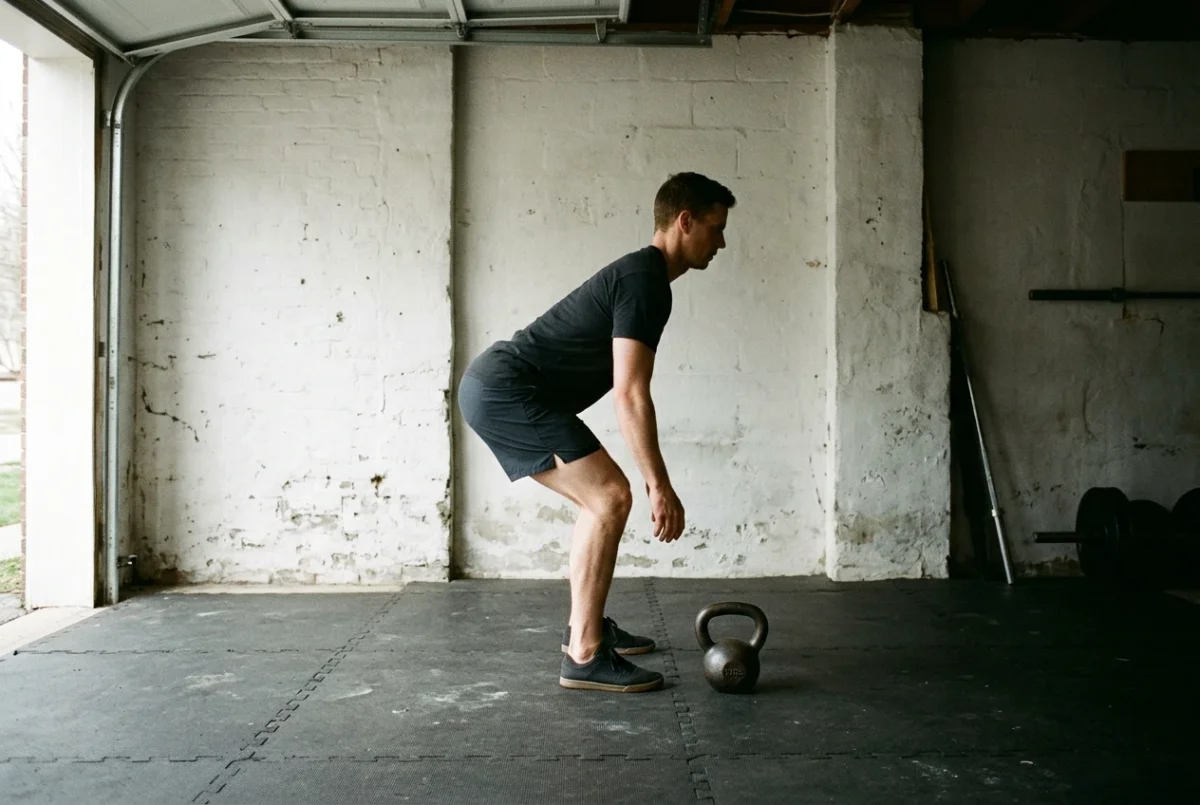
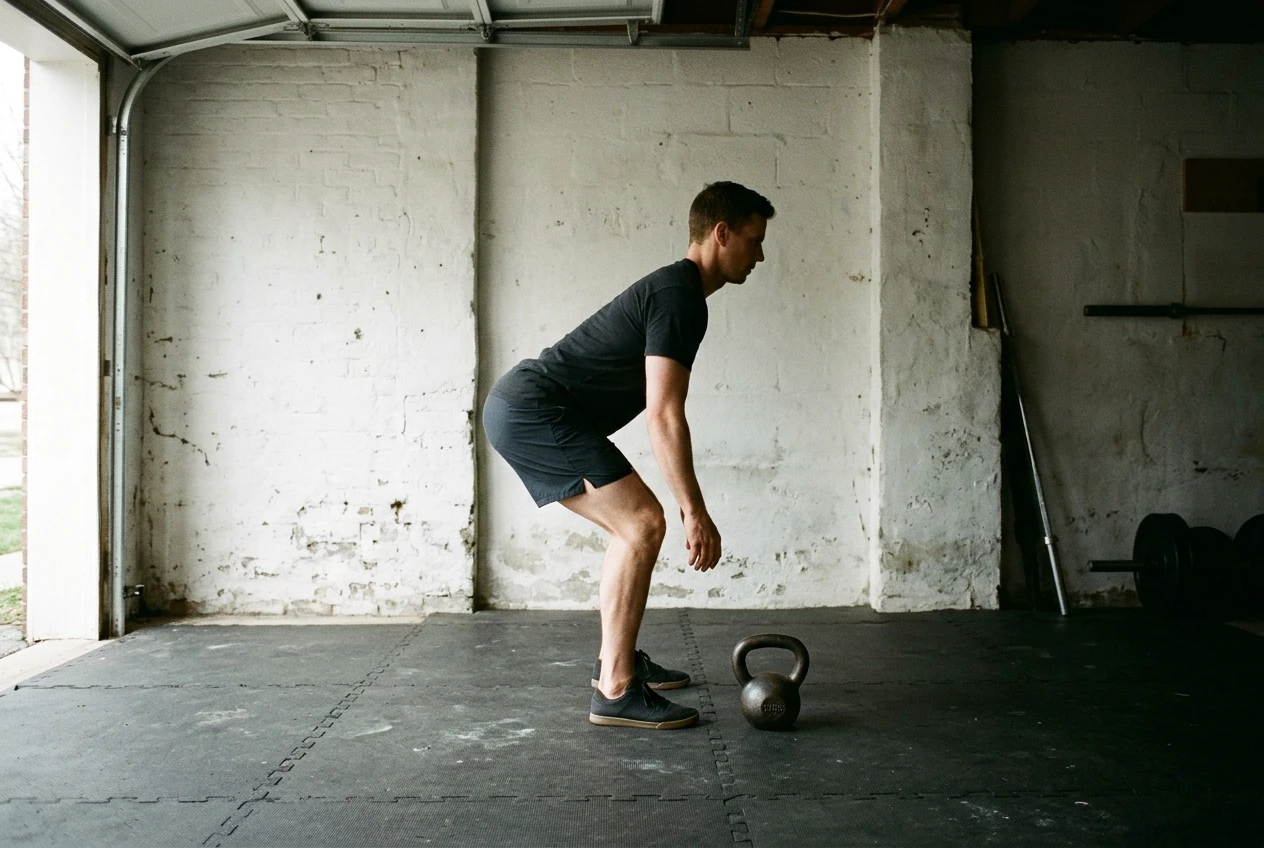
The swing needs a hip hinge: the hips travel back while the shins stay close to vertical and the spine holds its shape. A swing that looks like a squat usually means the hinge is missing.
The check: Stand with your back to a wall, about one foot-length away from it. Keep your knees soft and your chest tall, then push your hips straight back until your glutes touch the wall. Stand up again without letting your lower back round or your knees drift forward.
You pass if:
- Your glutes reach the wall without your knees travelling far forward.
- Your back keeps one continuous line. Film it from the side if you can’t tell by feel.
- You can stand back up by driving the hips forward, not by lifting the chest first.
Then check the other end of the swing. Stand tall, squeeze your glutes, and keep your ribs stacked over your pelvis. If you can only reach full hip extension by leaning back from the lower back, the top of the swing will load your spine instead of your hips.
If your lower back already complains after swings, the fault-matching approach in this guide on swing faults and the accessory lifts that train them covers that problem from a different angle. This check asks only whether the range exists.
Before you move up: Keep the swing at the current weight until the wall hinge is clean for ten slow reps. Use a kettlebell deadlift to practise the same hinge with the bell between your feet.
The Ankle and Hip Check Before the Goblet Squat Gets Heavy
The goblet squat needs two things at once: enough ankle range to let the knees travel forward over the toes, and enough hip range to sit down between the legs. A limit at either place shows up as heels lifting, the chest folding forward, or the pelvis tucking under at the bottom.
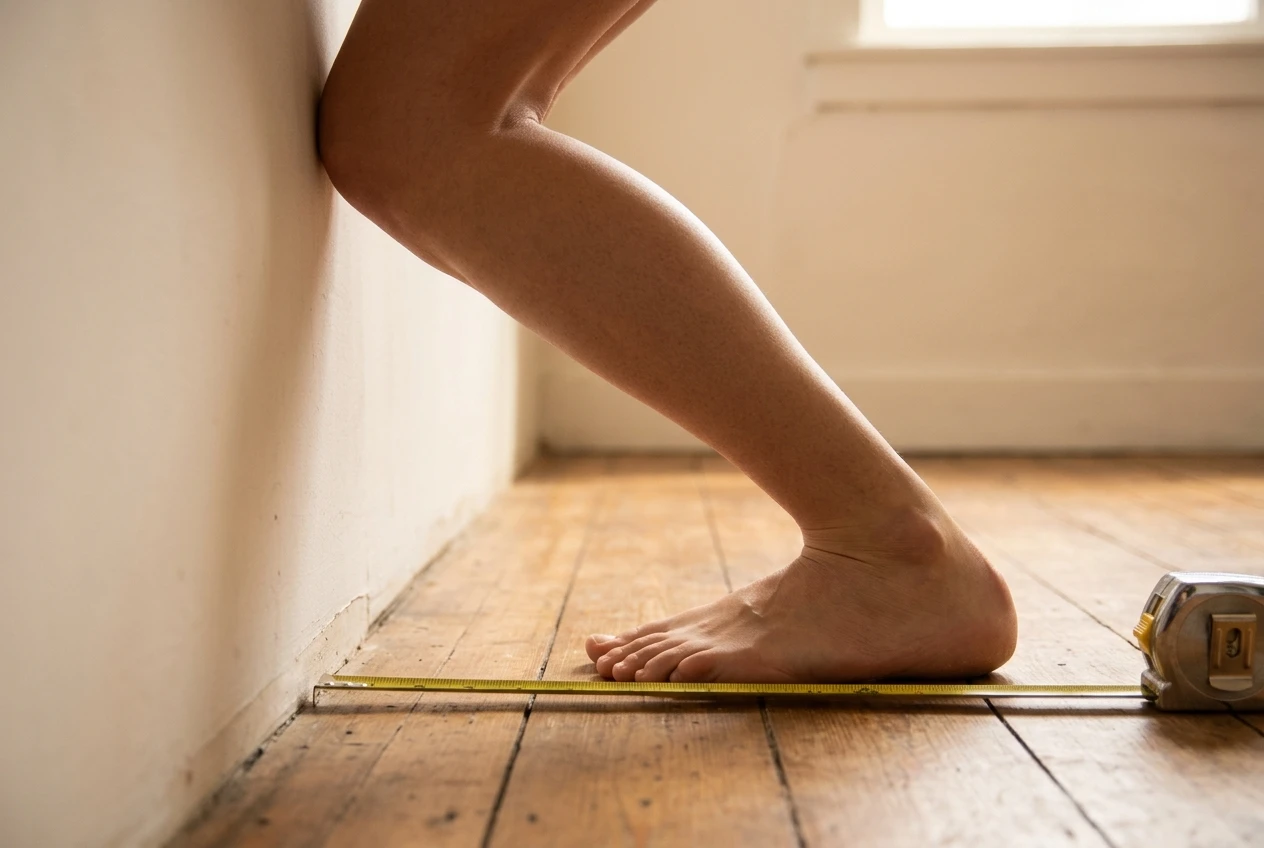
Ankle check (knee to wall): Put your toes a few inches from a wall, heel flat on the floor. Try to touch your knee to the wall without the heel lifting. Move your foot back until you find the farthest distance where you can still do it, then compare left and right. A clear gap between the two sides is worth noting.
Squat check: Hold a light bell at your chest and squat as deep as you can with both heels flat. Pause for two seconds at the bottom.
You pass if:
- Both heels stay on the floor for the full rep.
- Your torso stays upright enough that the bell does not pull you forward.
- Your pelvis holds its position at the bottom, without tucking hard underneath you.
- Your knees track in line with your toes and don’t cave in.
Hip structure varies from person to person, and for some lifters the depth limit is bone shape rather than muscle tightness. If you reach a hard stop that never changes, squat to the depth where your position stays clean and leave the rest alone.
Before you move up: If the heels lift or the torso collapses, stay at the same bell weight and add a small heel elevation (a pair of thin plates under the heels works) while you build ankle range. Go up in weight only when you can squat to your working depth without the lift.
The Rack Position Check Before You Clean
The clean ends in the rack position, with the bell resting on your forearm and chest, elbow tucked against your ribs, and wrist straight. If you can’t hold this position comfortably, the clean will bang the bell into your forearm and wrist. A heavier bell makes that worse.
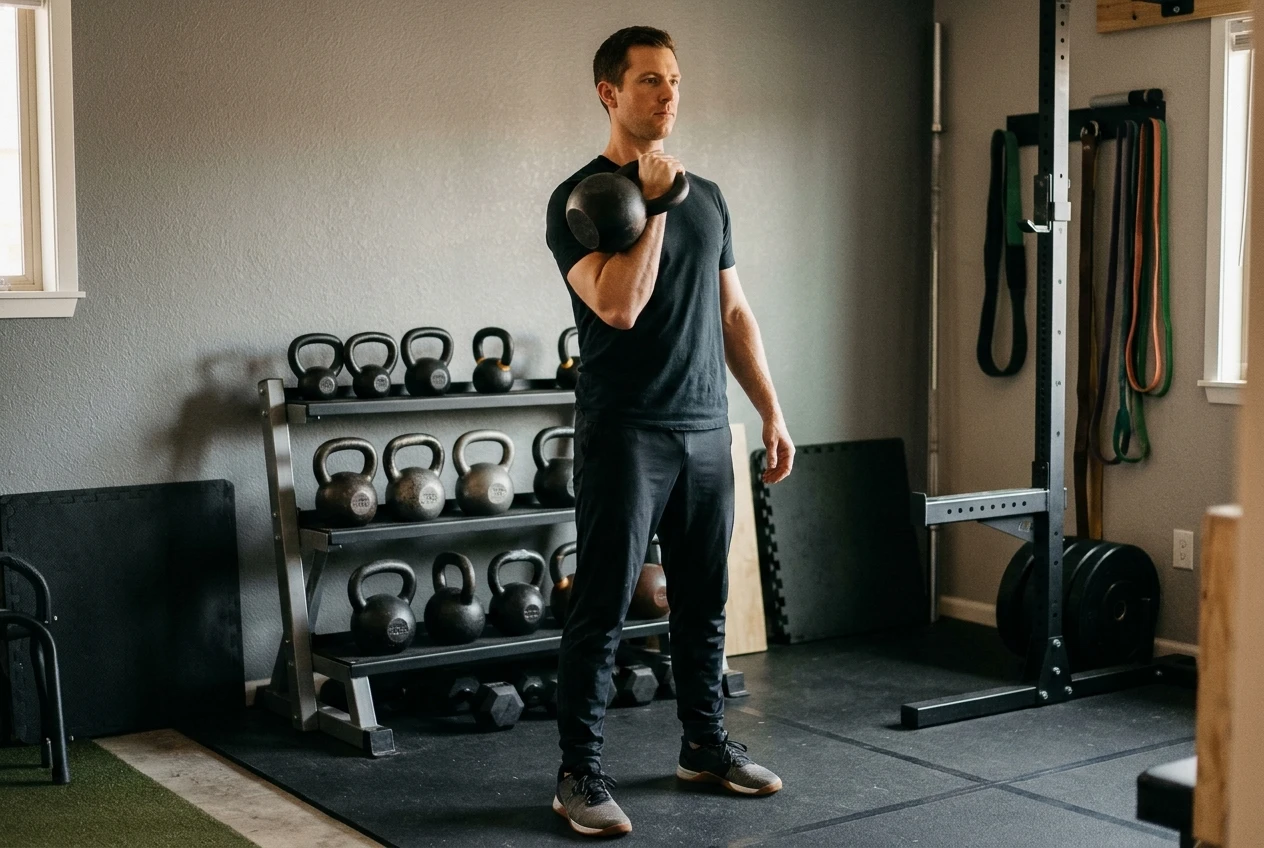
The check: Hold a light bell in the rack on one side. Stand tall with your ribs over your pelvis, elbow resting on your ribs or hip, and your wrist in line with your forearm. Breathe slowly for ten breaths.
You pass if:
- The bell rests on your body rather than hanging from your grip.
- Your wrist stays straight and does not bend back under the weight.
- You can keep your torso upright without leaning back to balance the bell.
- You can breathe normally without the bell pressing on your chest or collarbone.
Test both sides. The left and right rack positions are often different, and the weaker side will limit the clean when the weight increases.
Before you move up: Hold the rack position for the full ten breaths at the current weight. Only then try the heavier bell, and hold that one before you swing it into a clean. If your wrist or forearm bruises regularly from cleans, the position is the first thing to check, ahead of the technique.
The Overhead Check Before You Press or Snatch
Both the press and the snatch finish with the bell overhead, arm vertical by your ear, wrist stacked over elbow, ribs down. If you cannot reach this position without arching your back, you are pressing from a position your shoulder cannot supply.
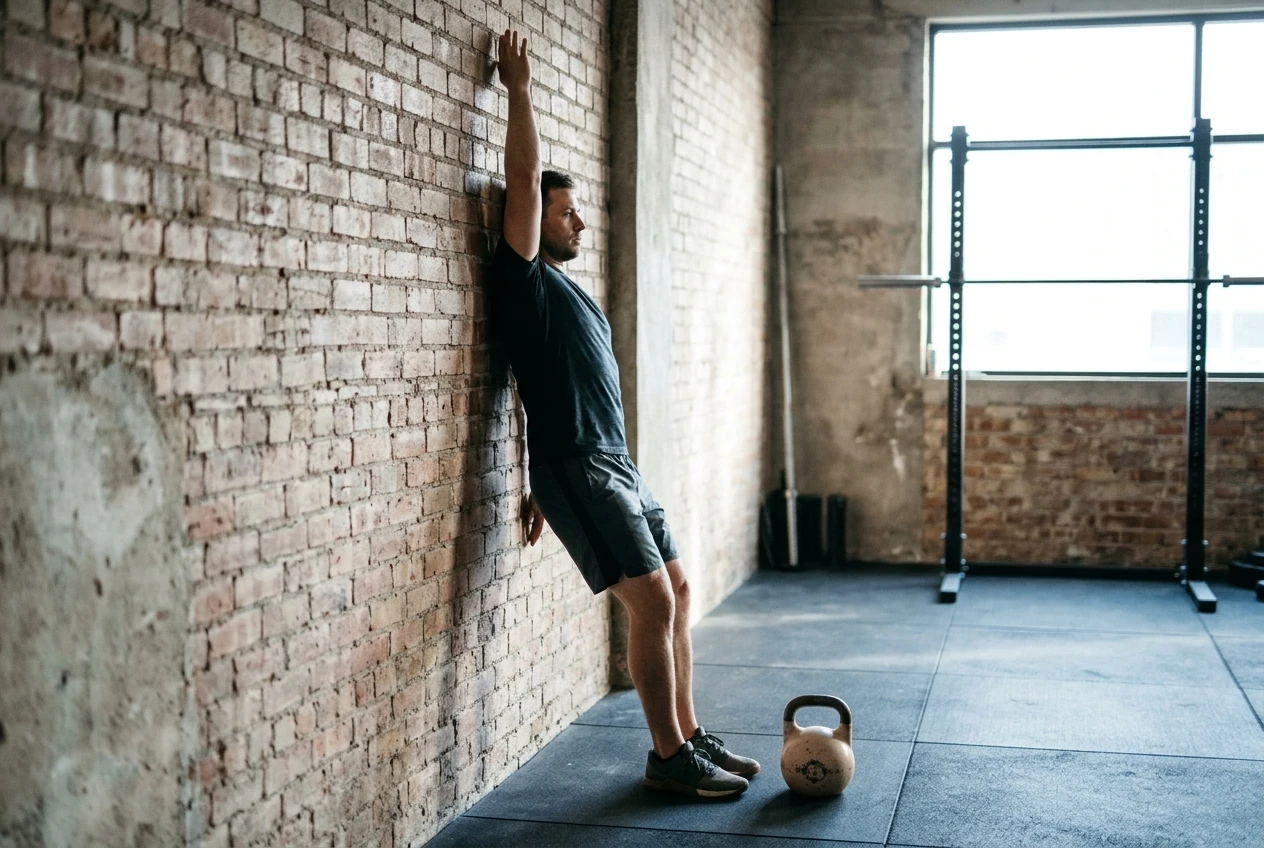
The check (wall test): Stand with your back against a wall, feet a few inches out. Press your lower back lightly toward the wall and keep your ribs down. Raise one arm straight overhead, thumb toward the wall, and see whether your hand can touch the wall without your lower back leaving it or your ribs flaring.
You pass if:
- Your arm reaches overhead beside your ear, not in front of it.
- Your lower back stays near the wall and your ribs stay down.
- Your elbow locks out without bending to compensate.
Then repeat the position holding a light bell at lockout. The press asks you to reach the position while pushing a load, and the snatch asks you to arrive there fast and stay stable as the bell settles, so a position that passes with an empty hand may fail with weight in it.
Before you move up: For the press, stay at the current weight until the wall test passes on both sides. For the snatch, which is the most demanding of the five, require a clean overhead check, a clean rack check and a clean hip hinge before you add the lift at all.
What to Do When You Fail a Check: Ten Minutes Inside the Session, Not a Separate Routine
A failed check does not call for a new stretching programme. It calls for about ten minutes of targeted work placed inside the session you are already doing, aimed at the one position that failed.
A simple structure:
- Two minutes of position work: Move into the limited position slowly, with a light load or none, and stay there for several breaths.
- Four minutes of loaded practice: Do light sets of the lift that needs the position, such as goblet squats with heels elevated, rack holds with a light bell, or deadlifts for the hinge.
- Four minutes of the main lift: Start your normal session with the lift at a weight where the position still passes.
Examples by lift:
- Swing: wall hinges and kettlebell deadlifts.
- Goblet squat: ankle rocks, then goblet squats with the heels raised.
- Clean: rack holds with a light bell, with attention to the elbow and wrist.
- Press and snatch: wall slides or overhead holds with an empty hand, then a light bell.
Doing this inside the session ties the range to the lift that needs it. A separate routine you perform at another time is easy to skip, and it does not rehearse the position under the load you care about.
How to Recheck Before Each Jump in Weight
Run the relevant check at the start of the session, when you are fresh, and before you pick up the heavier bell. Then repeat the position with the heavier bell: a few slow rack breaths, an overhead hold, or a handful of hinge reps with the bell between your feet before the swing.
Use the same rule each time:
- Position holds with the heavier bell on both sides: use it for the lift.
- Position breaks on one side or at the last rep: stay at the current weight for another week and do the ten-minute block.
Record your result in a notebook or a spreadsheet, along with the date and bell weight. A written note shows you whether a range is actually improving, which a feeling of “it seems looser” does not. If you also want a rule for when the weight itself is ready to rise, this reps-first test for buying a heavier kettlebell pairs well with these position checks. The reps test says whether you have the volume, and the mobility check says whether you have the range.
Checking again after a break matters too. Range can drop after time away from a lift or after a stretch of heavy desk work, so give the check another pass before returning to your previous weight.
When Tightness Is Not the Problem and It’s Time to See a Professional
Mobility work helps with limits that come from muscle and connective tissue. It does not help with everything. Stop pushing a position and get it looked at by a physiotherapist or doctor if you notice any of these:
- Sharp or pinching pain at the front of the hip in the hinge or deep squat.
- Shoulder pain when you reach overhead, especially pain that stays after the session.
- Numbness or tingling in your hand while holding the rack position.
- A large, consistent difference between left and right that does not change after a few weeks of the ten-minute block.
- Pain that returns at the same point every time you try the position.
- A previous injury to the joint involved.
A limit that comes with pain is a different problem from one that comes with stiffness. A professional can tell you which one you have and which positions are safe to train meanwhile. If the answer is that a position may never be fully available to you, choose a lift variation that suits your range instead of forcing the standard one.
See the Positions on Screen
Text can describe a rack position or an overhead lockout, but it is hard to judge your own position from words alone. If you want the positions shown to you on screen rather than described, look at the kettlebell.monster programs (affiliate link: I may earn a commission if you buy through it, at no extra cost to you) and the Samsung TV app (affiliate link: I may earn a commission if you buy through it, at no extra cost to you). With the coach on your TV, you can compare your own rack and overhead positions with theirs as you train.