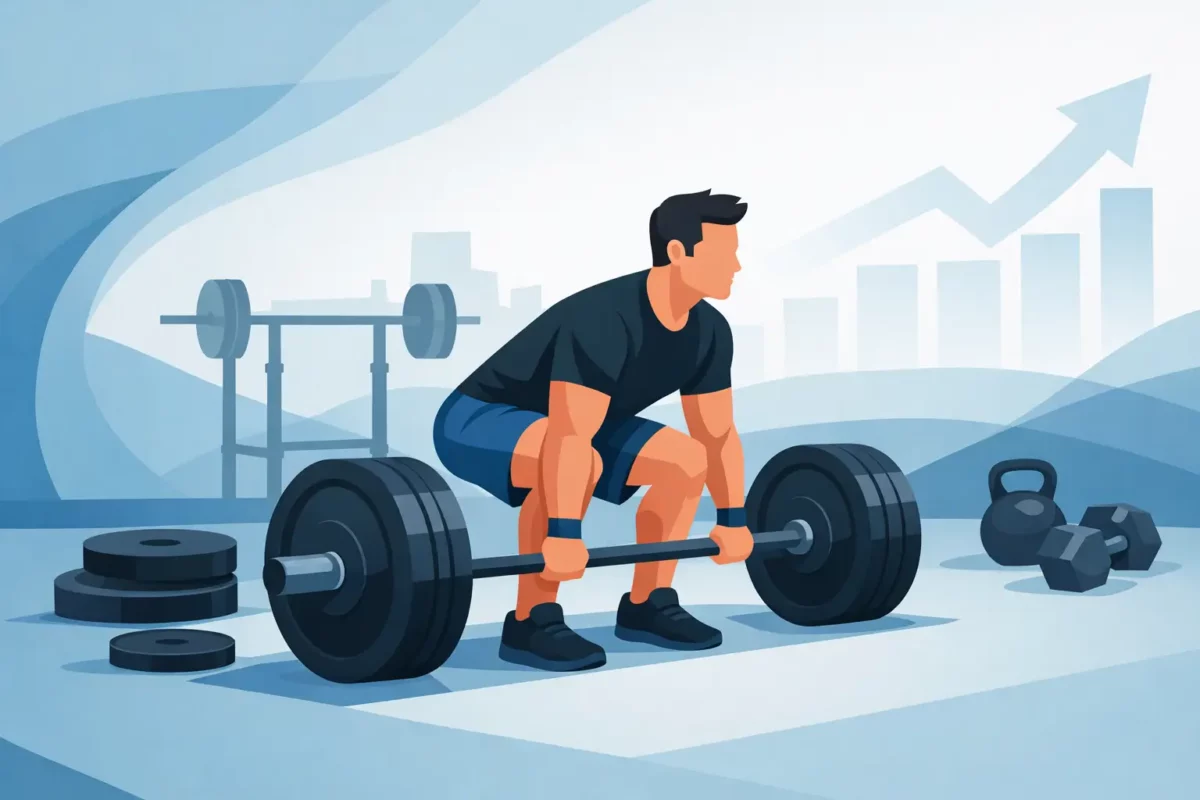
A deadlift can leave the floor slowly before it breaks at the knees, or it can move with intent from the first inch. The difference is often decided before the plates move. A proper deadlift setup for power puts your body in position to create force immediately instead of spending the first half of the rep finding balance, losing tension, or getting pulled out of position.
For a stronger pull that transfers to sprinting, jumping, contact, and total-body strength, treat setup as part of the lift. The bar does not need to move for the rep to begin. Your feet, grip, brace, and ability to pull tension into the bar determine whether you can express the strength you have built.
Deadlift Setup for Power Starts at the Floor
The bar should begin over the middle of your foot, not against your shins and not drifting toward your toes. For most lifters, this places the bar roughly an inch from the shin when standing tall. That position gives you the shortest practical bar path and lets the load stay over your base of support.
Your stance needs to be narrow enough to let your arms hang straight down, yet stable enough to drive hard through the floor. A conventional deadlift stance is usually around hip width, with toes pointed mostly forward or turned out slightly. Do not copy another lifter’s stance just because it looks powerful. Femur length, hip structure, mobility, and the style of deadlift all affect the position that lets you produce the most force.
Think about building pressure through three points on each foot: the heel, base of the big toe, and base of the little toe. You do not need to rock back onto your heels. You need a whole-foot connection to the floor. If pressure shifts to the toes as you pull, the bar will often drift forward and turn a strong leg drive into a fight for balance.
Build Your Position Around the Bar
After setting your feet, hinge down and take your grip without moving the bar. Your hands should hang vertically from the shoulders. In a conventional pull, they will usually sit just outside the legs. Grip width that is too wide increases range of motion and can make it harder to keep the lats engaged. Grip that is too narrow crowds the knees and limits a clean path upward.
From there, bring your shins to the bar by bending your knees. This is where many lifters make their first major error: they drop the hips too low in an attempt to squat the weight up. When the hips start too low, the knees push the bar forward, the shoulders drift behind the bar, and the hips shoot up before the plates leave the floor anyway.
Your hips do not need to be at a prescribed height. They need to be in the height that allows your shoulders to sit slightly in front of the bar, your arms to remain vertical, and your back to stay rigid while your feet can drive into the floor. For a conventional pull, that usually means the hips are above the knees and below the shoulders.
A useful check is to pause in your start position and ask: Can I feel the bar over midfoot? Are my shoulders just ahead of it? Can I push the floor away without the bar rolling? If the answer is no, adjust before you pull.
Set Your Back Without Overextending
A powerful setup requires a rigid torso, but rigid does not mean cranking your lower back into an exaggerated arch. Locking into excessive extension can make it harder to brace your abs and may pull your ribs out of position. Instead, set a neutral spine that feels stacked and strong.
Take a deep breath into your abdomen and sides, then brace as if you are preparing to absorb a hard hit. Your rib cage and pelvis should feel connected. This creates the trunk stiffness needed to transfer force from the legs and hips into the bar.
If you use a lifting belt, use it as a surface to brace against, not as a substitute for bracing. Expand into the belt in all directions. A belt can improve your ability to create pressure under heavy load, but it cannot fix a loose upper back, a bar that starts too far forward, or a poor hip position.
Create Tension Before You Pull
The strongest deadlifters do not yank a loose bar from the floor. They take the slack out first. That means pulling upward on the bar until you feel the system tighten – your arms straighten fully, your lats engage, and the plates settle against the sleeves before the bar breaks the floor.
At the same time, engage your lats by thinking about squeezing your armpits shut or pulling the bar toward your body. The goal is not to row the weight. The goal is to keep the bar close enough that it travels vertically instead of swinging forward. A bar that drifts even slightly forward creates a much longer lever arm against your back.
Your arms are straps. Keep them long and straight. Trying to bend the elbows during a deadlift does not add power. It increases the chance of biceps irritation or injury, especially with a mixed grip.
Before each working rep, build the same sequence: establish foot pressure, grip the bar, bring the shins in, brace, pull slack out, and drive. A repeatable setup gives you repeatable force production. That matters more as the load gets heavier or the speed demand increases.
Drive the Floor Away, Then Finish With the Hips
Once tension is set, initiate the pull by driving your feet through the floor. Think leg press, not jerking the bar upward. Your knees and hips should extend together during the first part of the pull, while your torso angle stays relatively stable.
The bar should rise close to your legs. It does not have to scrape your shins, but it should not float out in front of you. As the bar reaches knee level, continue pushing the floor away and bring the hips through. Finish tall with your glutes tight and ribs stacked over the pelvis.
Do not lean back at lockout. Excessive backward lean adds little to the lift and can turn a solid finish into unnecessary stress on the lower back. Lockout is complete when your knees and hips are extended and you are standing tall under the bar.
For power-focused training, intent matters. A heavy deadlift may move slowly, but your effort should still be aggressive. Try to move the bar with speed while preserving position. If a load forces you to lose your brace, hitch the bar, or grind through a distorted start, it is no longer productive power work.
Conventional and Sumo Require Different Answers
The setup principles remain the same across styles: bar over midfoot, full-foot pressure, a hard brace, lats engaged, and slack removed. The exact shape changes.
Conventional deadlifting generally demands more forward torso angle and more posterior-chain contribution from the hamstrings and spinal erectors. It often suits lifters who are comfortable hinging hard and can maintain a strong back position from the floor. Sumo uses a wider stance, toes turned out more, and hands inside the knees. It usually allows a more upright torso and can place greater emphasis on the quads and hips.
Neither is automatically the more athletic or powerful option. The better choice is the one that lets you maintain forceful positions, progress consistently, and recover well enough to train other athletic qualities. If you compete in a sport rather than powerlifting, choose the variation that supports your training plan instead of letting one lift dominate it.
Fix the Setup Errors That Drain Force
When the bar is slow off the floor, do not assume the answer is more deadlift volume. First look at how you start. Most setup breakdowns show up in a few predictable forms:
- The bar starts too far forward. Move it back over midfoot before bending down. If it rolls forward as you set up, reset.
- The hips shoot up. Your start position is likely too low, your lats are loose, or you are not pulling slack from the bar.
- The lower back rounds immediately. Improve your brace, reduce the load, and build strength with paused deadlifts or controlled pulls from the floor.
- The bar drifts away from the legs. Tighten the lats and keep pressure through the whole foot rather than falling toward the toes.
- You lose position between reps. Treat every rep as a single. Reset your brace and tension instead of bouncing into another pull.
Video from the side is one of the most useful tools for identifying these problems. Watch the relationship between the bar and midfoot, then watch whether your hips and shoulders rise together as the bar leaves the floor. One clear technical issue is more valuable than ten vague cues.
Train the Setup Until It Holds Under Load
Technique should not exist only during warm-up sets. Use your lighter sets to rehearse the exact setup you need for your heavy work. Pause deadlifts one inch off the floor are particularly effective because they expose whether you can keep the bar close and maintain a hard brace during the most demanding part of the pull.
Tempo deadlifts can help lifters who rush into position, while dead-stop repetitions reinforce the discipline of rebuilding tension every time. For athletes training power, moderate-load deadlifts performed with clean, aggressive intent can complement heavier strength work. The right loading depends on your experience, recovery, sport demands, and where the deadlift sits in your weekly program.
The goal is not a setup that looks identical to someone else’s. The goal is a position you can own: balanced over the bar, braced hard, connected to the floor, and ready to apply force without hesitation. Build that position rep after rep, and the bar will start moving like it has a reason to leave the floor.