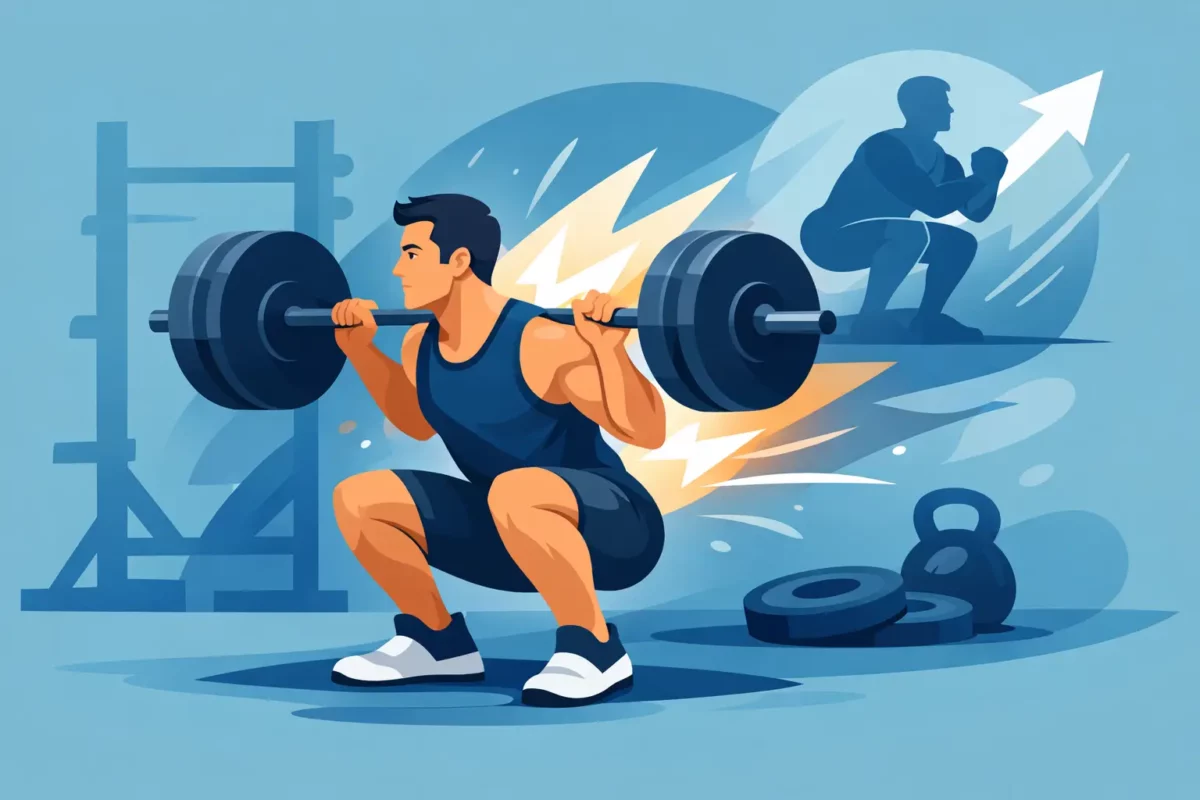
A squat that folds forward, shifts into one hip, or loses tension out of the bottom is not just an ugly rep. It leaks force. If you want to know how to improve squat technique, start by treating every rep as a chance to produce and transfer force efficiently, not simply as a way to make the set count.
A strong squat gives athletes and lifters more than bigger numbers. It builds leg strength, trunk stiffness, positional control, and the ability to drive against the ground with intent. But those returns depend on repeatable mechanics. You do not need a picture-perfect squat that matches someone else’s proportions. You need a stable, powerful pattern that fits your body and holds up as the bar gets heavy.
Build Your Squat From the Ground Up
Your feet establish the base for everything above them. Start with a stance around shoulder width, then adjust based on what lets you reach depth while keeping your feet planted and your torso controlled. Some lifters will squat best slightly narrower. Others need a wider setup because of hip structure, femur length, mobility, or their preferred bar position.
Turn your toes out enough that your knees can travel in the same direction as your feet. For many lifters, that means roughly 15 to 30 degrees, but there is no prize for using a specific angle. The useful test is simple: can your knees track cleanly over your toes without your arches collapsing or your hips shifting?
Create pressure through three points of each foot: the heel, the base of the big toe, and the base of the little toe. This is often called the tripod foot. It does not mean your weight must stay perfectly centered at every instant. Your pressure will move slightly as you descend and stand. It means the entire foot remains actively connected to the floor.
When the bar feels heavy, do not let your feet become passive. Grip the floor, keep the arches supported, and think about spreading the floor apart with your feet. That cue can help create hip stability without forcing your knees excessively outward.
Set the Bar and Upper Back With Purpose
The bar position changes the squat, but neither high-bar nor low-bar squatting is automatically superior. A high-bar squat generally allows a more upright torso and places greater demand on knee extension. A low-bar squat positions the bar lower on the rear delts, often allowing more forward torso lean and greater hip involvement. Both can build serious strength and power when loaded and performed well.
Whichever position you use, pull the bar into a stable shelf. Squeeze your upper back, bring your shoulder blades into a firm position, and keep your hands as close as your shoulder mobility permits without pain. Your hands do not need to carry the bar, but they should help lock your upper body around it.
Before you unrack, stand tall with the bar balanced over the middle of your foot. Take only the steps needed to clear the rack and establish your stance. A long, loose walkout wastes energy and makes it harder to start each working set in the same position.
Brace Before You Descend
A squat is not powered by the legs alone. Your trunk has to transmit leg drive into the bar without losing position. That is why bracing is one of the fastest ways to improve squat technique.
Take a deep breath into your abdomen and lower rib cage before each rep. Then tighten your midsection as if preparing to absorb a hard body shot. The goal is 360-degree pressure: your abdomen, sides, and lower back all resist movement. Do not simply suck your stomach in or lift your chest until your ribs flare.
Hold that brace through the descent and the hardest part of the ascent. For most moderate and heavy reps, breathe again only after you have returned to a secure standing position. On longer sets, reset at the top between reps rather than trying to rush through weak breaths.
A belt can make a good brace stronger, but it cannot create one from nothing. Use it as something to press into around your entire trunk. If your position falls apart without a belt, include beltless work at manageable loads while you improve your breathing and trunk control.
Descend Under Control, Not Hesitation
Start the squat by allowing your hips and knees to bend together. The exact balance will vary. Long-femured lifters and low-bar squatters often need more hip break and torso lean. High-bar squatters and lifters with good ankle mobility may allow the knees to travel farther forward.
The common rule is not “knees never past toes.” Knees can and often should travel forward in a squat. The real concern is whether you can maintain balance, foot pressure, and control. The bar should remain stacked over the middle of your foot. If it moves too far forward, you may pitch onto your toes. If it moves too far back, you may lose your balance or cut depth.
Descend with control, but do not turn the lowering phase into a slow-motion test of endurance. A deliberate, confident descent lets you preserve tension and use the stretch reflex at the bottom. If you crash into the bottom and lose your brace, slow down. If you are overly cautious and feel disconnected, descend with more intent while maintaining position.
Find Depth You Can Own
For most strength athletes, a productive standard is reaching at least parallel, meaning the crease of the hip is level with or below the top of the knee. Deeper squats can be useful if you can maintain pelvic control, foot pressure, and a stable spine. The right depth is the deepest position you can consistently control under the load and for the goal of your training.
Do not chase depth by forcing your lower back into a pronounced tuck at the bottom. A small change in pelvic position can occur in deep squats, especially for lifters with certain structures. A major loss of lumbar control, however, is a sign to adjust. Try a slightly wider stance, more toe turnout, reduced load, improved ankle range of motion, or a depth that you can own before progressing lower.
If ankle mobility limits your depth, weightlifting shoes or a small heel elevation can be practical tools. They allow more knee travel and a more upright torso for many lifters. They are not mandatory, and they do not replace mobility or control, but they can make a well-suited squat pattern easier to repeat.
Drive Out of the Bottom With One Position
The ascent begins before you ever reverse direction. Stay tight at the bottom, keep the bar over midfoot, and drive your whole foot through the floor. Think “stand up with the bar” rather than shooting your hips straight back.
Hip shoot is one of the most common power leaks. Your hips rise first, your chest drops, and the squat turns into a difficult good morning. This usually happens because the load is too heavy for your current position, the upper back loses tension, the quads are underdeveloped, or you are rushing the reversal.
Use the cue “chest and hips rise together,” but apply it intelligently. Your torso angle will change somewhat based on bar position and body proportions. You are not trying to stay perfectly vertical. You are trying to avoid a sudden collapse that shifts the bar forward and forces your back to finish a rep your legs should have driven.
At the top, finish with your knees and hips extended, then reset your breath and brace. Do not relax under the bar until the rack has taken the weight.
Use the Right Drills to Fix the Right Problem
Technique improves fastest when you identify the actual breakdown instead of adding random mobility work. Record sets from the side and from a rear three-quarter angle. Use loads that are challenging enough to reveal your habits but light enough that you can correct them.
For a forward collapse, pause squats and tempo squats teach you to keep the upper back and brace engaged. For unstable feet or knees that cave in with no control, lighter goblet squats, split squats, and deliberate warm-up sets can rebuild your base. For hip shoot, front squats and high-bar paused squats often build the quad and upright-position strength that is missing.
If depth is inconsistent, use a box only as a repeatable depth target, not as a seat. Lightly touch it while staying braced, then stand. For lifters who lose tension in the hole, a one- to two-second pause slightly above their failure position can build confidence and force production where the lift usually breaks down.
Let Load Earn Its Place
No cue survives a weight that you cannot control. If your technique changes dramatically from 225 to 275 pounds, 275 is not yet productive training weight for that rep scheme. Reduce the load, accumulate clean repetitions, and build back with small jumps.
A useful approach is to keep your main squat work in a range where bar speed and position remain consistent, then use variations to strengthen weak positions. Heavy work has a place, especially when you are preparing to test or compete. But hard, technically sound volume is what gives you more chances to improve the pattern.
Do not change your stance, bar position, shoes, breathing method, and program all in the same week. Make one meaningful adjustment, train it long enough to assess it, and let the evidence guide the next decision. Strong squatting is built through disciplined repetition: own the position, drive hard, and make every pound on the bar earn your respect.