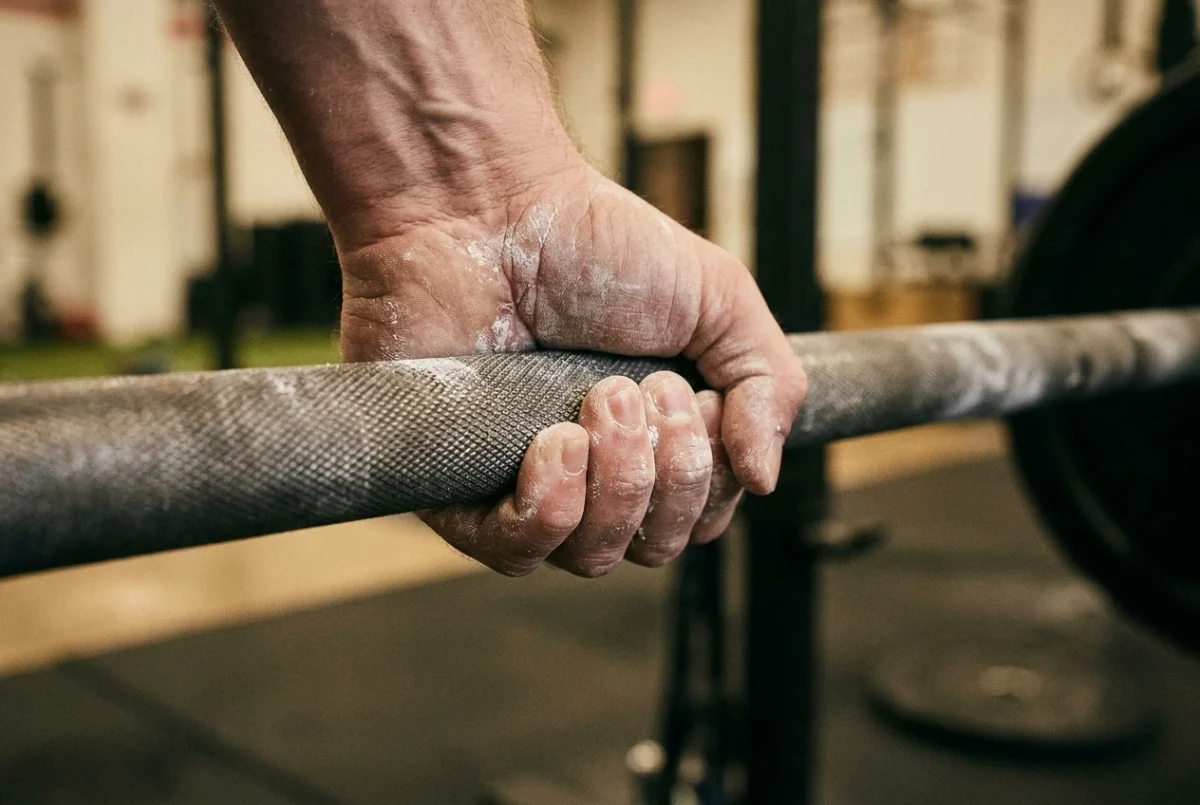
When a deadlift slips out of your hands before your legs and back are done, the usual advice is to build stronger forearms. That fits only some cases. Grip fatigue during heavy deadlifts is one cause among several, and the others come from how your hands, lats and bar path are set up. Training your forearms harder won’t fix a bar that sits in your fingertips.
The useful question is when in the session and in the rep the bar starts to go. Answer that, and you know whether to change your technique today or add grip work to your week.
Where the Bar Slips Tells You What Kind of Grip Problem You Have
Think of a pull as three windows: the first inch off the floor, the middle of the rep between knee and hip, and the same rep on later sets. Each window points at a different cause.
Where it slips | Most likely cause | First thing to check |
|---|---|---|
Right as the bar leaves the floor | Slack in the setup, hands too far in the fingers | Hand position and lat tension before the pull |
Mid-pull, as the bar passes the knees | Bar drifting away from the body | Lat engagement and bar path |
Set 1 is fine, set 3 or 4 loses it | Fatigue | Rest time, volume and total grip load |
Slips on every set, including the first | Technique or equipment | Chalk, knurling, hook grip, hand placement |
A few lifters have more than one problem, and that is normal. The table gives you the first suspect, and the rest of this article tells you how to confirm it.
One rule keeps the diagnosis honest: judge the slip on a set where you are fresh. A bar that rolls out of your hands on the first working set cannot be blamed on fatigue, because nothing has tired your forearms yet.
Technical Grip Faults: Bar Sitting in the Fingers, Loose Lats, and a Bar Drifting Forward
Three faults cause most of the technical slips. All three can show up on set 1.
The bar sits in the fingers
A deadlift grip works best when the bar lies across the base of the fingers, close to where the fingers meet the palm, with the fingers wrapped around it. When the bar sits out near the middle of the fingers, the hand has to squeeze much harder to stop it rolling, and the callus line shows it: tears and calluses across the pads of the fingers, not at the base of them.
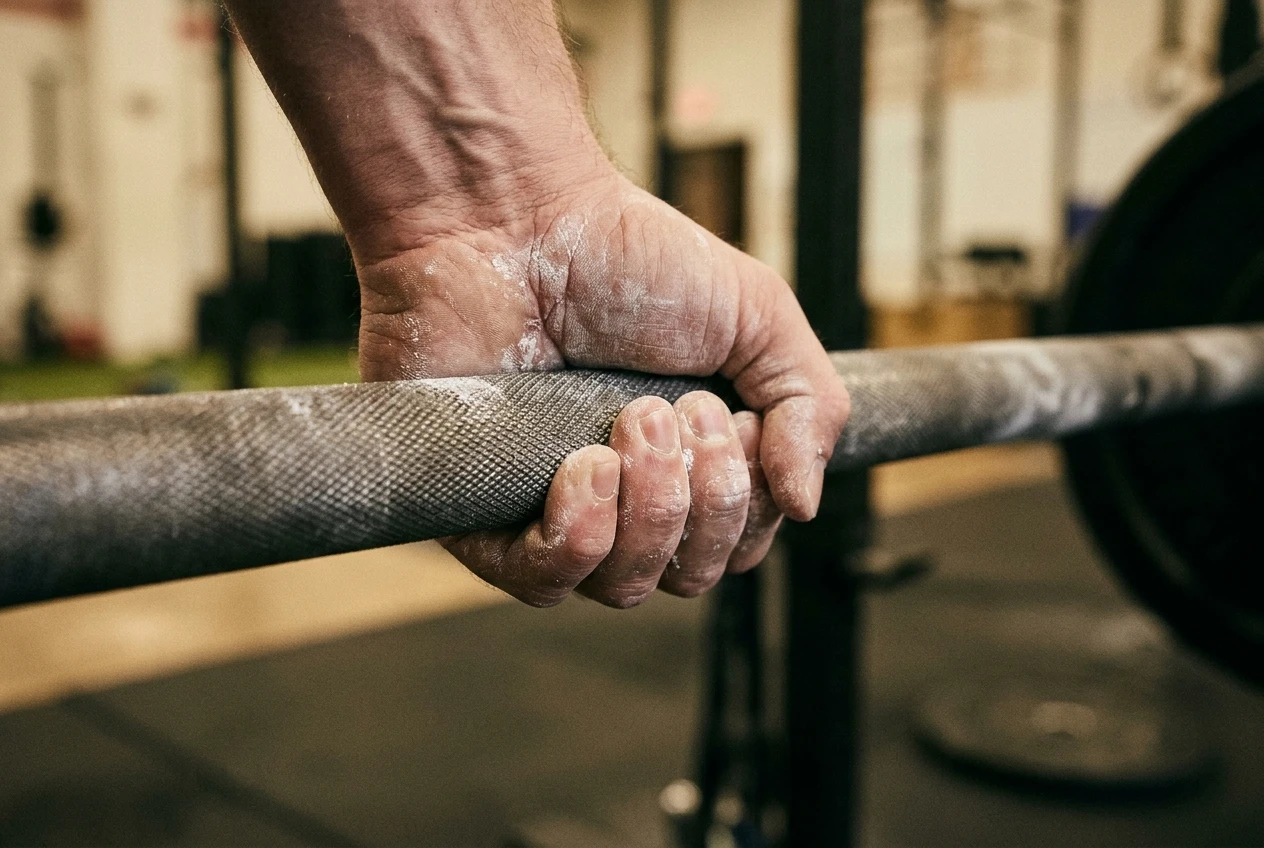
This fault tends to show up as a slip early in the pull. The bar is loaded, the hand opens a little under tension, and the bar slides toward the fingertips. If that matches what you feel, the first fix is to place the bar deeper in the hand before you pull, not to squeeze harder.
Loose lats
The lats connect your arms to your torso. If they are not engaged when the bar leaves the floor, the bar can swing away from your legs and your arms take up slack by dragging the bar into the hands. Your hands then absorb a jolt that the lats should have taken.
The signature is a slip within the first few inches, sometimes with an audible clunk as the plates take up the slack. Lifters who “yank” the bar often have this problem. The grip failed at the moment the bar loaded, but the cause was upstream of the hands.
A bar drifting forward
If the bar moves away from your shins and thighs mid-pull, it pulls harder on your hands and forces them to work against a longer lever. The bar path becomes an arc instead of a straight line, and the grip has to fight the swing.
You can often see this on video: shins graze the bar on a clean pull, but on a drifting pull there is visible space between the bar and your legs. Mid-pull slips, especially around the knees, belong in this category. Again, the fix sits in the setup and the lats, not the forearms.
The Fatigue Test: Does Set 1 Hold and Set 4 Fail?
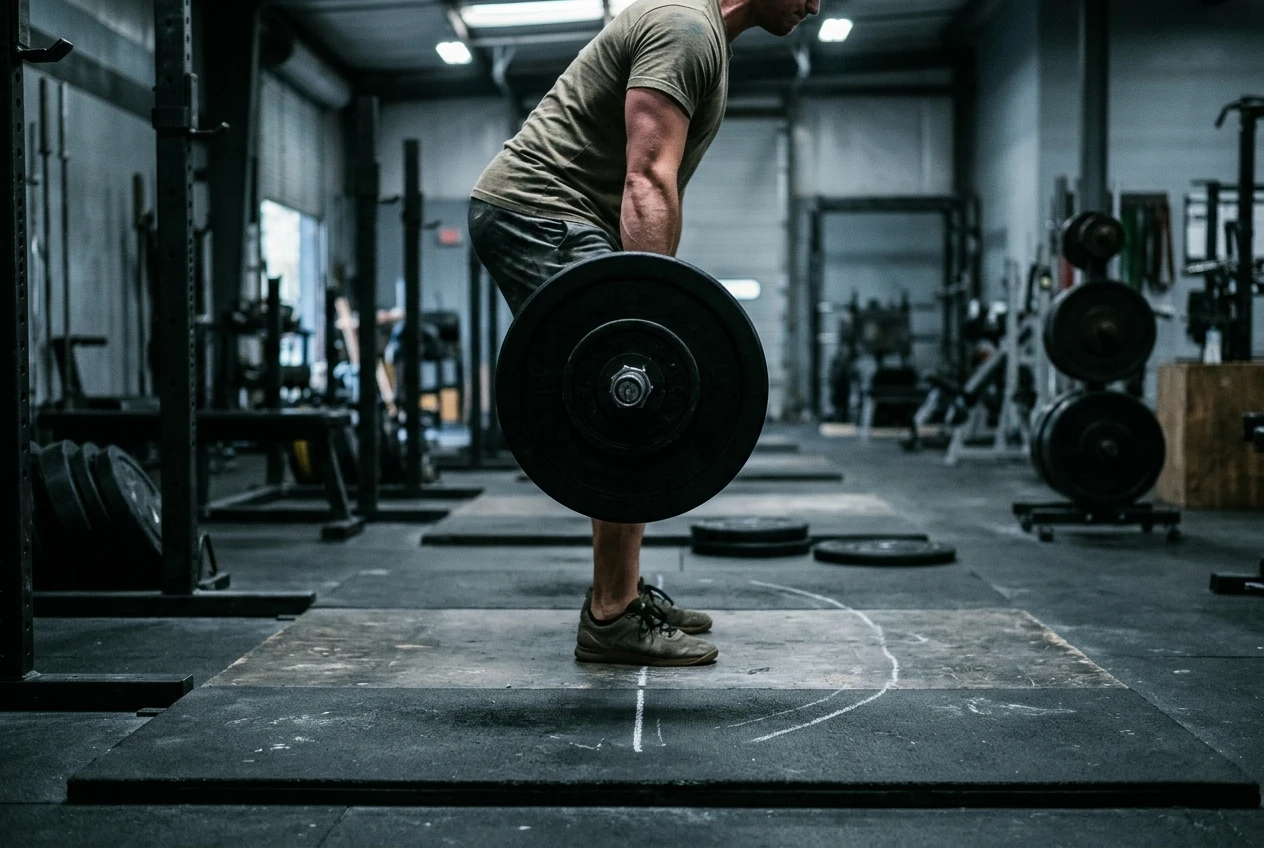
Real fatigue has a different pattern. The first set feels secure. Set 2 is okay. By set 3 or 4 the same weight begins to slip, usually at the top of the rep or late in the set, and your legs and back could still do more work.
To confirm it, check three things:
- Technique is consistent. If your setup, bar path and lat tension are the same on set 4 as on set 1, the technique is not changing, and the grip is simply running out of capacity.
- The slip is late in the rep or late in the set. Fatigue tends to expose itself at lockout or on the last reps of a set, not at the floor.
- Rest changes the result. If resting longer between sets lets the bar hold again, grip endurance is the limiter.
It is also possible for fatigue to cause a technical problem. As your hands tire, you may stop setting your lats properly or let the bar drift. If you see your technique change across sets, you have both issues. Fix the setup first, because a tidy setup makes the grip work less hard, then see how much fatigue remains.
A second check is whether the grip ends the set before anything else does. If you stop because the bar is leaving your hands while your back still feels solid, your grip is your limiting factor. If your back rounds or your legs fail first, grip is not your problem on that set.
Fixes You Can Use This Session: Hook Grip, Chalk, Lat Tension, and Rest Between Sets
You do not have to wait for a new program to try these. Each one answers a diagnosis above.
Hook grip for a bar that rolls out
In a hook grip, you wrap your fingers over your thumb, so the thumb is pinned between the bar and your fingers. It holds the bar in place with the thumb instead of relying on finger strength alone. It hurts at first, and many lifters need a few sessions of lighter work before they can use it for heavy sets. Try it on warm-ups first and move up in weight as the discomfort fades.
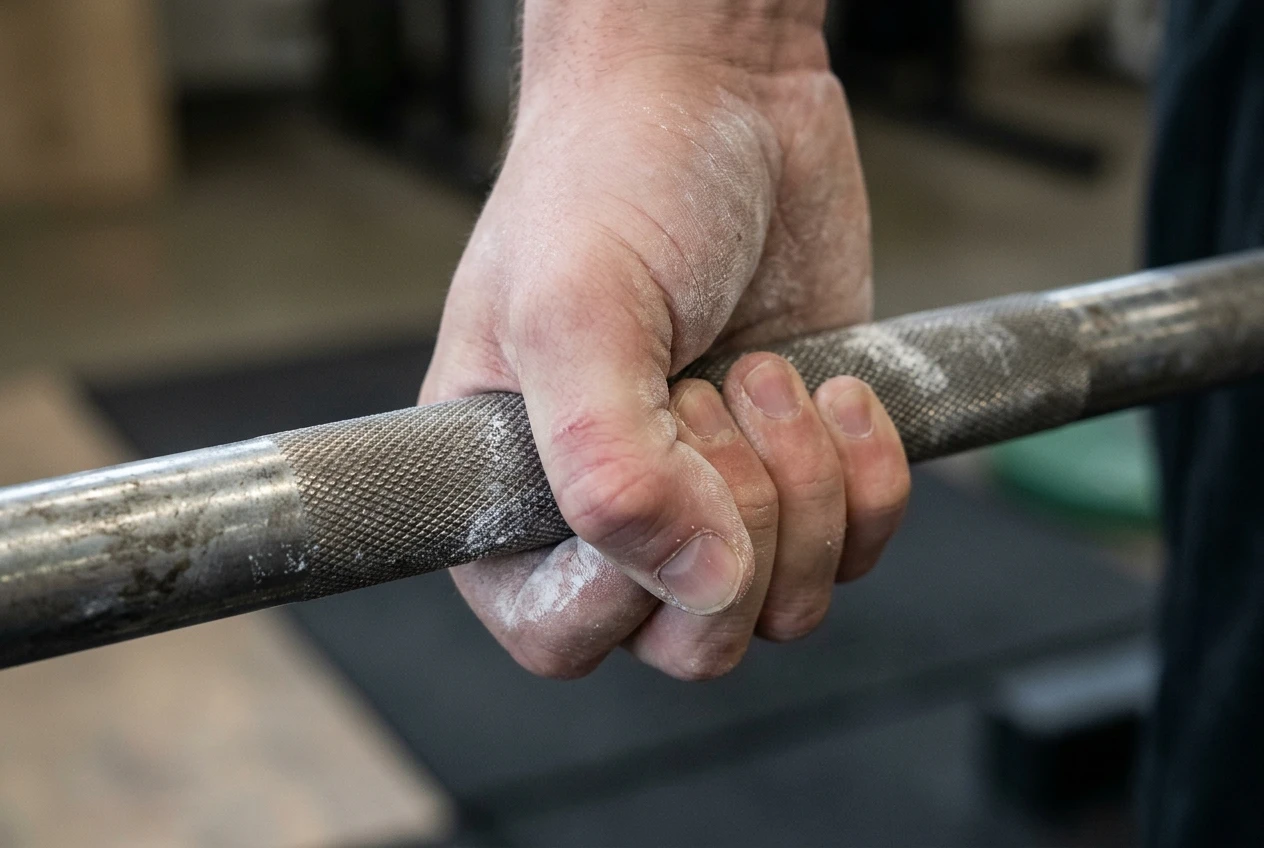
Hook grip suits slips that start with the bar rolling or sliding toward the fingertips, and it works with a double-overhand or a mixed hold.
Chalk for a bar that slips with sweat
Chalk reduces slipping from sweat and moisture on the hands. If the bar slips on set 1 and your hands are damp, chalk is the quickest correction. Chalk will not rescue a bar that is sitting in your fingers or swinging away from you, so use it with the other fixes instead of as a substitute for them. Check your gym’s chalk policy, as some allow only liquid chalk.
Lat tension before the bar moves
Before you pull, take the slack out of the bar. Pull up lightly until you hear or feel the bar press against the top of the plate holes, and brace your lats as if you were trying to bend the bar around your shins. Then start the lift. This tension keeps the bar close to your body and means the hands are not asked to take a sudden jolt.
A cue many lifters find useful is “squeeze the armpits,” the sense of pushing your upper arms down toward your hips while keeping the arms straight.
Rest between sets for fatigue
If fatigue is your diagnosis, the simplest change is more rest between heavy sets. Forearm muscles recover slower than many lifters expect when the grip is doing sustained, near-maximal work. Try a longer gap before the set where you normally lose the bar, and keep the weight the same. If the bar holds, you have learned that the grip needs more recovery before you need more strength.
Cutting the number of heavy sets can help too, as can doing your lighter back-off sets with a different grip tool, such as straps, so the hands are not fully taxed every set.
Setting Up Your Hands Before the Pull: A Short Pre-Lift Checklist
Run through this before each working set. It takes about ten seconds once it is habit.
- Chalk or dry your hands if sweat is an issue.
- Place the bar low in the hand, near the base of the fingers, not out in the middle of them.
- Wrap the fingers and thumb, or set your hook grip, before you pull any tension.
- Take the slack out by pulling gently until the bar presses against the plates.
- Engage the lats by pushing the upper arms down and back.
- Check the bar over mid-foot with your shins close to it.
- Pull without yanking.
If you skip step 2 or 5 and the bar slips, you already know where to look.
When Straps Help and When They Hide the Problem
Straps are a fair choice once you have ruled out a technical fault and your grip is the only thing ending your volume work. They let your back and legs do the training they are meant to do while the forearms rest. Used that way, they are a tool, not a failure.
They hide the problem when the cause is technique. If the bar slips off the floor because your hands are set up badly, straps hold the bar anyway and you never find the fault. The same lat looseness and forward bar drift will still be there, and they will still cost you efficiency in the lift.
A sensible sequence is to keep your heavy top sets strapless as long as your technique is sound, and to use straps on the later, higher-volume sets where fatigue is the limiter. For a fuller plan on when to stop using lifting straps, see this guide on dropping the straps in phases, which covers warm-ups first and top sets last.
Training the Grip Itself Between Deadlift Days
If your diagnosis was fatigue, technique changes alone will not be enough, and the grip needs its own training. The goal is to raise how much gripping work your hands can do before they give out, without cutting into the recovery your heavy pull days need.
A few options that fit this purpose:
- Dead hangs from a bar, building up time in each set.
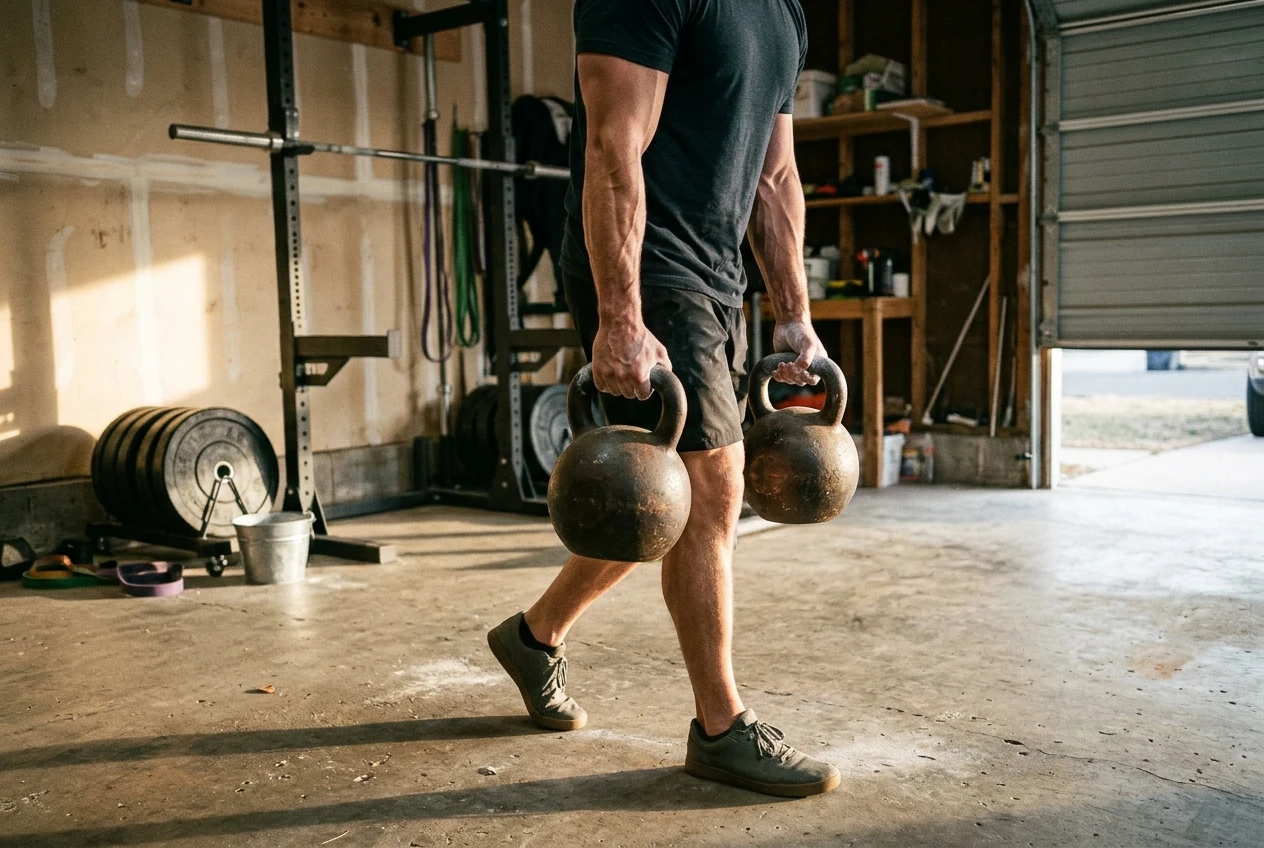
- Farmer carries with heavy dumbbells or kettlebells, walking a set distance.
- Static holds of a heavy implement at the end of a session.
- Thicker or awkward handles, which make the hand work harder than a standard bar does.
Kettlebells suit this work well, because the handle is thick and the load sits off-center, so the hand has to resist the weight moving. Keep this training away from the days right before your heaviest pulls, since tired forearms on deadlift day will recreate the problem you are trying to solve. Two short grip sessions a week, placed on lighter days, is a reasonable starting point to adjust from there.
Reading Your Next Heavy Session: What to Log So You Know It’s Working
A diagnosis is only useful if you can check it. At your next heavy session, write down a few things for every working set:
- Set and rep where the bar slipped, or “held” if it did not.
- Where in the rep it slipped: floor, knees, or lockout.
- Grip type: double overhand, mixed, or hook.
- Chalk or no chalk, and whether your hands were dry.
- Rest time before the set.
- What ended the set: grip, legs, back, or planned reps completed.
After two or three sessions the pattern should be clear. If slips come early in the lift and on set 1, work on the setup and lats. If they cluster on later sets and at lockout, longer rest and grip training are the next steps. If a fix works, you should see the slips move later in the session or disappear.
Change one thing at a time where you can. If you add hook grip, chalk and a new rest period in one session, you will not know which one helped.
Next Step If Your Diagnosis Was Fatigue
If your log shows the bar holding on early sets and failing on later ones, the next step is a dedicated block of grip work. The guide to giving your kettlebell grip its own training block sets out how to build that around your lifting week.
For kettlebell programming to go with that grip work, you can get it at kettlebell.monster. Affiliate disclosure: this is an affiliate link, so this site earns a commission if you buy through it.