Most lifters pick accessory exercises by what they feel like doing, or by whatever fixes the weakest-looking top set. Both ignore the other half of the question: how your joints held up while you trained. How to choose accessory exercises for joint health and strength comes down to scoring the cycle you just finished on two numbers, then letting those numbers pick one of three accessory cycles.
This is general training guidance for people who already squat, press and deadlift. It is not medical advice, and the last section covers when to stop picking exercises and have a joint assessed.
Score Your Last Cycle on Two Numbers: Joint Comfort and Main Lift Progress
Give the cycle you just finished a score from 0 to 2 on each of two questions. Do it from your training log or your memory of the last few weeks, before you look at any exercise list.
Joint comfort
- 2: No joint complaints beyond normal warm-up stiffness.
- 1: Occasional aches in the knees, hips, shoulders, elbows or wrists that cleared within a day.
- 0: Aches that lingered, showed up in warm-ups, or changed how you performed a lift.
Main lift progress
- 2: Your squat, press and deadlift mostly moved: a heavier top set, or more reps at the same weight.
- 1: Some lifts moved and others stayed flat.
- 0: Most main lifts stayed flat or went down.
Now read the pair:
- Comfort 2, progress 0 or 1: run a load-building cycle.
- Comfort 0 or 1, progress 2: run a tolerance cycle.
- Both 1, or different lifts or joints telling opposite stories: run a split.
- Both 0: run a tolerance cycle, because irritated joints get fixed before they get loaded harder. If the aches persist, read the last section.
- Both 2: the accessory work is doing its job. Repeat it with small changes.
A single number is the trap. A top set that went up tells you nothing about the elbow that has hurt since week three, and a cycle with perfectly happy joints and no progress tells you the accessories were too easy to matter.
If Joints Were Fine and Lifts Stalled: A Load-Building Accessory Cycle
When comfort scored 2 and progress did not, your joints have room to take more work. The accessories should now get heavier and closer to the main lifts’ weak points.
Start by naming where each stalled lift slows down. A deadlift that stalls off the floor and one that stalls at lockout need different help. A press that dies just off the chest differs from one that dies overhead. If you can’t say where the bar slows, film a heavy set from the side and watch it.
Then pick two or three accessories that train that position with real load:
- Squat stalls out of the hole: front squats, pause squats with a lighter bar, or leg press.
- Deadlift stalls off the floor: deficit deadlifts or heavy barbell rows.
- Deadlift stalls at lockout: Romanian deadlifts, hip thrusts, or rack pulls.
- Press stalls off the chest: close-grip bench press or dumbbell press.
- Press stalls overhead: push press holds, heavy triceps work, or upper-back rows.
Work these in a moderate rep range, roughly 6 to 10 reps, and add weight or a rep whenever you complete all your sets with clean form. Stop each set a rep or two before failure. Accessories taken to failure leave you too tired for the main lift that is supposed to benefit from them.
Keep your joint comfort scoring going during this cycle. A load cycle is only appropriate while the comfort score stays at 2. If it drops to 1 for two weeks in a row, treat that as a cue to move to the next cycle’s approach early.
If Lifts Moved but Joints Complained: A Tolerance Cycle With Tempo, Range and Single-Side Work
Strength went up and something hurts. The main lifts probably earned their progress, so leave them alone. Change the accessories so that the tissue around the complaining joint gets more practice at lower loads.
Three tools do most of the work.
Tempo. Lower the weight for three seconds, pause briefly at the bottom, then lift. Slow lowering makes you control the joint through positions where you would normally let momentum carry you. Because tempo reps are harder, the load needs to be lighter than your usual accessory weight.
Range. Use the full range you can control, and train the end positions deliberately. A split squat with a slight pause at the bottom, or a dumbbell press lowered until your upper arm is level with the bench and no further than you can hold, builds strength where the joint is actually used. If a range hurts, shorten it to the pain-free part and widen it over the cycle.
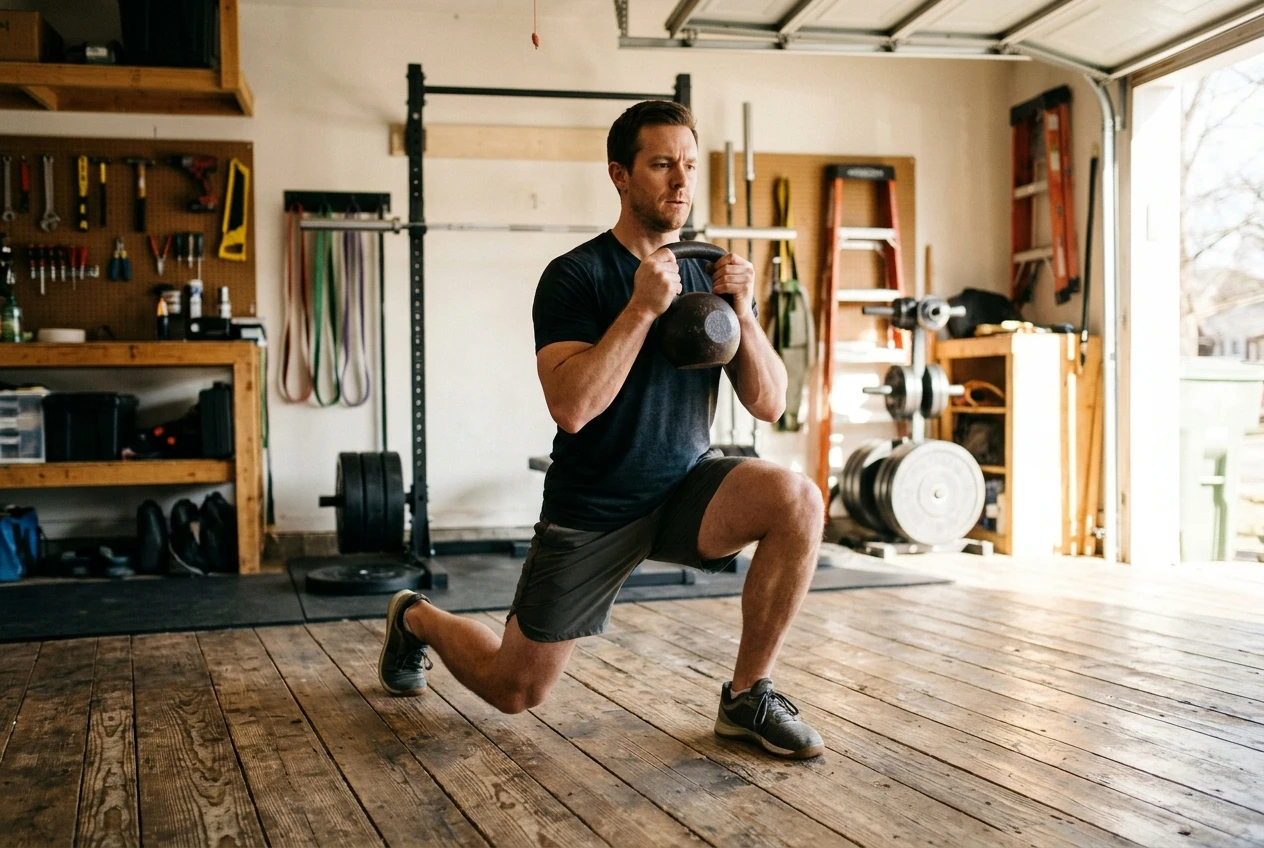
Single-side work. Split squats, single-leg Romanian deadlifts, single-arm rows and single-arm presses show you the difference between sides. If your left knee drifts inward and your right does not, a two-legged squat hides that behind the stronger side. Work the weaker side first and match its reps on the other side.
Keep the loads modest and the reps controlled, around 8 to 12 per side for most movements. Pain during a set is information: lower the load or shorten the range until the movement is comfortable, rather than pushing through.
If the complaint is in your lower back, two of the pieces on this site go deeper into the cause: your lower back quitting before your legs on heavy squats and matching a swing fault to the accessory that trains it.
If Both Are Mixed: Run Joint Work and Load Work in Separate Blocks
A mixed score means one answer will not fit everything. Maybe your squat moved and your knees feel fine, while your press stalled and your shoulder has been irritated. Treating all of it with one cycle shortchanges one of those lifts.
Split the cycle into two blocks and give each block one job.
- Joint block. Pick the lift or joint that complained and apply tolerance work to it: tempo, controlled range, single-side movements. Keep the load light enough that the joint feels fine during and after.
- Load block. Pick the lift that stalled with healthy joints and apply load-building accessories to it.
You can arrange the blocks two ways. One is by time: the first half of the cycle is the joint block for everything, the second half is the load block. The other is by lift: for the whole cycle, the lift that complained gets tolerance accessories while the stalled lift gets load accessories. By lift is simpler to follow when the two problems sit in different parts of the body. By time is simpler when the same joint is involved in everything, such as shoulders that bother both pressing and deadlift lockout.
Whichever you pick, do not put heavy accessory loading and tolerance work on the same joint in the same block. That blurs the cause when a score changes.
What to Change Between Cycles and What to Keep So You Can Tell What Worked
You can only learn from a cycle if most of it stays the same. Change the accessory selection, and keep the rest:
Keep the same
- Main lift programming: the rep scheme, the weekly frequency and the progression rule.
- The order of the session: main lift first, accessories after.
- Your scoring method: the same 0 to 2 questions, answered the same way.
- Warm-up routine, so a change in comfort doesn’t trace back to a different warm-up.
Change
- The two or three accessories that match your cycle type.
- Their rep ranges and loads, according to the cycle.
- At most one new element at a time within a block, such as adding tempo to one movement before adding it to all of them.
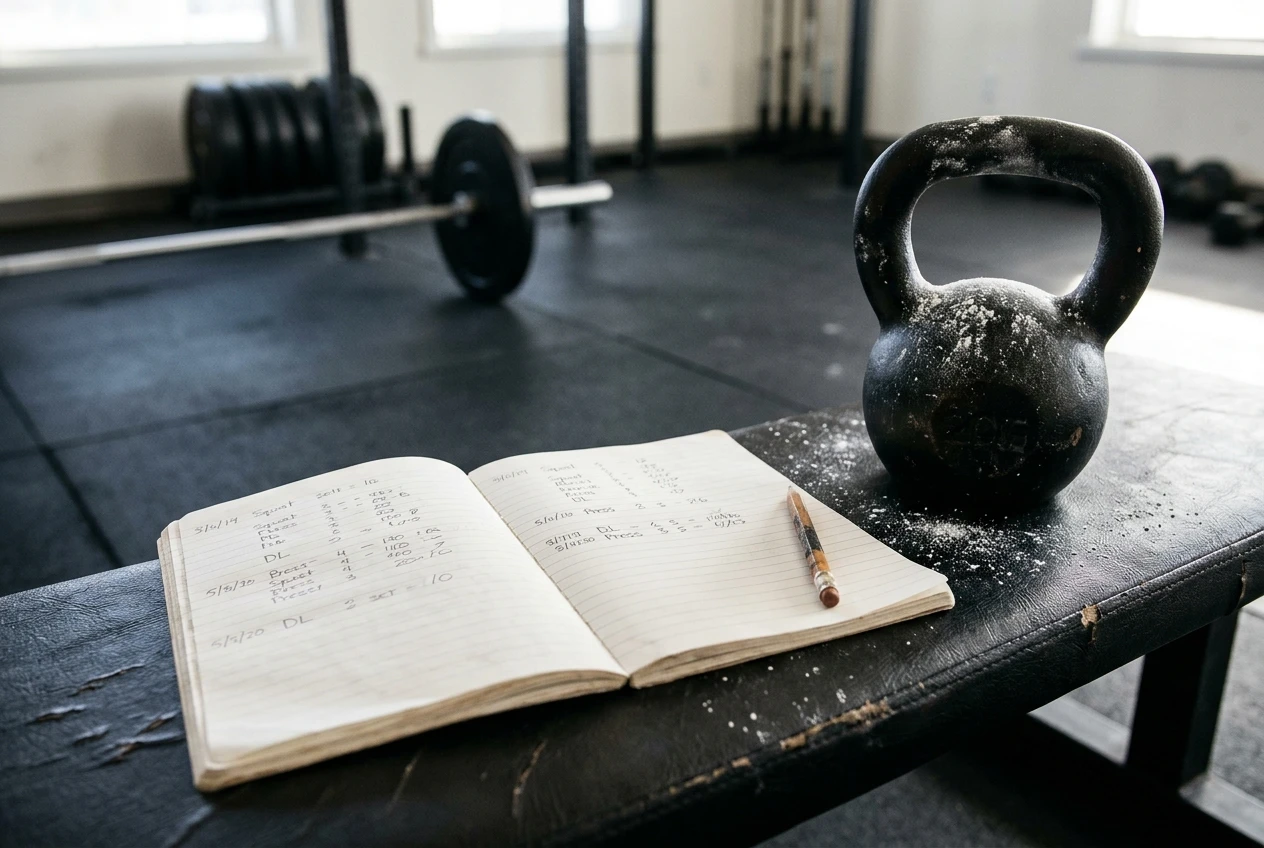
Write one line after each session: the joint comfort score for that day and whether the main lift felt better or worse than the last session. Over four to eight weeks those lines show a pattern that memory will not. If a cycle ends and you can’t say why the scores moved, too much changed at once.
Where Kettlebell Accessory Work Fits in Each Cycle
A kettlebell is a light, adjustable-by-choice tool that loads positions differently from a barbell, which makes it useful in all three cycles.
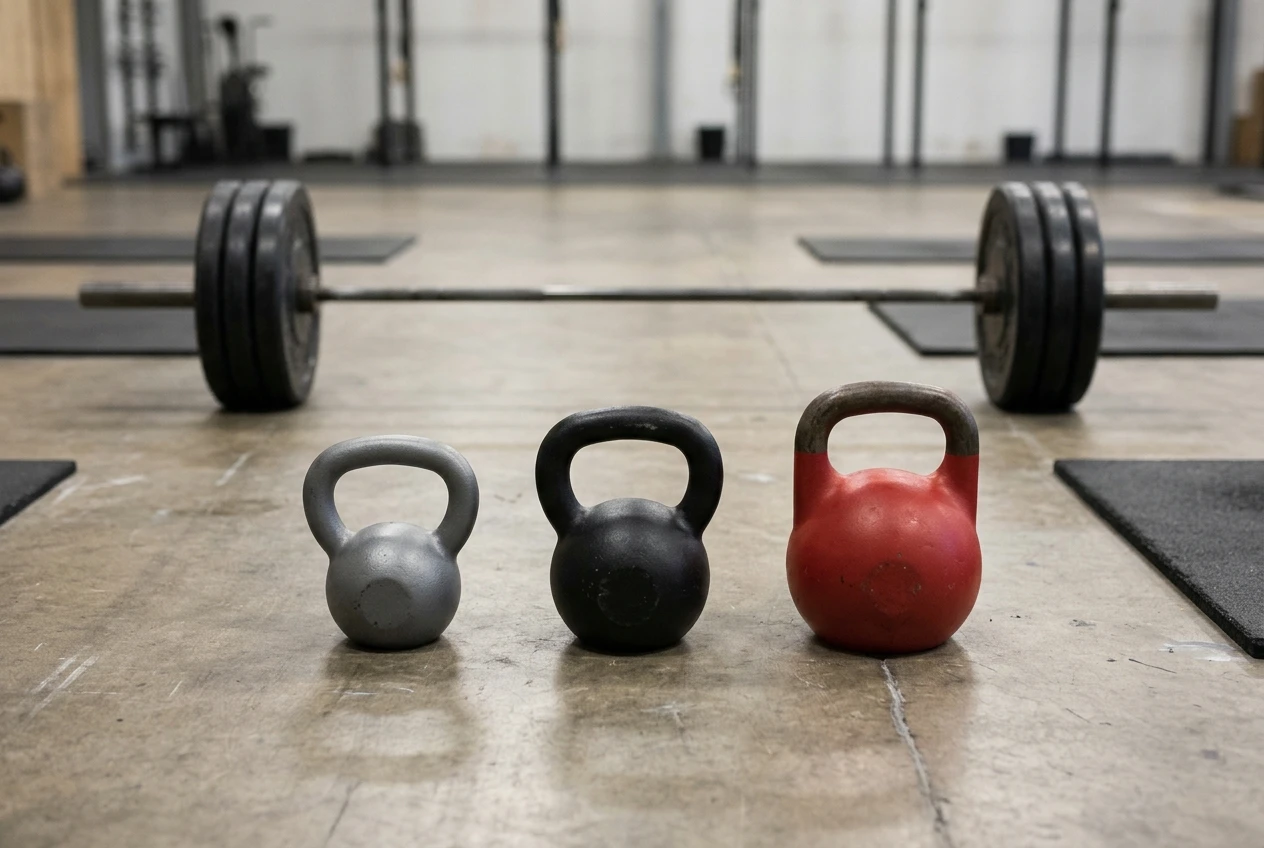
- Load cycle: use heavier kettlebell work as a supplement to the barbell accessories: heavy swings for hip drive, heavy goblet squats, or suitcase carries for trunk and grip strength. Keep the volume modest so it does not eat into recovery for your main lifts. The piece on where kettlebell sessions go in a powerlifting week covers placement.
- Tolerance cycle: this is where a kettlebell is most useful. Single-arm presses, single-arm rows, goblet squats with a pause, and slow kettlebell Romanian deadlifts give you tempo and single-side work with weights that are easy to scale down.
- Split cycle: use the kettlebell in the joint block for the lift that complained, and keep barbell accessories for the load block.
Before you add load to any kettlebell position, check that you can get into it comfortably with an empty hand. Five mobility checks to pass first lists what to test.
Warning Signs That Mean Stop Choosing Accessories and Get the Joint Assessed
An accessory cycle can manage ordinary training soreness and the mild aches that come with lifting. It cannot diagnose or treat an injury. See a qualified clinician, such as a physician or a physical therapist, if you notice any of the following:
- Pain that persists or worsens over several weeks even after you reduce load and change exercises.
- Pain at night or at rest, or pain that wakes you.
- Numbness, tingling or weakness in an arm or leg.
- Swelling, warmth or visible change around a joint.
- A joint that catches, locks, gives way or feels unstable.
- Sharp pain at one specific point in a movement every time you reach it.
- Pain that began after a fall, a collision or a single bad rep.
If a joint scores 0 on comfort two cycles in a row, treat it as persistent. At that point the next step is an assessment, not a different set of accessories. Tell the clinician what you lift and how the pain behaves, and ask what you can keep training while it is looked at.
Follow Along on Screen
If you want kettlebell accessory work you can follow on screen during a tolerance or split cycle, take a look at kettlebell.monster (affiliate link: the site may earn a commission if you buy through it), including the Samsung Tizen TV workout app (affiliate link: the site may earn a commission if you buy through it).