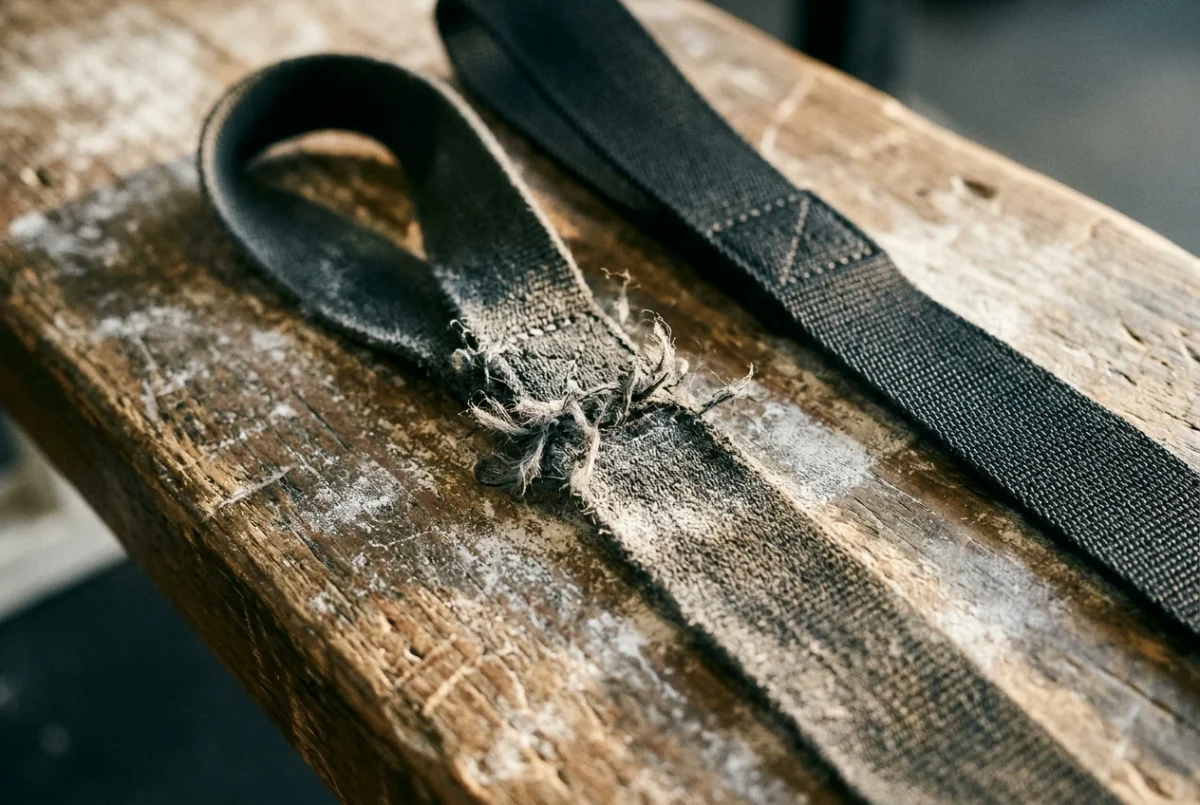
Are cheap lifting straps worth it? For a casual pulling day, often yes. For a peaking block, the answer depends on what a failure costs you, and that number is almost always larger than the price difference between a budget pair and a better one. Most comparisons stop at the sticker price. This article puts a price on the failure and gives you a formula to run with your own numbers.
Why is the strap price the smallest number in a peaking block
A peaking block is a fixed run of weeks built backward from a test date: a meet, a max attempt, or a retest you have planned your life around. Every session in it has a job. The heavy pulls near the end are the sessions that the earlier weeks were building toward.
A strap is the only thing between your grip and the bar on those pulls. If it fails during a top set, the price of the strap is no longer the relevant number. What matters is what you lose:
- The set itself. A top set you were prepared and recovered for is gone.
- A repeat session. To get the data or the stimulus back, you have to schedule that set again, with the fatigue and recovery that come with it.
- A shifted date. If the repeat pushes the block back, anything attached to the original date moves with it.
The gap between a cheap pair and a better pair is a one-time purchase. A failed top set can cost you days. The rest of this article turns that comparison into arithmetic.
The four ways a cheap strap fails under heavy pulls
Cheap straps tend to fail in one of four places. Knowing which one lets you inspect for it.
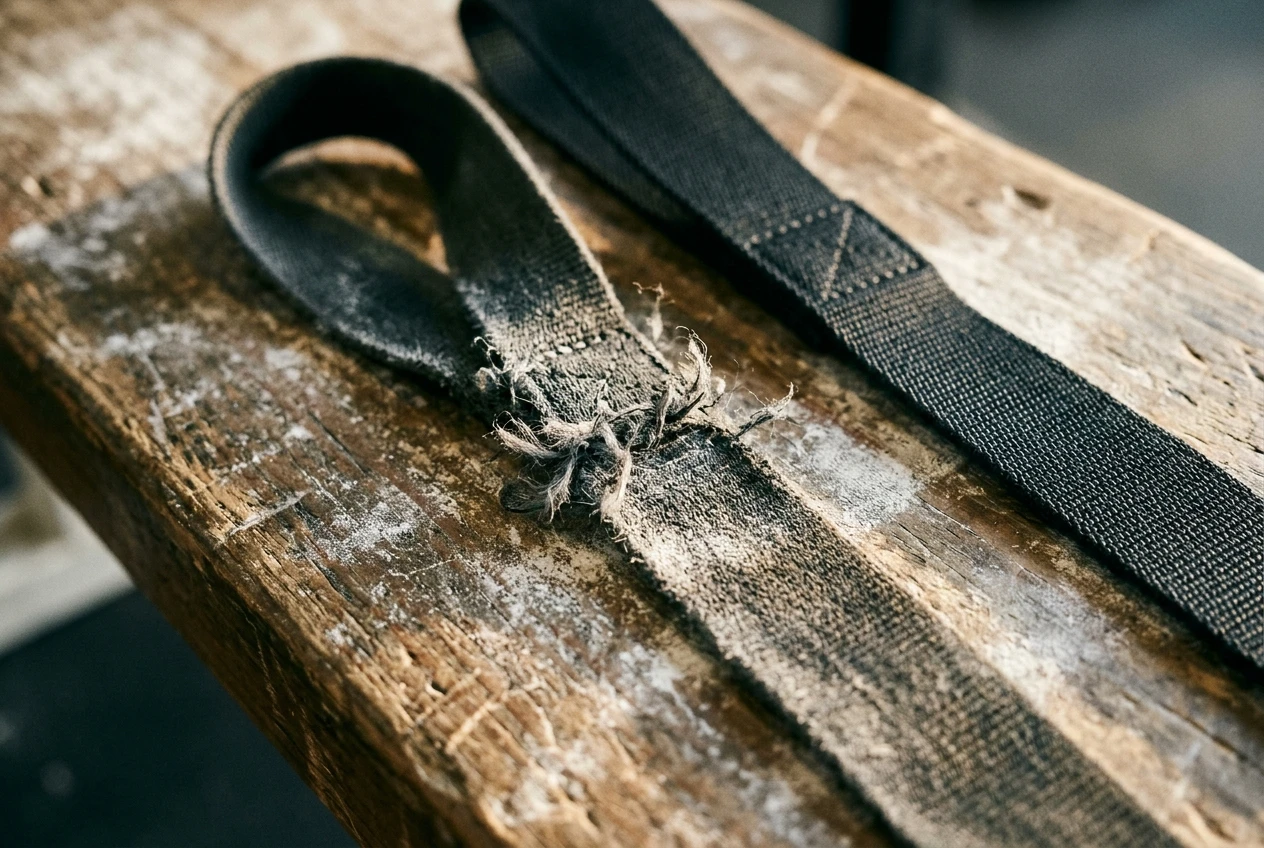
Stitching
Most straps are sewn where the loop meets the tail. That seam carries the full load of the pull. Thin thread, short stitch runs, or a single line of stitching leave little margin, and a seam that starts to let go does so quickly once a few threads break.
Loop
The loop is the part your hand sits in, and it takes repeated stretching as you load and unload it. A loop that has elongated, frayed at its edges, or lost its shape changes how the strap sits on your wrist and where the load goes. Cut or frayed edges can also start tearing from the inside.
Webbing
The webbing is the long section that wraps the bar. Thin or loosely woven material stretches, narrows, and frays with use. Sweat and chalk stiffen it in patches, and stiff patches wear unevenly. A worn spot may not look dramatic, but it is where the strap will give out.
Slip
Slip is a failure of function, not a break. The strap stays intact, but the wrap creeps on the bar as the load increases. Smooth, worn, or thin webbing slips more than textured, thicker material. Slip is the hardest failure to notice before it matters, because it usually appears only at the heaviest weights.
Put a number on one failed top set: a worksheet
You need five inputs. Use your real figures.
- Block length in weeks, and sessions per week. Multiply them for the total sessions.
- Cost per session. Take your monthly gym membership, coaching fee, or both, and divide by the number of sessions in a month. If you train at home with no recurring fees, use the value of your session time instead.
- Sessions repeated. How many sessions would you have to redo to recover the failed top set? Often one. If the failure also forces an extra recovery day, count it.
- Days of delay to your test date if the repeat cannot fit inside the plan.
- Costs attached to the date. Entry fees, travel or accommodation bookings you could not change for free, time off work, and a coach’s availability.
Then:
Failure cost = (cost per session × sessions repeated) + (days of delay × daily cost of the delay) + non-refundable costs attached to the date.
The strap price gap is the difference between the pair you are considering and the better pair. Divide the gap by the failure cost:
Break-even failure chance = price gap ÷ failure cost.
Here is the arithmetic with round numbers, so you can see how it works. Suppose the gap is 25 and the failure cost is 300. The break-even is 25 ÷ 300, about 8 percent. If you think there is more than roughly an 8 percent chance that a cheap pair fails at some point across your block, the better pair pays for itself. If you honestly judge the chance as lower, the cheap pair is the better buy.
You cannot know the real failure probability, so the formula does not pretend to. It tells you how small the risk would have to be for the cheap pair to make sense. When the failure cost is large relative to the gap, the break-even is tiny, and almost nobody can justify the risk at that level.
What does a failure cost in each phase
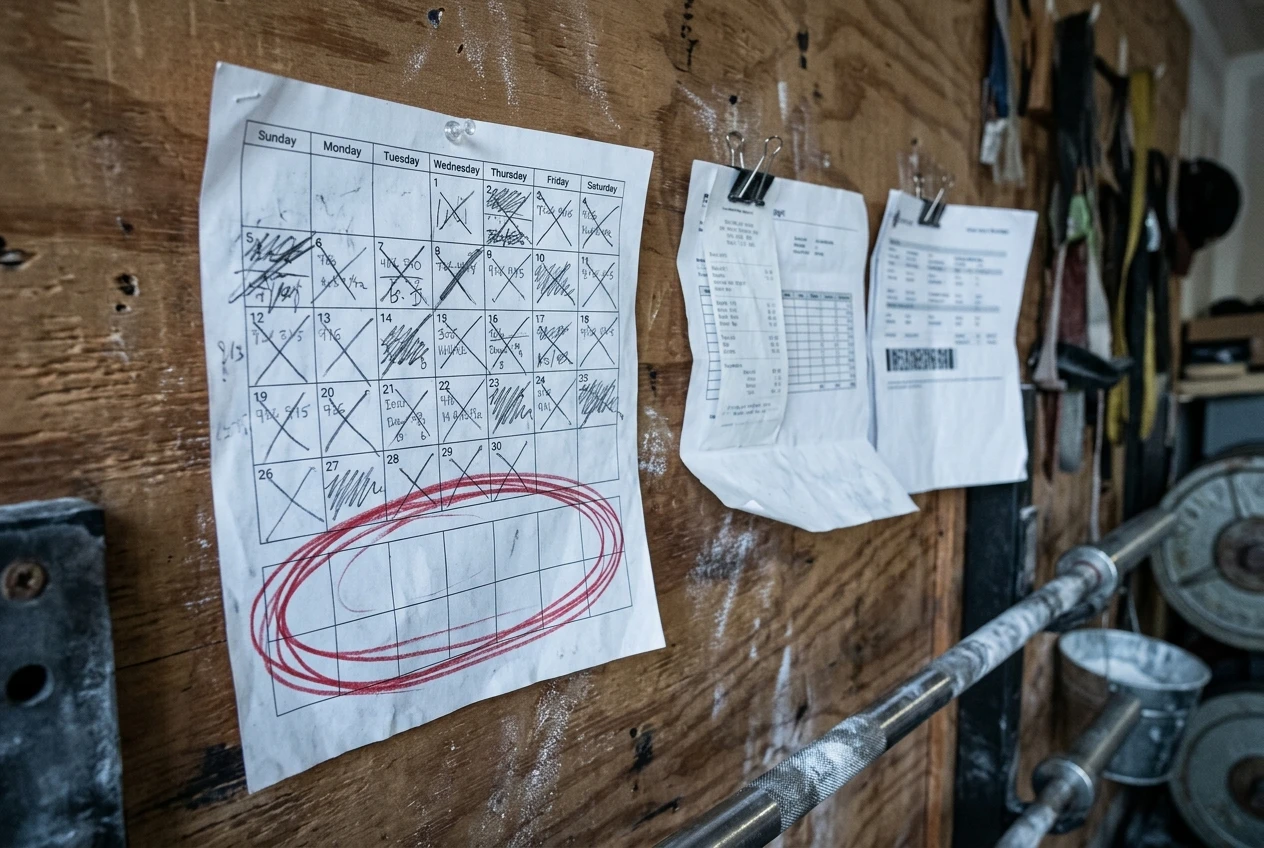
The failure cost is not constant across the block. It rises as the test date approaches.
Accumulation
Loads are lower, sets are higher in number, and the session is built around volume. A strap failure here usually costs you one set or a short interruption. You can usually reorder the week, make up the volume later, and lose very little. In this phase, a cheap pair carries the least risk, and the number from your worksheet will be at its lowest.
Intensification
Weights climb, and the sets that matter are heavy and few. A failed set here is a heavy exposure you did not get, and repeating it means another high-fatigue session that has to fit around your recovery. The cost of repeating is higher because the session is harder to place, not just because the set is heavier. This is where the “repeat session” line in the worksheet starts to grow.
The final week
The final week has the least room to absorb a problem. A repeat means adding a heavy pull to a week built around tapering, which can eat into your freshness. A forced delay moves the date, and the non-refundable costs attached to it come into play. For this phase, use the largest failure cost in your worksheet. A strap you have not already tested under load does not belong in the bag this week.
A two-minute strap inspection to run before every heavy pull day
Run this on both straps of the pair. It maps onto the four failure points.
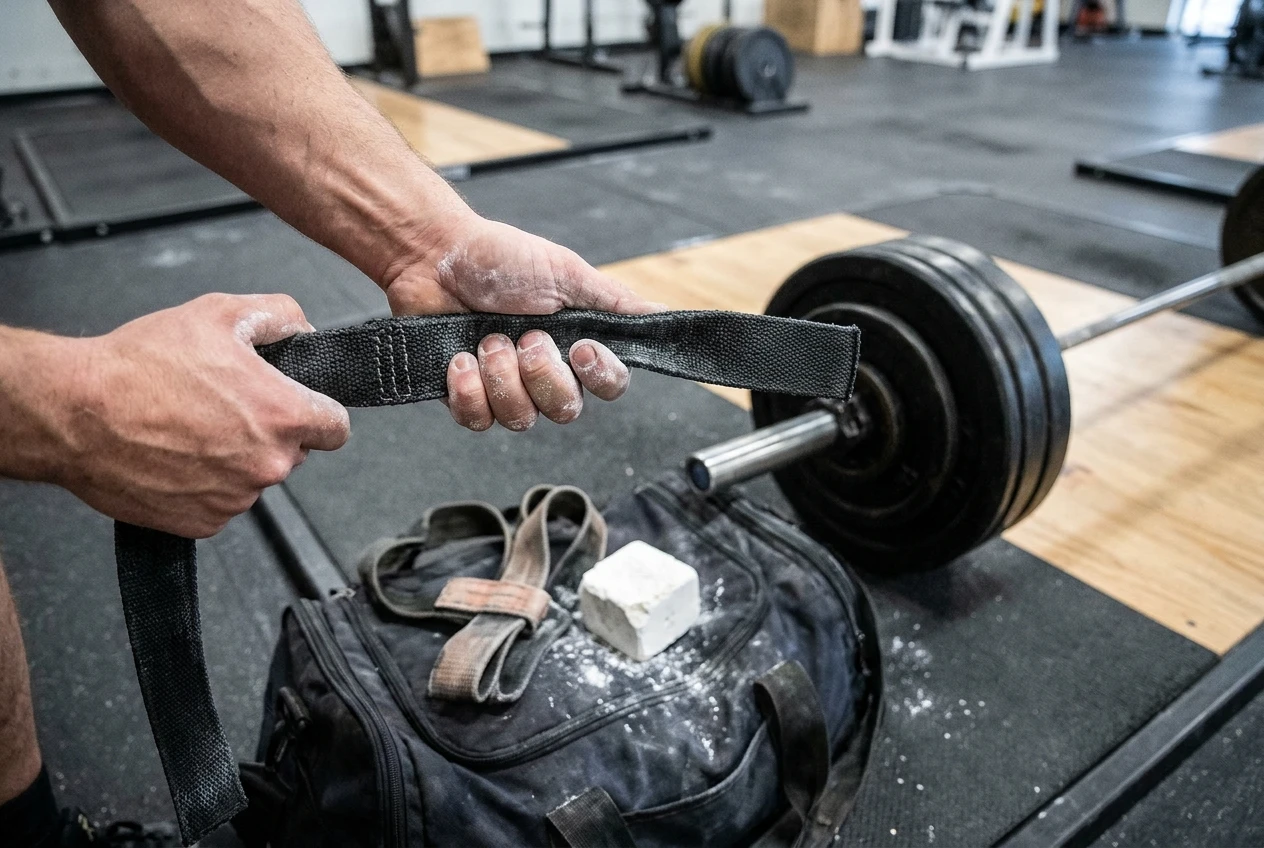
- Stitching (30 seconds). Look at the seam where the loop joins the tail. Check for loose, raised, or broken threads, and tug the seam firmly with both hands. Any broken thread at that seam is a reason to stop.
- Loop (20 seconds). Check the shape. It should be the same size on both straps. Look at the edges for fraying and the inside for thinning.
- Webbing (40 seconds). Run your thumb along the full length. Feel for thin spots, fraying edges, and stiff, chalk-caked patches. Fold it at a few points; a section that folds differently from the rest has changed.
- Slip (30 seconds). Wrap the strap on the bar the way you normally do and pull hard on a warm-up weight. If the wrap creeps, the strap is slipping, and it will slip more as the load rises.
Do this at the start of the session, not at the platform before the top set, so there is time to swap.
When to retire a pair, and how to keep a backup in your bag during a peak
Retire a pair when any of these is true:
- A thread is broken at a load-bearing seam.
- Fraying has reached a seam.
- The loop has visibly changed shape or size.
- One section of webbing is thinner or stiffer than the rest.
- The wrap slips on warm-up sets.
Do not retire a pair in the final week by default, because a new pair is also an untested one. The better timing is the start of intensification. A replacement bought then gets several sessions of use before the weights that matter, so you learn how it wraps and whether it slips.
Keep a backup pair in your bag throughout the peak. It should be the same style as your main pair, so the wrap feels the same, and you should have used it enough to know it. A backup you have never touched brings its own risk. A cheap pair is a sensible backup, which is a good use for it: the failure cost of the primary pair goes down when a ready replacement is a few seconds away.
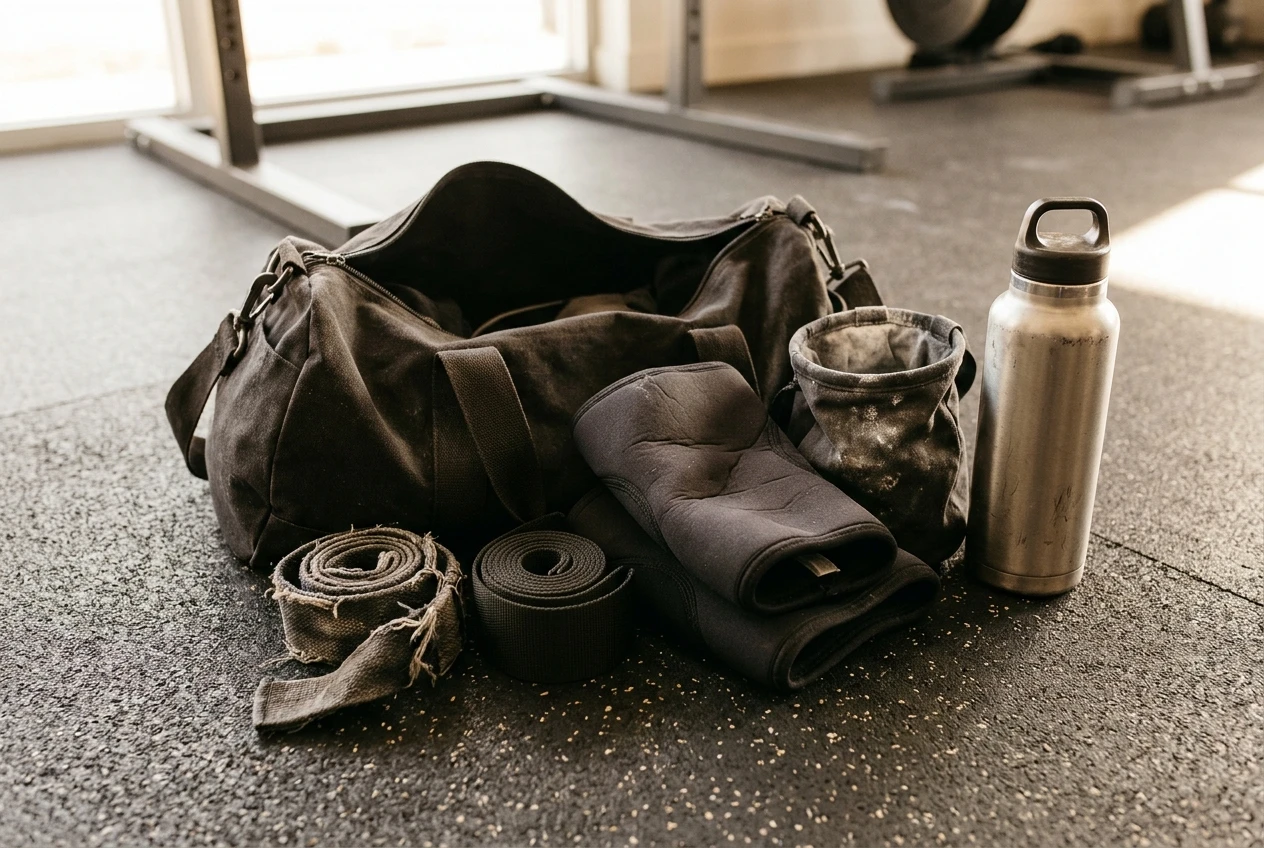
Cheap, mid-range, or premium: a decision rule based on your block
Decide by your block and the worksheet, not by brand. Construction details matter more than the name on the strap: stitching, webbing thickness, and loop finishing.
- A cheap pair is reasonable when your block is short, your straps go on during accumulation and volume work only, and a failure would cost you one set. Run the worksheet; if the break-even is high, the cheap pair is a fair saving. Cheap pairs also make good backups.
- A mid-range pair is the default when you use straps on heavy sets during intensification. The failure cost there is large enough that the break-even point drops well below what most lifters would call acceptable.
- A premium pair earns its price when your test date carries non-refundable costs or cannot be moved, and straps are on for your top singles or doubles. The worksheet will show a very low break-even point in this case, and the extra cost is small compared to the cost of a lost final week.
One more input to the decision is whether you need straps on the top set at all. If your grip is not the limiting factor, you can remove the strap risk completely on your heaviest pulls. The article on when to drop the straps and where they belong in a block covers that choice. Make it first, then buy the sets that remain.
Run the worksheet with your own block before you click buy on any pair. If the failure cost dwarfs the price gap, you have your answer.