The sticker price is the number you see before you buy, so it gets all the attention. It is also the number you pay once. The other costs of a home gym depend on what the gear does over the next few years: whether it needs replacing, whether it breaks, and what happens to your training if it fails while you are using it.
This article gives you a short worksheet to put your own numbers on those costs. You can then compare a cheap option with a better one using your own figures instead of a ranking someone else made. The true cost of a home gym is the price plus the cost of everything that can go wrong with it, weighted by how likely it is to go wrong.
The price tag is the smallest number in your home gym budget
Most gear comparisons sort by price and then describe features. That treats every purchase as if it carried the same consequence, and it does not. A resistance band that snaps costs you the price of a band. A rack that tips or a bench that collapses mid-set can cost you far more than the equipment was worth.
The risk of failure also varies by item. A cheap yoga mat that wears out in a year is a nuisance. A cheap safety pin that bends is a different kind of problem, because it sits in the path of a loaded bar.
So the question for each purchase is not only “what does this cost?” It is “what does it cost if this fails during a workout, and how likely is that?” Gear that cannot hurt you or stop your training if it fails can be bought cheaply without much thought. Gear that can be priced differently.
One caution before the worksheet: nothing in this article claims that more expensive equipment prevents injuries. Gear can fail, and better-built gear is less likely to fail in the specific ways described below. Injuries also come from load, technique, fatigue, and a long list of other causes that no purchase can remove.
Four costs most gear comparisons leave out
Add these to the sticker price, and the comparison often changes.
Replacement
If a cheap item wears out in a year and a better one lasts five, you are not comparing two prices. You are comparing one price with five times that price over the same period. Replacement cost is the price multiplied by the number of times you expect to buy it again in the period you plan to keep training at home.
Be realistic about that period. If you expect to still be lifting at home in three years, count three years.
Repair
Some failures are fixable. A loose bolt on a bench, a collar that slips, or a pad that peels can be dealt with using a few tools and an evening. Repair has costs too: the parts, the shipping, the time, and the training you skip while the item is out of use. Gear that needs frequent adjustment before every session also costs you attention, which is hard to price but real.
Downtime
This is the highest cost and the one almost nobody counts on. If a failure leads to an injury, or only to a broken item you cannot replace for a week, you lose training time. That time has a price in three places:
- Paid appointments. Physiotherapy, a doctor, a coach, imaging, and any copays or travel that come with them.
- Paid-for training you cannot use. Program subscriptions, coaching fees, or gym memberships that keep billing while you sit out.
- A stalled program. The weeks you miss, plus the weeks it takes to get back to where you were.
Restarting
After a layoff, you rarely resume at the loads you left. Returning at reduced weights for several weeks is a cost, even when nothing hurts. The length of that restart depends on the layoff and on the person, and a clinician or coach is the right source for your own timeline. For the worksheet, you only need your own rough estimate, and you can adjust it later.
Build your own downtime number in ten minutes
You need a pen and four numbers. Use your own figures and do not worry about precision. A rough number you trust is more useful than an exact one you never calculate.
Step 1: Price the failure. For one piece of gear, estimate what a bad failure would cost you:
- Paid appointments: the number of visits you would expect times the cost per visit, including travel.
- Wasted subscriptions: your weekly cost of any program, coaching, or membership, times the weeks you would be out.
- Restart cost: the weeks you would train below your normal level, times the same weekly figure. This is a rough proxy for what those weeks are worth to you, because you are paying for training you cannot fully use.
Add the three together. That is your failure cost.
Step 2: Estimate the chance. Do not try to produce a statistic. Rate the likelihood of a failure over the period you plan to keep the gear as low, medium, or high, and turn those into rough percentages you are comfortable with, for example, 2 percent, 10 percent, and 30 percent. These are your own guesses for comparison, not data.
Step 3: Compute the risk cost. Multiply failure cost by likelihood. Do it once for the cheap option and once for the better one.
Step 4: Add the rest. For each option, total:
- sticker price
- replacement cost (price times expected number of rebuys)
- repair cost (parts, shipping, time)
- Risk cost from step 3
The option with the lower total is the better buy on your numbers.
A worked example with round numbers
These figures are made up for arithmetic only. They are not price quotes or claims about any product. Suppose a cheap bench costs 100 and a sturdier one costs 250. You expect to keep training for three years. Your failure cost, from step 1, comes to 1,500.
If you rate the cheap bench’s failure chance as 10 percent and the sturdier one’s as 2 percent, the risk costs are 150 and 30. If the cheap bench would likely need replacing once in that time, add another 100.
- Cheap bench: 100 + 100 + 150 = 350
- Sturdier bench: 250 + 0 + 30 = 280
On those guesses, the sturdier bench is cheaper over three years, even though it costs 150 more on day one. Change the guesses, and the answer changes. If your failure cost is 300 instead of 1,500, the cheap bench wins. That is the point of the exercise. The worksheet does not tell you to buy expensive gear. It tells you whether expensive gear is worth it given your situation.
Where better gear changes your risk: the points where equipment can fail under you
Some items can fail while you are holding them, standing on them, or lifting them. These are the places where a higher failure cost is realistic.
Anything that holds the bar in the air
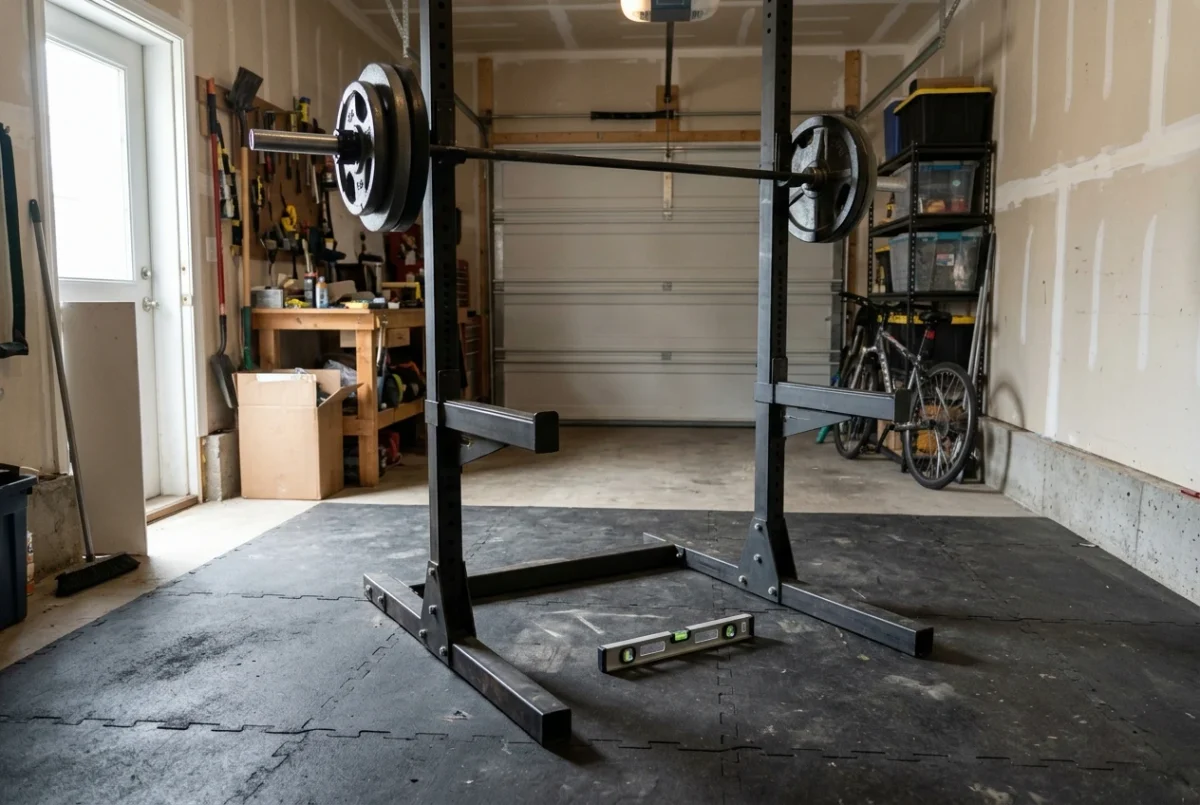
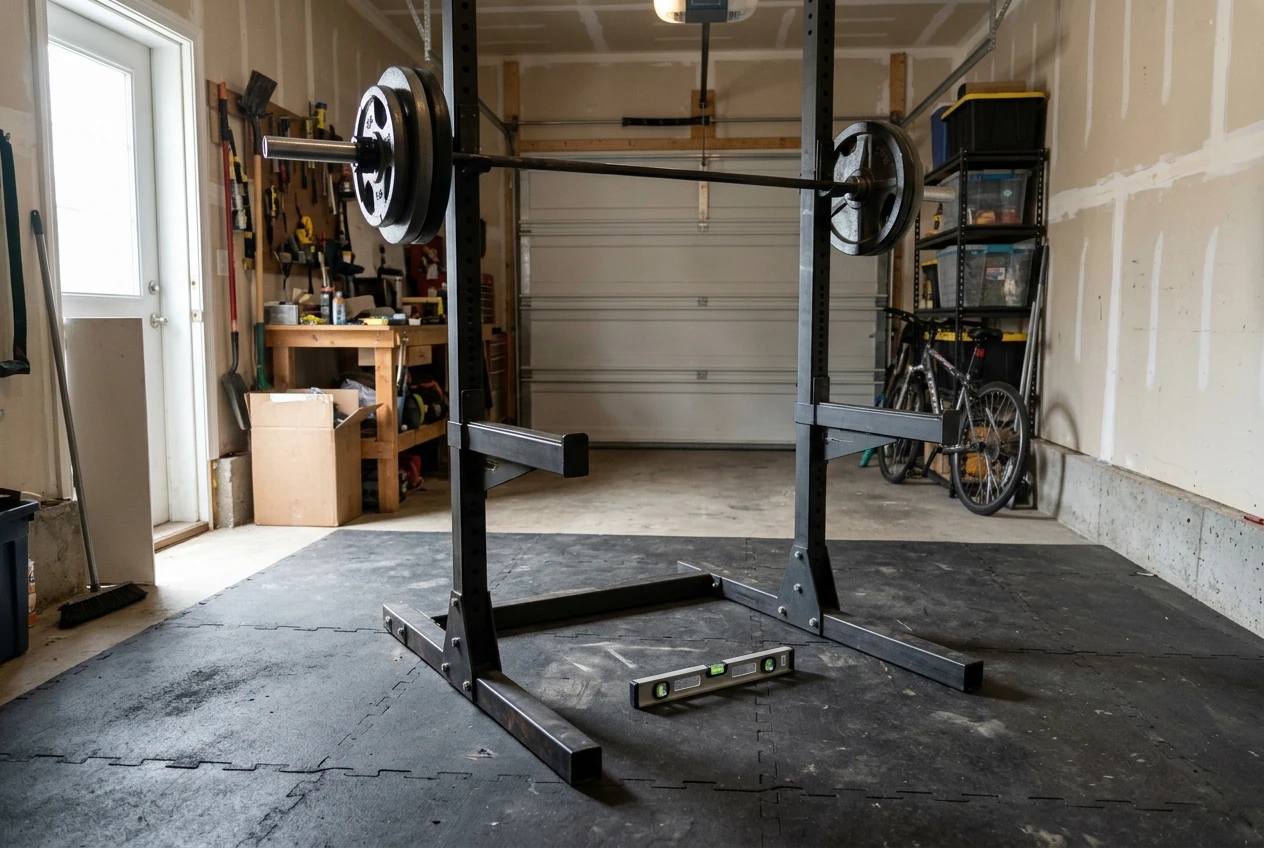
A squat or bench setup relies on the rack uprights, the J-hooks, the safety arms or pins, and the base. If a part bends, slips or tips, you are under the load. Look for the manufacturer’s stated load rating, and check whether it describes the whole rack or only part of it. Look at the base: a rack that wobbles when empty will wobble more when loaded. Bolting it down or adding weight to the base helps only if the design allows for it.
Safety arms or pins deserve more attention than they usually get. They exist for the moment a rep fails, so a bent or loosely fitting one is the worst failure point on the list.
The bench
A bench has to stay still under a moving body and a load. The points to check are the stability of the legs on your floor, whether the pad is firmly attached, whether the adjustment mechanism locks in position, and the stated weight rating. A bench that shifts while you press is a risk you can notice before it becomes a problem. If you notice it, stop using it.
Kettlebells and handles
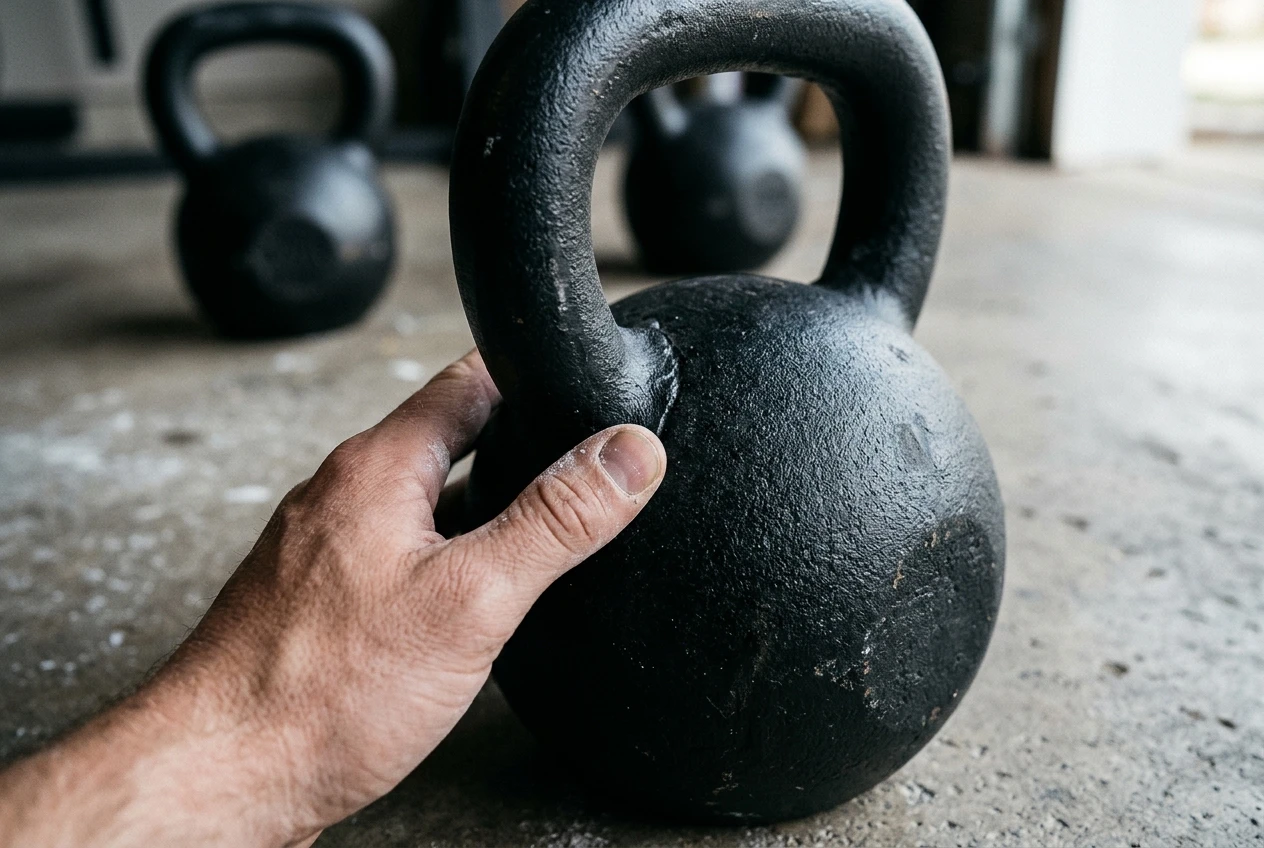
Kettlebells are swung, caught, and sometimes held overhead. The handle and its join to the body are the parts to inspect. Cracks, rough seams, or a handle that feels loose are reasons to stop using one. A smooth, consistent handle also affects how it sits in your hand, which matters when your grip is tired. Check the bells after any drop onto a hard floor.
Collars, bars, and plates
Collars that slip let plates shift mid-set. A bar with a stated load rating is worth more than one with none, because it tells you what the maker will stand behind. A bar bent from overloading can also be a sign that you should stop using it, not straighten it.
Shoes and the floor
You stand on your shoes for every lift. A soft, thick running-style sole compresses under a heavy load, so many lifters prefer a flat, firm sole for squats and deadlifts. That is a preference for stability, not a guarantee against injury. Flooring matters in a similar way: a stable, flat surface under a rack is more important than a pricey one.
The belt
A belt is a tool some lifters use for heavy sets, not protection against injury. If you are deciding whether you need one at all, the piece on which lifting belt fits you at 6 months versus 6 years covers how that choice changes with experience. For the worksheet, a belt usually carries a low failure cost, because a worn belt tends to wear out visibly instead of dropping a load on you.
Where spending more buys you nothing: the upgrades that are mostly marketing
Money spent here rarely changes either your results or your risk.
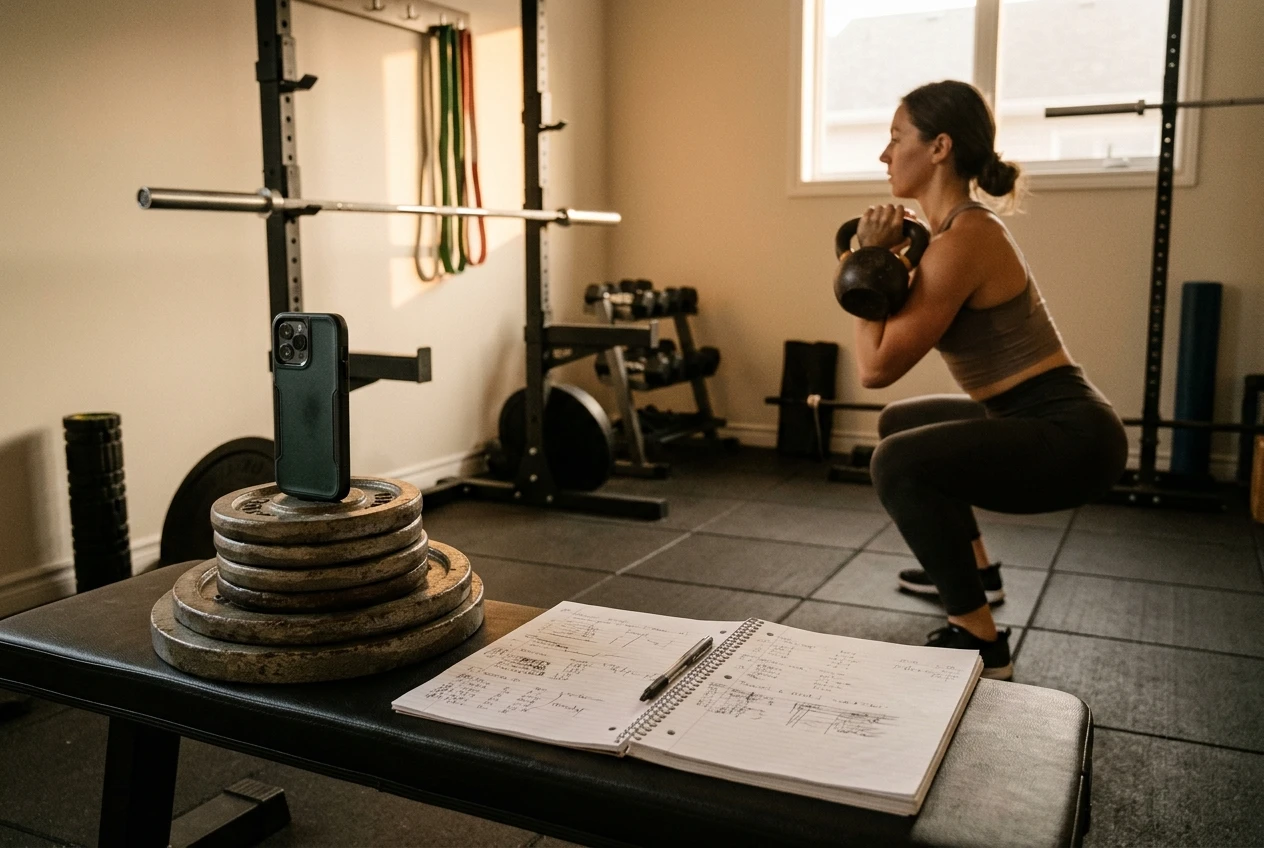
- Finishes and colors. A coated or branded finish looks different but does not change what a kettlebell or plate does. Check that the coating does not make the handle slippery or rough, and otherwise ignore it.
- Matching sets. Matching colors, logos, and storage racks organize your room. They have no bearing on training.
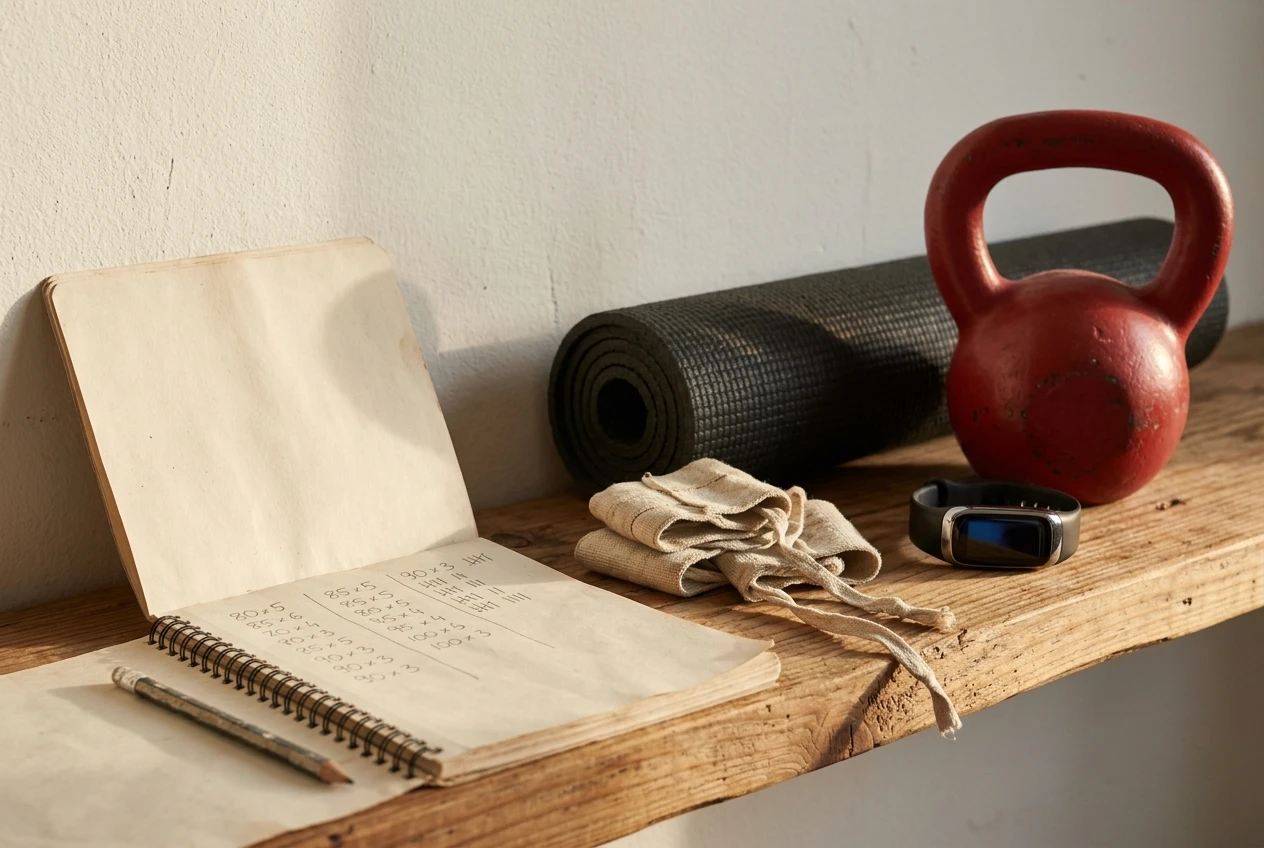
- Connected gadgets. Sensors, trackers, and gear that needs its own app can be useful, but a notebook or spreadsheet records the same numbers. The piece on whether a spreadsheet can run your kettlebell progressive overload, as well as an app, goes through that trade-off.
- Specialty equipment you will not use weekly. A specialty bar or attachment that fits a lift you do twice a year is a cost with little benefit. Rent it, borrow it, or skip it.
- Premium versions of low-consequence items. Wrist wraps, a mat, a towel, and a chalk holder. If failure costs you nothing, the cheap version is the right one.
- Heavier ratings than you need. A higher load rating is a real benefit for something that holds a bar over you. For items that never carry more than a modest load, paying for a rating you will not approach adds nothing.
A useful test is to ask what the extra money buys. If the answer is a specific, checkable difference in how the item holds up or how stable it is, it may be worth pricing. If the answer is how it looks or what the brand signals, it is not.
Technique, programming, and recovery: the injury protection gear cannot replace
A rack with safety arms does not teach you to brace. A belt does not fix a rounded back or a rushed warm-up. Shoes do not choose your weight. These things decide whether you train consistently, and consistent training is what your downtime number is measuring in the first place.
Three habits affect your risk more than anything on a shopping list:
- Technique. Learn each lift at light loads and add weight slowly. A coach, even for a few sessions or by video review, can catch problems you cannot feel. Filming your sets from the side takes a minute and shows a lot.
- Programming. A plan that increases load, volume, and intensity at a sensible rate does more than any purchase to keep you training. Whether you follow a published plan or write your own is a real decision, and the article on how to pick between following a kettlebell program and writing your own is useful here.
- Recovery. Sleep, enough food, rest days, and deloads are not optional extras. Fatigue makes everything harder to do well, and it is a common reason that a normally safe lift goes wrong.
None of this means gear is irrelevant. It means gear decides how your equipment behaves when something goes wrong, while technique, programming, and recovery decide how often something goes wrong in the first place. If you have limited money, spending some of it on coaching or a structured program can pay back more than a better version of a low-consequence item. If you have pain or an injury, a qualified clinician is the right person to talk to, not a gear guide.
A buy-once, buy-right order for a home gym, sorted by what a failure would cost you
Order your purchases by failure cost, highest first. Run the worksheet on the top items and use judgment on the rest.
- Anything that holds a loaded bar over you. Racks, safety arms, pins, and the bar itself. Check load ratings, stability, and the design of the safety system. This is where the worksheet is most likely to favor spending more.
- The bench. Stability, locking adjustment, and a stated rating.
- Collars and plates. Collars that grip and plates that match your bar.
- Kettlebells. Inspect handles and seams, and buy the weights you will use now before the ones you hope to use later. Kettlebell sets rarely need to be complete on day one.
- Shoes. A firm, flat sole suits many lifters on heavy lower-body days. Choose by how stable your feet feel under load, not by price alone.
- Flooring. A flat, stable surface under the rack and the places you swing a bell.
- A belt, if you use one. Decide after you have trained long enough to know whether you want it. The powerlifting gear checklist, sorted by month, describes how that timing can work.
- Everything else. Mats, wraps, accessories, storage. Buy the cheap version and replace it when it wears out.
Revisit the worksheet when your training changes. Heavier loads raise the failure cost of the top items, and a new program changes what a missed week is worth.
If a guided kettlebell program fits your gear and your downtime math, look at the kettlebell.monster before you buy more equipment. Affiliate disclosure: This is my referral link, and I may earn a commission if you sign up, at no extra cost to you.