Most powerlifting gear for beginners is bought too early. A new lifter reads a list of belts, sleeves, wraps and specialty bars, buys half of it in week one, and then finds that none of it addressed the thing actually limiting their squat, bench or deadlift. This checklist runs in the opposite direction: you buy an item when a specific lift shows the need for it.
It covers the first six months, and it sorts every item into one of three groups. Must-haves you buy early. Buy-when-it-hurts items you wait on until a lift gives you a reason. Nice-to-haves you can ignore for now.
The only gear you need on day one (and what your gym already supplies)
A commercial gym already supplies the expensive equipment: barbells, plates, racks, benches, collars and usually a platform or at least a clear patch of floor. Buying your own versions of these before you know what you need is the most expensive mistake on the list. A home lifter is in a different position and has to source this equipment, which the home setup section below covers.
On day one you need three things:
- Clothes you can squat in without the waistband or the seams restricting your depth.
- Shoes with a flat, firm sole (more on these in the next section).
- A way to record what you lifted.
That is the full list. A belt, sleeves, wraps, straps and a singlet are all things people buy before they have trained long enough to know whether they need them. In the first weeks your bar weights are light, your technique is changing every session, and any support you wear can hide the very faults you are trying to find.
If you plan to compete, find out which federation runs the meet you are aiming at and read its equipment rules. Rules differ on belts, wraps, sleeves, singlets and shoes, and checking them once costs nothing. It also stops you from buying something you cannot use on the platform.
Flat-soled shoes: the first purchase that changes your squat and deadlift
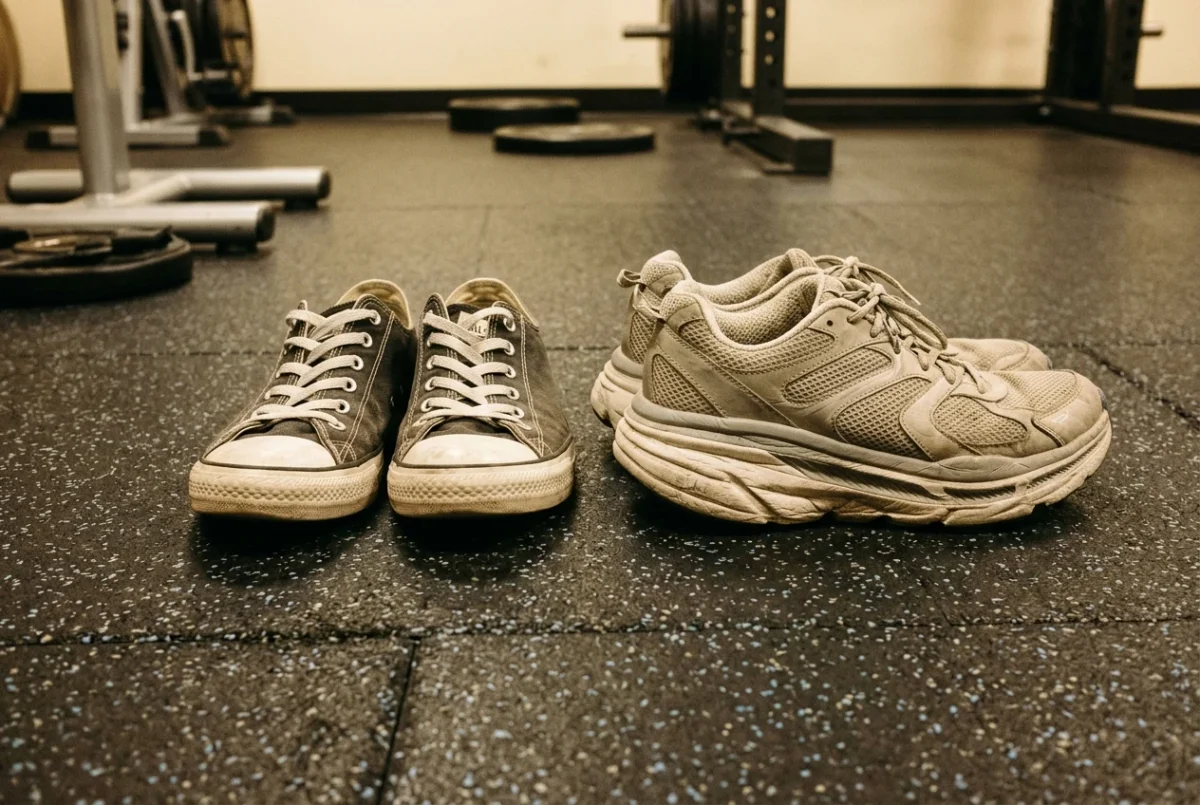
Shoes are the one item worth buying in the first week, because they affect every lower-body rep you do. Running shoes have a cushioned, compressible sole. Under a heavy bar that cushioning squashes unevenly, your weight drifts toward your heels or toes, and the bar path follows. A firm, flat sole gives you a stable base and puts your feet closer to the floor, which shortens the distance the bar travels in a deadlift.
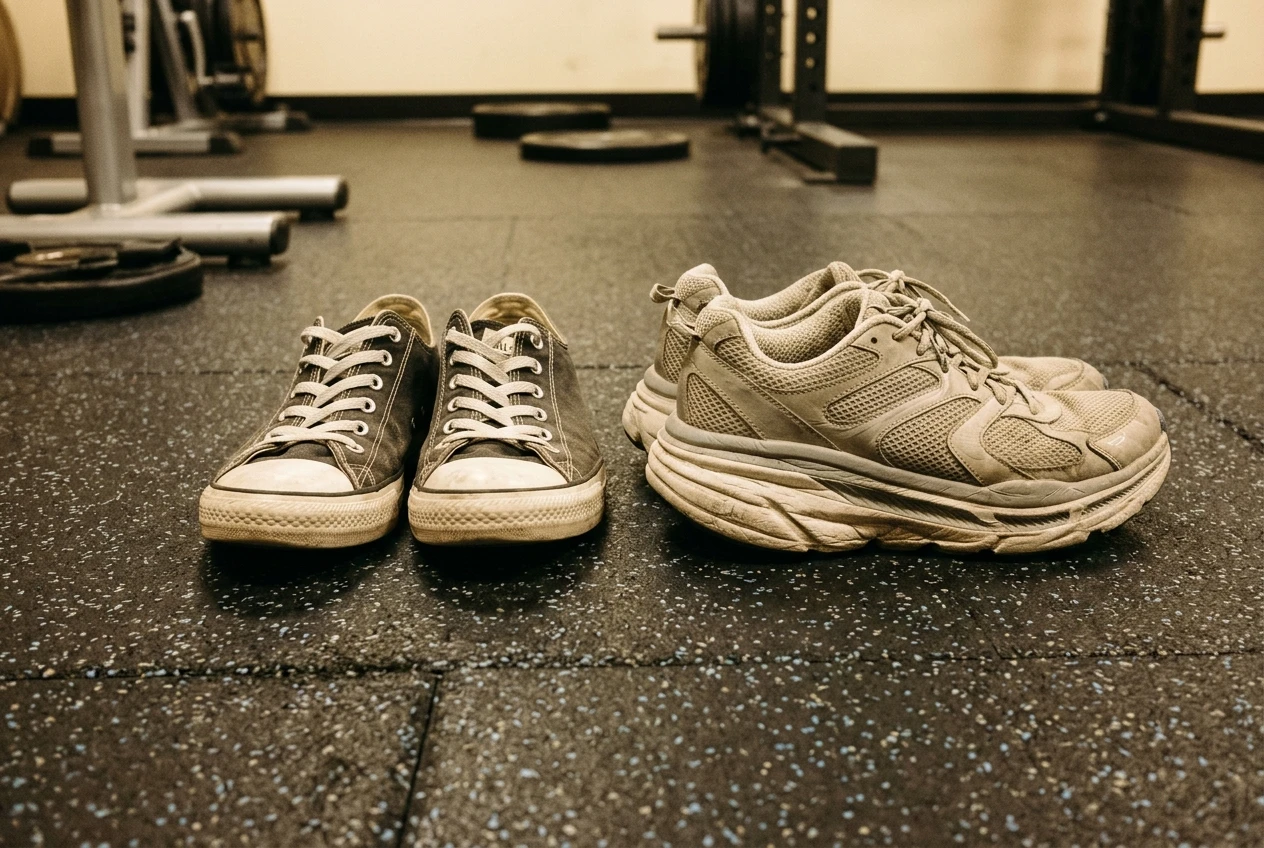
For squat, deadlift and bench alike, a flat-soled shoe is enough. Options include flat-soled canvas sneakers, minimalist training shoes and dedicated flat lifting shoes. What matters is that the sole does not compress and the heel is not raised.
Raised-heel lifting shoes are a separate product. They help some lifters reach squat depth by letting the knees travel forward, but they are a poor fit for deadlifts. If your squat depth is limited by ankle mobility, consider them later. Until a squat session shows you that limit, flat shoes cover both lifts.
Test any pair before you commit. Stand in them, squat to depth with an empty bar, and check that your heels stay down and the sole feels solid. If you feel the sole flex or your foot roll inward, choose a different pair.
Chalk, a notebook and a plate set: cheap items that fix more problems than expensive ones
Three inexpensive items solve problems that beginners often try to solve with bigger purchases.
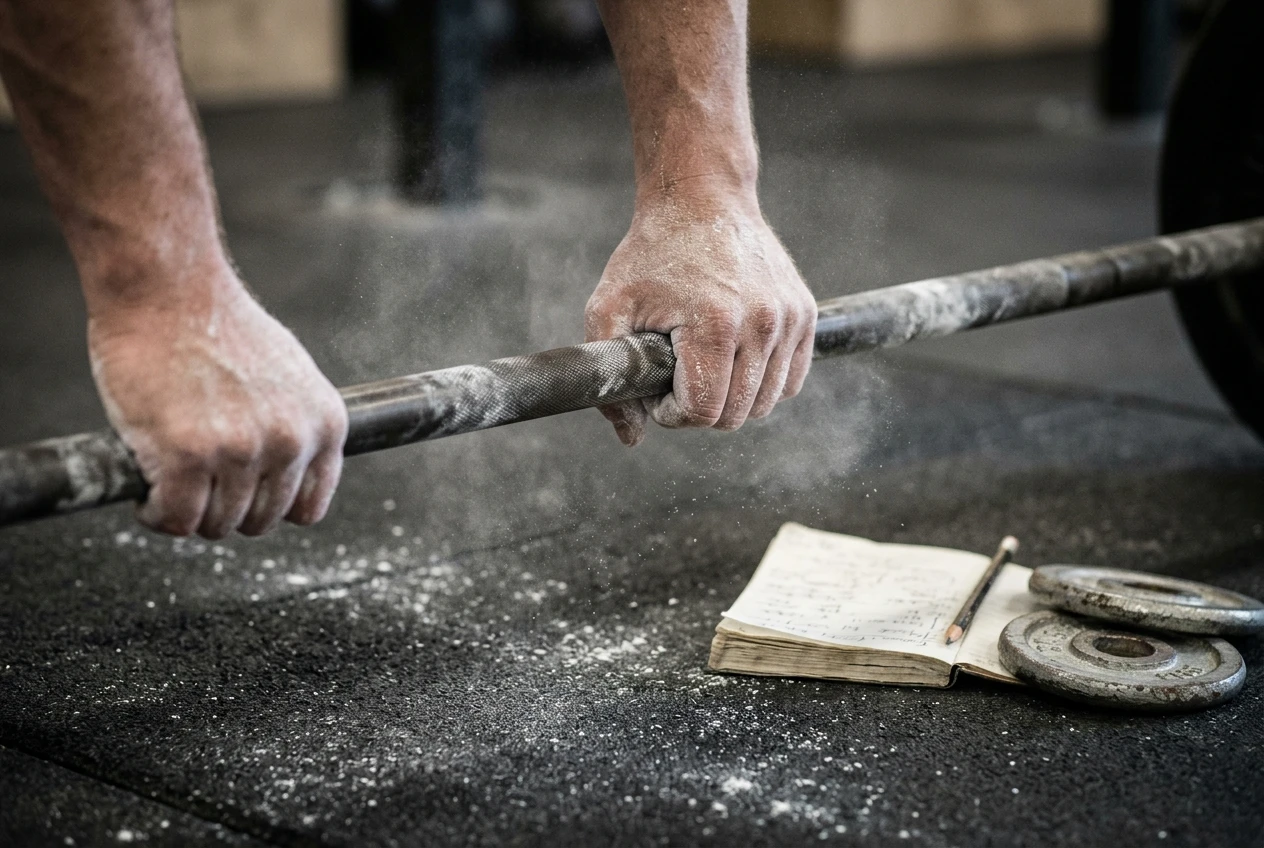
Chalk. Sweaty hands slip on the bar, and a bar that slips in your hands makes deadlifts feel heavier than they are. Chalk dries your hands and improves your grip on every pull. Squatters also chalk their upper back so the bar stays put on the shelf of the shoulders. Check your gym’s policy first, because many gyms ban loose chalk. If yours does, liquid chalk is a common substitute and usually allowed.
A notebook. This is the most useful piece of equipment on the list. Write down each session: the exercise, weight, sets, reps and a one-line note on how the set felt. Within a few weeks the notebook tells you which lift is stalling, which one is progressing and where your sessions are too hard or too easy. A phone note works as well as paper if you actually keep it up.
Small plates. Standard plate jumps get large quickly on bench press and overhead work. If the smallest plate at your gym adds more weight than you can handle next session, you either skip a week or force a rep you cannot control. A pair of small fractional plates lets you add weight in smaller increments, so progress stays steady. Home lifters should buy these along with their first plate set. Gym lifters can ask whether the gym stocks fractional plates before buying their own.
Months two to three: buy a belt only when your working sets start to feel heavy
A belt gives your abdomen something to push against when you brace. It does not replace bracing, and it does not protect a back that is already being asked to do too much. Lifters who start wearing one in week one often never learn to brace properly without it.
The signal to buy is specific: your working sets on squat or deadlift start to feel heavy enough that bracing is the limiting factor, and you can already brace well on lighter sets without the belt. Before that point a belt adds cost and not much else. After it, a belt lets you keep the brace tight under loads where it would otherwise soften.
When you are ready, the main choice is the belt material, and that decision affects how long the belt lasts and how it feels after months of use. The comparison in leather, nylon or suede: which lifting belt material lasts longest covers that in detail. If you plan to enter a meet, check your federation’s rules on belt width, thickness and fastening before you pay for one.
Keep using the notebook alongside the belt. Note which sets you wore it for, because you want to know how much of your progress comes from strength and how much from the belt.
Wrist wraps, knee sleeves and straps: when each one helps and when it hides a weakness
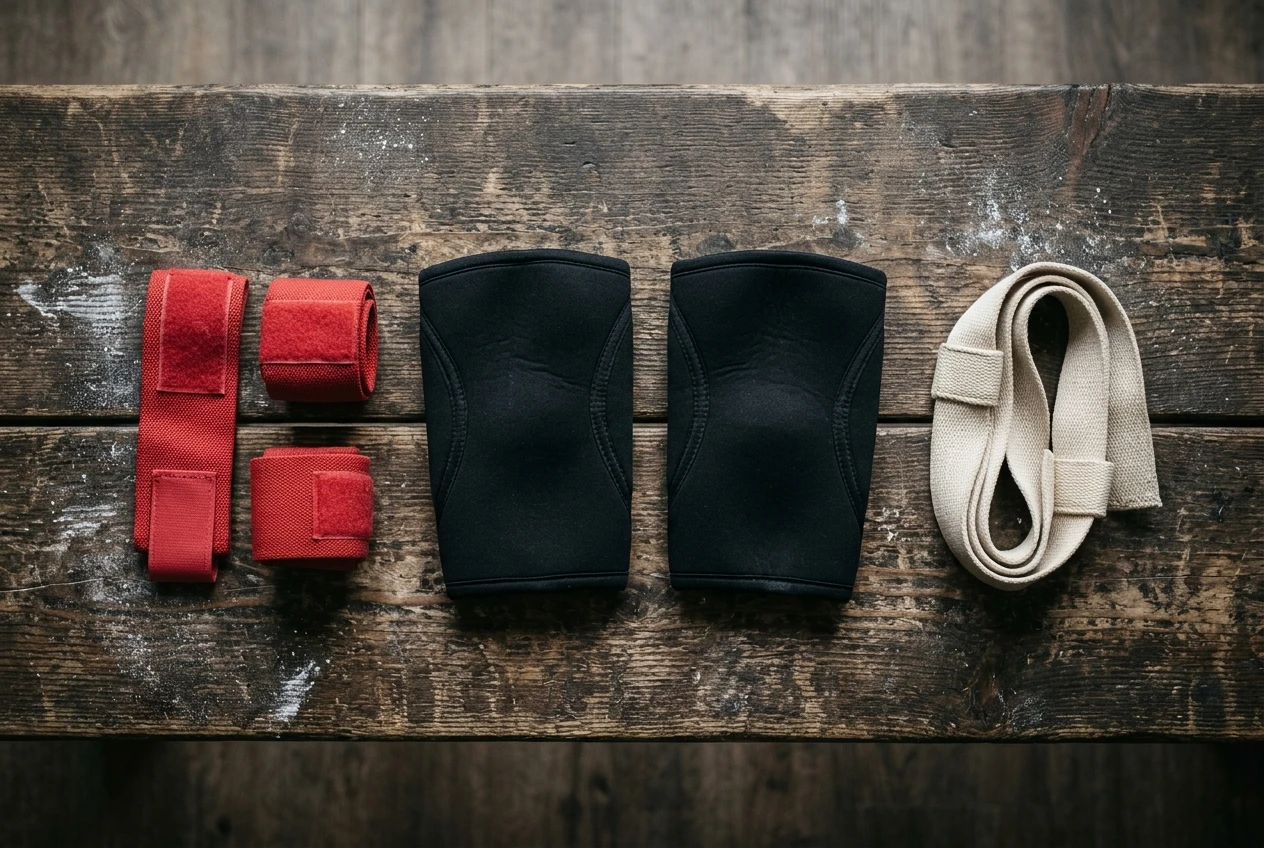
These three are the most commonly bought items among beginners and the most commonly misused. Each one has a legitimate use, and each one can cover a problem you should fix instead.
Wrist wraps
Wraps support the wrist joint when it bends backward under a heavy bench press or overhead press. They help most when the bar is heavy and your wrists are stacked correctly but still tire. If your wrists fold back at light weights, the cause is bar position in the hand, and a wrap will only make that easier to ignore. Fix the position first by setting the bar low in the palm, over the forearm bones. Buy wraps when heavy sets still feel unstable after that.
Knee sleeves
Sleeves add warmth and a little compression around the knee. Many lifters find they feel more comfortable and confident in them on heavy squats. They do not diagnose or cure knee pain. If your knees hurt during squats, look at stance, depth, footwear and how fast you added weight, and see a qualified professional if the pain persists. A sleeve is a comfort item, so it belongs in the buy-when-it-hurts group, and only once you have worked out why it hurts.
Lifting straps
Straps tie your hands to the bar so grip cannot limit a deadlift. That is useful on high-rep sets or back-off work, where you want to train your back and legs without your hands giving out first. It is a problem if you use them on every set, because your grip stays weak, and standard powerlifting rules do not allow straps on the platform. If you want to compete, you will need a deadlift grip that holds without them. Use straps sparingly for volume work and train your grip with chalk and heavy holds on the rest.
Nice-to-haves you can ignore until month six, including singlets, specialty bars and bands
Some items are useful but not for a beginner, and buying them early takes money away from what you do need.
- Singlet. You need one for a meet in most federations, and not before. Buy it once you have picked a meet and read the rules on what you can wear, because the approved style and fit vary.
- Specialty bars. A deadlift bar, squat bar or bench bar has different flex, knurling or whip from a standard barbell. They are optional upgrades for lifters who already train on good technique. A commercial gym bar is fine for your first six months.
- Bands. Resistance bands add accommodating resistance, so a lift gets harder as you approach lockout. They are a tool for lifters working on a particular sticking point, and you do not have a sticking point you can name until you have trained for a while.
- Knee wraps, bench shirts and other equipped gear. These belong to equipped divisions of the sport. They do not apply to a first meet in the raw divisions.
Month six is a reasonable point to reassess. By then your notebook shows where your lifts stall and which of these items would address a real problem.
Home setup add-ons: a pre-session check before heavy sets
Training at home means you supply what the commercial gym provides. A rack with adjustable safeties, a sturdy bench, a bar, plates and collars are the core of it. Buy those in roughly that order, and do not train heavy squats or bench without safeties set to catch the bar.
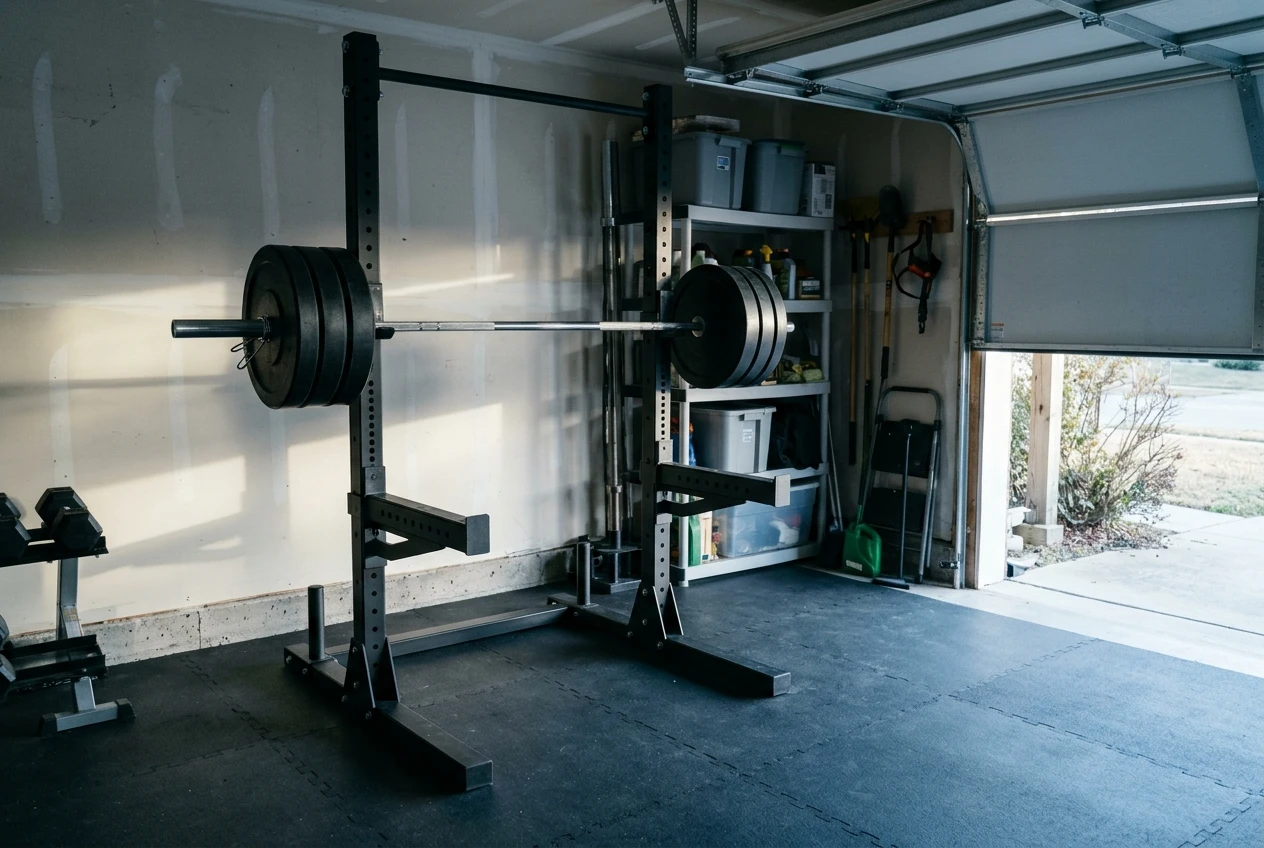
Before heavy sets, run a short check every session. Confirm the safety pins or arms sit at the right height for the lift you are doing, the collars are on both sides, the bench does not wobble, and the floor around the bar is clear. A home gym has no staff and no spotter by default, so the check is your replacement for both. The full routine is in a home gym safety check you can run before every session, including how to protect your joints and your floor.
Add-ons for the home gym follow the same rule as everything else here. A platform or rubber flooring helps once your deadlifts get heavy enough to damage the floor. A second pair of collars saves time. Neither matters in month one.
Your printable buy-order: a checklist you can tick off as the months pass
Copy this into a notes app or print it. Tick an item only when its trigger has happened.
Month one: must-haves
- Flat-soled shoes
- A notebook or phone note for logging sessions
- Chalk (or liquid chalk if your gym bans loose chalk)
- Federation rulebook read, if you plan to compete
- Home lifters: rack with safeties, bench, bar, plates and collars
Months two to three: buy when the lift shows the need
- Small fractional plates, when the smallest standard jump is too big
- A belt, when working sets feel heavy and you already brace well without one
- Wrist wraps, when heavy bench sets still feel unstable after fixing your grip position
- Knee sleeves, only after you have worked out why your knees hurt
Months four to six: still optional
- Lifting straps, for volume deadlift work only
- Raised-heel lifting shoes, if squat depth is limited by ankle mobility
- Bands, for a specific sticking point you can name
- Singlet, once you have picked a meet
Skip for now
- Specialty bars
- Knee wraps, bench shirts and other equipped gear
Pick your next purchase from the checklist and ignore the rest until a lift asks for it. If you also want warm-up and accessory work you can do at home between heavy days, have a look at kettlebell.monster. Disclosure: that is an affiliate link, so I earn a commission if you buy through it.